Let’s face it, a lot of us spend a considerable amount of time sitting in front of a computer or TV monitor, working well after the sunset, gaming and watching shows or movies during the night. Chances are most of us have faced symptoms such as dry eyes and eye strain, or even headaches. Let's see how we can avoid those issues and have our monitor be easier on the eyes, with the use of bias lighting.
Unblock any international website, browse anonymously, and download movies and Mp3 with complete safety with CyberGhost, just for $2.75 per month:
Why screens cause eye strain
To be able to comprehend why a monitor can create eye strain, we will first have to understand how vision works.
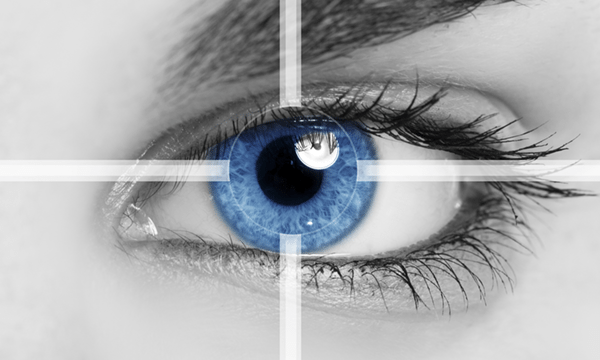
How the dark field of view causes eye strain
When we look at something, whether that’s a full scenery or a small object, our pupils contract or dilate. That happens so that they can regulate the amount of light that goes into the eye.
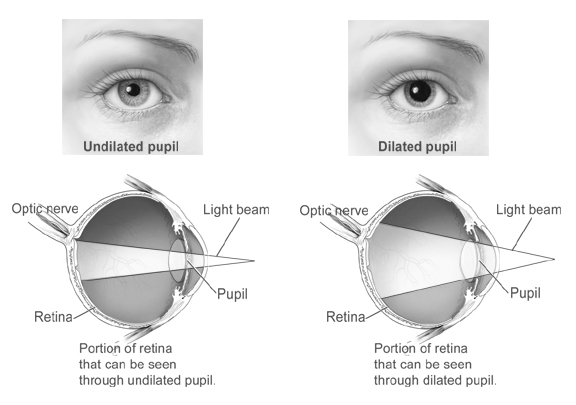
This dilation doesn't depend on how bright the object of our focus is. It is the entire environment we are looking at that plays that role.
Watching TV or sitting on the computer with dark surroundings is a recipe for disaster. We create terrible viewing conditions, and our eyes end up hating us for them.
It’s the equivalent of staring a tiny bright spot, while its surroundings were completely dark.
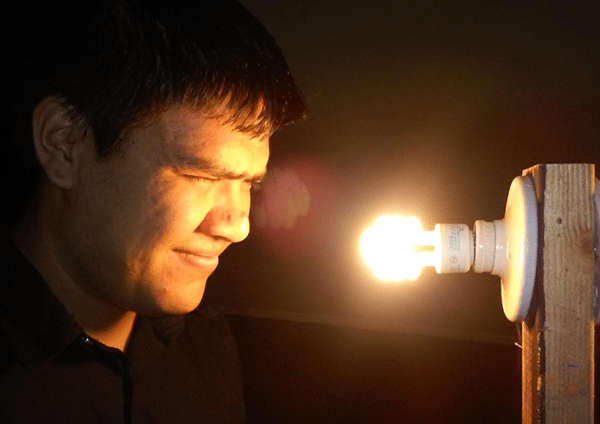
Our complete visual system is pretty good at perceiving the difference between the screen’s brightness and that of its surroundings. The pupil, not so much. Its contraction/dilation is adjusted based on the average brightness of our entire field of view.
In layman’s terms, despite the fact that there’s a lot of light right in front of us, our eyes' pupils don’t contract as much as they should. That’s because they “calculate” the darkness in the entire room as well.
The eventual result? Eye strain. Gradually, we might experience signs of fatigue, dry eyes, tears, and a general difficulty looking at the screen. Although relatively rare, experiencing migraines or severe headaches due to the strain isn’t out of the question.
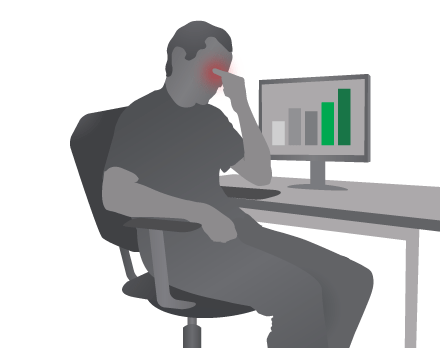
The upside of all this is that the symptoms are temporary. Provided we get to rest our eyes, the symptoms should disappear within 24 hours, tops. Provided, of course, that we don't continue causing eye strain on a daily basis.
Lighting in front of the monitor
The basic concept is to increase the room’s overall lighting without having to switch all of our lights on. Although that would help with the dark room problem, it would also simultaneously create more problems.
The lights located on our ceiling shed light onto the screen. As such, they reduce the perceived contrast and create reflections.
If the light isn’t behind us, but in front of us, then it just shines directly into our eyes.
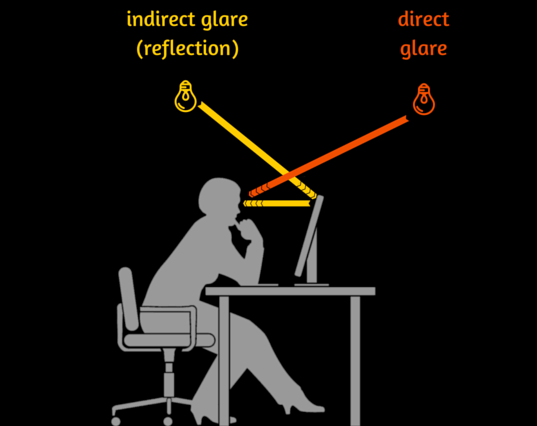
This sort of setup might cause reduced eye strain, compared to an otherwise dark room. But it sure isn't pleasant to look at. There must be a better way.
In fact, there is a better way, and it's called bias lighting. It is a smart and low-cost trick that results in a screen that’s easier on the eyes, while also improving the image quality of the monitor.
What is bias lighting?
The term “bias lighting” is used to describe a light placed directly behind a monitor.
A relaxing screen
When placing a light behind our monitor, we achieve two things:
First, we increase the overall brightness of our field of view. Second, there is no light source shining directly on our screen. As such, the issues we described earlier are now entirely non-existent.
Additionally, our eyes aren’t looking directly at the light source, since the monitor itself obstructs it.
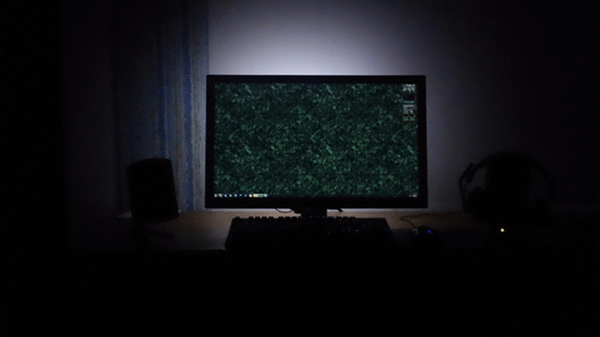
In short, this means that we benefit from the increased brightness within our field of view without punishing our eyes.
An improved viewing experience
We saw how bias lighting could turn our screen easier on the eyes. That’s not all, though. It also offers numerous advantages that go beyond eliminating eye strain.
We are sure you’ve seen optical illusions like those below while browsing the internet.

Which square do you think is darker? Number 1 or 2?
Of course, you know this is a trick question. You also know that if you trust your eyes, you’ll get it wrong. The answer is that both squares have the exact same color.

The color of the background is what makes us think that number 1 is darker than 2. This is because our brain takes the brightness of the entire environment into account when trying to perceive an object’s actual color.
It logically follows that, when the environment is dark, our brain assumes the objects we see are brighter and vice versa.
When looking at something on our TV or computer monitor, we want to create conditions such as those of square 1. This way, we increase black’s perceived depth, making all colors look more vibrant than before.

Of course, we can get the same results by altering the contrast and brightness in our monitor’s settings. Unfortunately, this may result in eye strain, and we also reduce our monitor’s life.
From theory to practice
So far, we learned why bias lighting is so useful. Now it’s time to get to the main course. How much will the entire feat cost? Are there any store-bought solutions or do we have to come up with some sort of DIY solution?

The truth is, there are several ways to achieve adequate bias lighting. We can either make our own with affordable materials or just purchase a readily available solution.
If cost isn’t an issue, we can even choose a monitor with integrated bias lighting.
For example, Philips’ Ambilight TVs have integrated bias lighting. They also automatically adjust the color depending on the screen’s content.
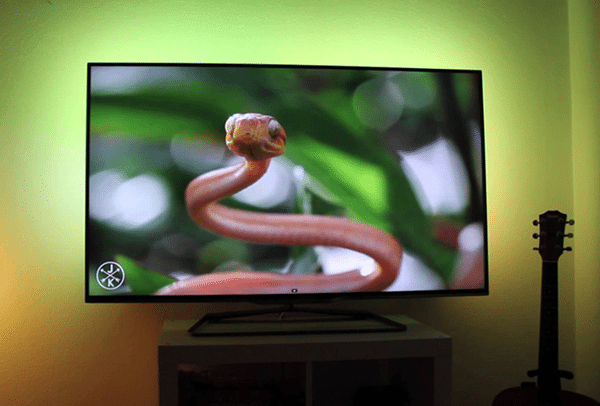
Of course, not all of us can afford that kind of screen. We will now have a look at some of the more affordable ways to get the same results.
Choosing the appropriate lighting
Using any lighting behind our screen is preferable to not having bias lighting at all.
However, if we want a great viewing experience along with a screen that’s easier on the eyes, we will need to select our lighting carefully.
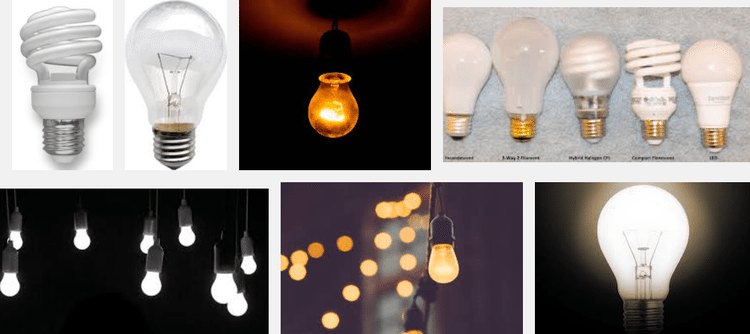
We can choose to make our custom contraption or go with a store-bought solution. Either way, we will need to know what kind of lighting we're going to pick.
The traits we’re concerned with are brightness, color temperature, and color rendering.
Temperature
We measure light’s temperature in Kelvin. At lower temperatures, the light is paradoxically called "warm" and has a reddish appearance. As the temperature goes up, the light is called "cool" and turns blue.
Commercial light bulbs usually start at 2500K (warm) and go all the way up to 6500K (cool).
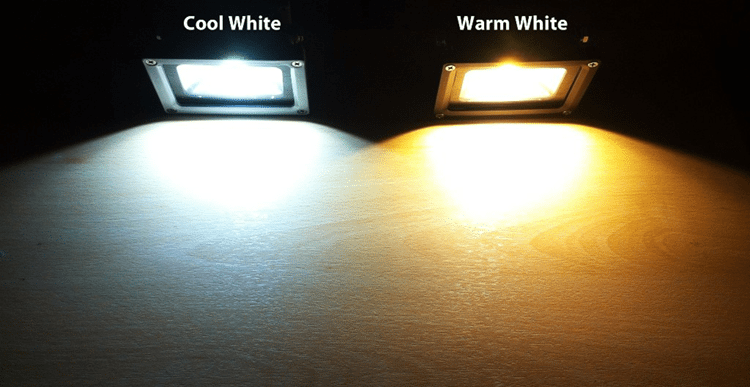
Most people use warm lighting in their homes. It is close to the light our sun emits, so it feels more natural than the cool color.
The factory settings of TVs and monitors, on the other hand, are set to 6500K. Movies and most digital content use 6500K as a reference for white.
What does this mean for us? To create our perfect bias lighting, we should try to get as close to 6500K as we can. For our purpose, the cool lighting is the ideal choice.
Brightness
We measure light’s brightness in Lumens. The more Lumens we have, the brighter our lighting is. The brightness of the light bulbs in a typical home is between 400 and 1200 Lumens.
However, there are light bulbs that go all the way up to 15.000 Lumens. Since we're not interested in illuminating an entire neighborhood, we won’t have to worry about those.

That doesn’t mean that we want our lighting to be so dim it’s barely noticeable. The more Lumens we can get, the better. Ideally, we’d go for over 1500 Lumens.
Color Rendering Index
A light bulb’s Color Rendering Index (CRI) measures its ability to display the correct color of any given object compared to a natural light source. Its value can range from 0 to 100. The higher it is, the better.
Although not crucial to the selection of our bias lighting, the ideal value would be 90 and above.
These values are mostly stated for those who edit images and videos on a professional level. With this kind of lighting, they’ll have the best possible color rendering in their screens.
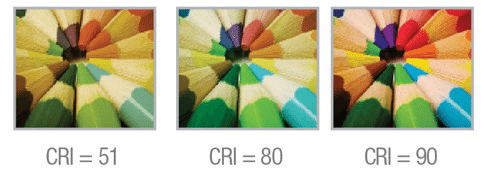
The rest of us can survive with lower CRI values, or not worry about it at all.
How to add bias lighting to any monitor
You crafty types will be glad to know that you can very well create your custom bias lighting with a bit of imagination.
LED strips are a great idea that’s widely used. Strips powered by USB can be plugged into your computer directly. As such, that eliminates the need for an additional socket.
After purchasing a LED strip, we can place it on the back of our monitor, or onto the wall.
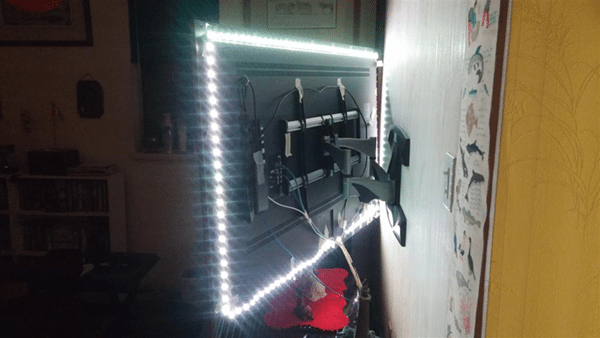
Integrating some sort of light to the back of the monitor, fluorescent or otherwise, is also a viable alternative.
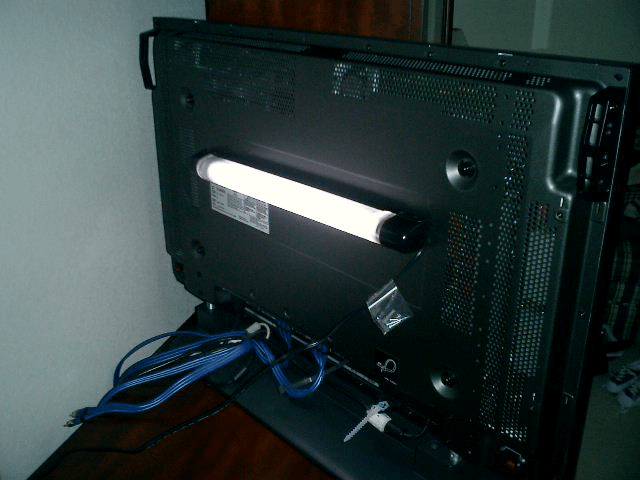
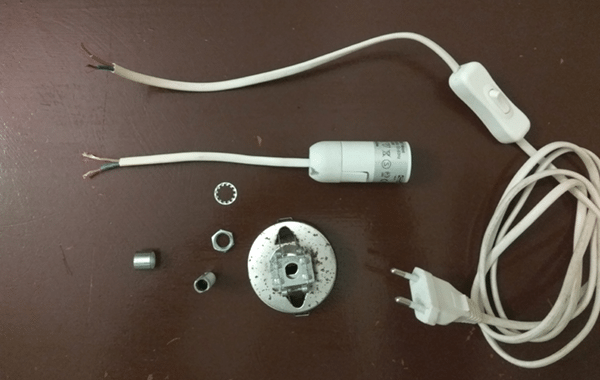
For this guide, we made a makeshift bias lighting system using a cable with an On/Off switch from an old lamp.
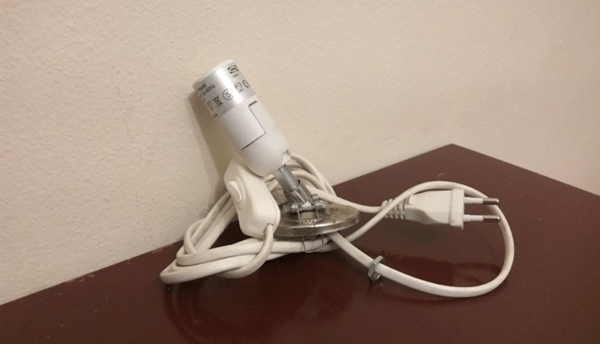
After cutting the cord and getting rid of the iron parts we didn’t need…
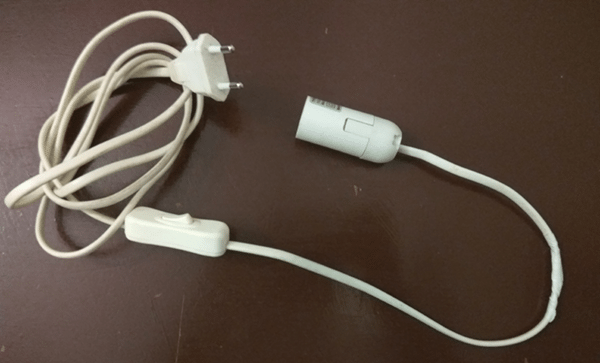
...we merged it back together with duct tape.
The only thing left was to mount our contraption to the back of our monitor.
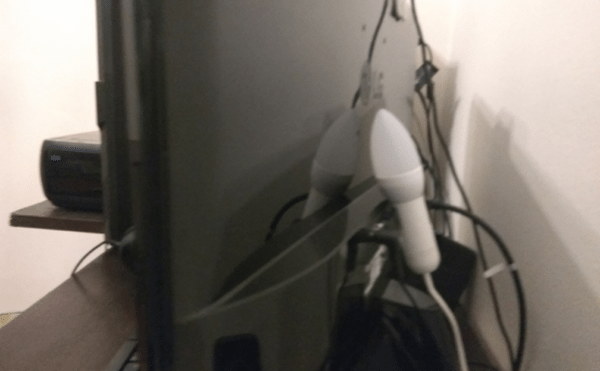
We managed to support it using our monitor’s cable management part.
Alternatively, we could have used:
- a nail in the wall
- double-sided stickers
- duct tape if we don’t care about how it might look
After that, we place the light bulb we’ve chosen based on the features we discussed earlier. Plug our contraption in, and voilà!
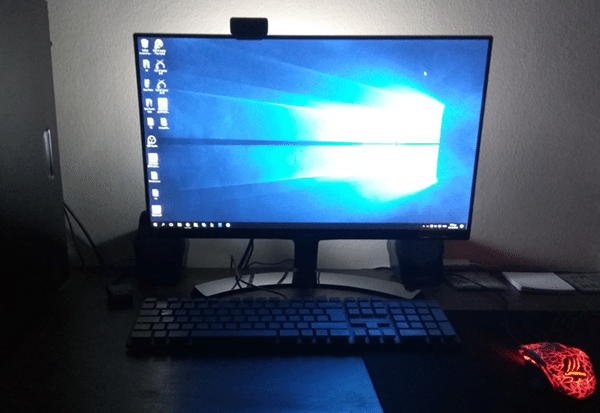
Would you like a more relaxing screen?
As we learned in this guide, avoiding eye strain, dry eyes, headaches and other symptoms caused by staring at a screen in a dark room is quite easy.
Do you experience similar issues when spending several hours in front of a TV or computer screen? Will you try using bias lighting? Are you already using DIY bias lighting you made yourself?
Let us know what you think in the comments, and share your ideas for handicrafts and contraptions.
Support PCsteps
Do you want to support PCsteps, so we can post high quality articles throughout the week?
You can like our Facebook page, share this post with your friends, and select our affiliate links for your purchases on Amazon.com or Newegg.
If you prefer your purchases from China, we are affiliated with the largest international e-shops:



Leave a Reply