

Inbox by Gmail is an email service developed by Google. In fact, it’s the same email service as Gmail, but with a different interface. Google Inbox was announced back in 2014, and it aims to improve productivity, with a more modern approach to email services than the Gmail we all know. Below we describe all its tricks and secrets, as well as why someone would switch from Gmail to Google Inbox.
Unblock any international website, browse anonymously, and download movies and Mp3 with complete safety with CyberGhost, just for $2.75 per month:

What is Google Inbox
Let’s face it; Gmail looks old. It seems ugly, it doesn’t match with the interface of other Google services, and it's in desperate need of a revamp.
However, Google doesn’t seem to bother, and we don’t expect it to receive interface updates any time soon. Maybe that’s the reason the company introduced Inbox; to satisfy the needs of a design makeover on the Gmail service, without preventing those that like Gmail the way it is.
So, what exactly is Google Inbox?
We would describe it as a Gmail skin made by Google, which uses card-based UI elements and cool animations to present us with our daily mail. Although, it is more than a skin. The best part of Inbox is that it can sort our emails based on topic (Promos, Social, Purchases, etc.), but it also allows us to group our mails the way we want.
Inbox is more like a task-based webmail service, that also allows us to mark emails as done or to snooze them for later. We can also set reminders for pretty much any task we want, and that makes it ideal for boosting productivity.
All in all, Inbox treats our emails like to-do tasks, but at the same time, it syncs with Gmail.
How to switch to Google Inbox from Gmail
The good part is that we don’t need to create a new account to switch to Inbox. All it takes is to go to this address and log in using our Gmail credentials.
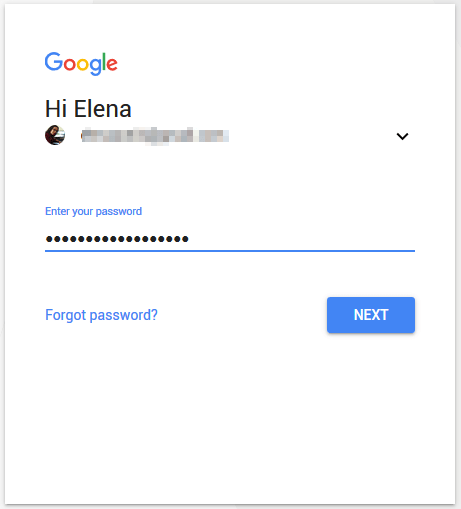
The first time we use it, Google will welcome us with a tour, highlighting Inbox’s best features.

We will also get a new email from the Inbox team, prompting us to watch a quick video to learn the basics.

At first, it might look a bit intimidating, since the organizing features in Inbox are entirely different than what we were used to with Gmail. However, if we give it a chance, we will find out that it is much simpler to use, and certainly more productive.
The first steps
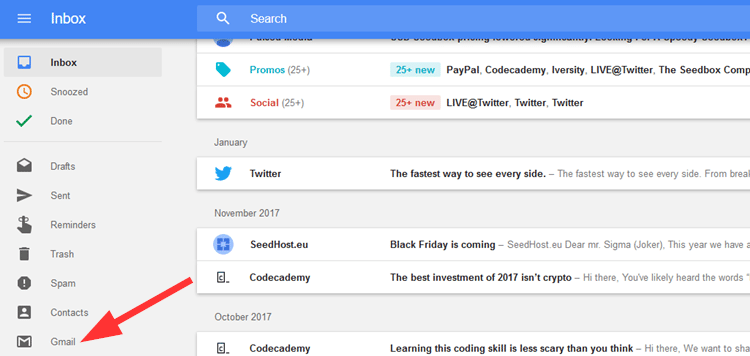
First of all, if we want to stick to Inbox, we can redirect our Gmail there. To do that, we open the Inbox menu from the top left corner, we scroll down at the bottom, and choose “Settings.”
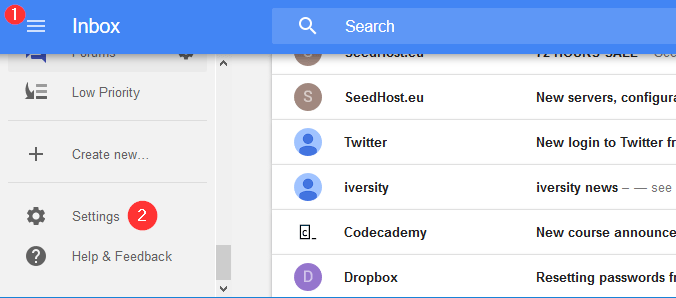
Quick note: We will need the Settings menu later, so make sure to memorize its location.
From there, we select the “Other” tab and tick the second option, hitting the “Done” button on our exit.

This way, when we access our Gmail, our browser will redirect us to Inbox instead. Plus, once this feature is on, we will get a new “Gmail” button on the side panel so that we can access Gmail anytime we want.
Now we are ready to explore our new “inbox.”
How Google Inbox treats the emails
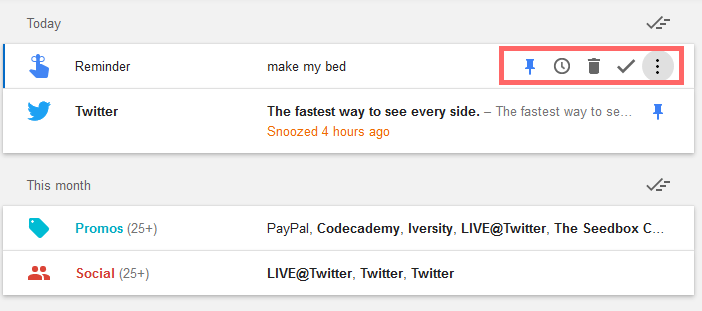
Inbox wants us to proactively interact with our emails, thus, when we receive an email, we have four primary courses of action in the form of buttons.
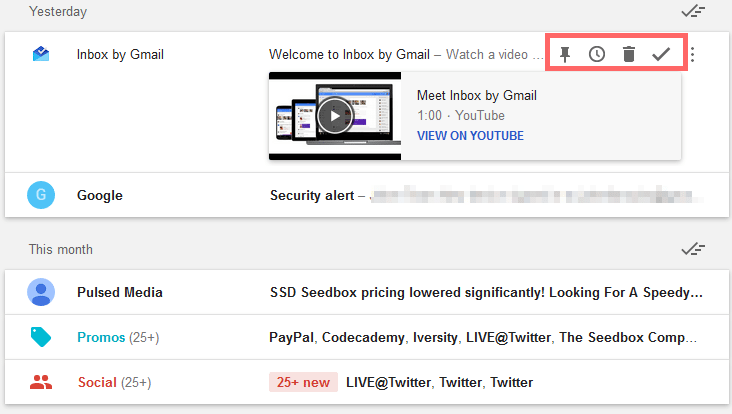
All four buttons are on/off-type switches. That means we can press the button again to switch it off if we change our mind.
Pin
Pinning a mail keeps it in our inbox until we mark it as Done (or unpin it - of course). Moreover, the mail will show up higher in the list than unpinned mails. This makes it easier to prioritize the critical emails or the ones that require action as soon as possible.
Pin to inbox also cooperates with the big pin button at the top of Inbox. When the switch is on, the inbox only shows pinned emails; this way we can see our top priorities at a glance and focus on resolving them.

Snooze
The snooze button is another hint that emails are treated as tasks - as they should be, rather than just as messages.
If we snooze a mail, it disappears from the inbox, and it will come back later at the time we choose.
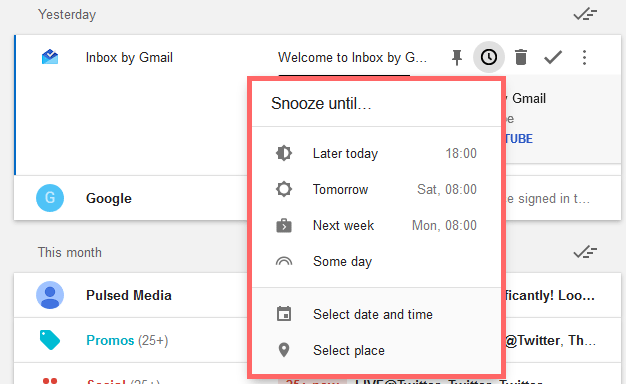
We have four preset options: later today, tomorrow, next week, and someday. Although, we can also set the date and time manually. The option for the notification to appear while we are in a specific place is also available.
The specific place snooze will work if we access Inbox through the smartphone app. It won’t support the webmail client.
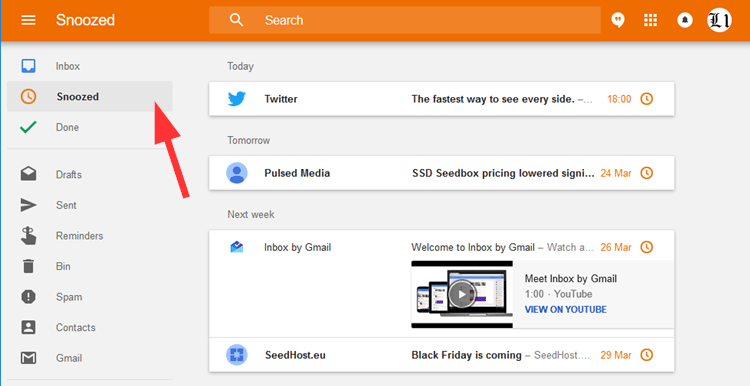
Everything that we snooze is stored in the Snoozed section at the side panel to our left until it returns to the inbox.
In the settings menu that we mentioned above, we will find a few more options regarding the snooze function.
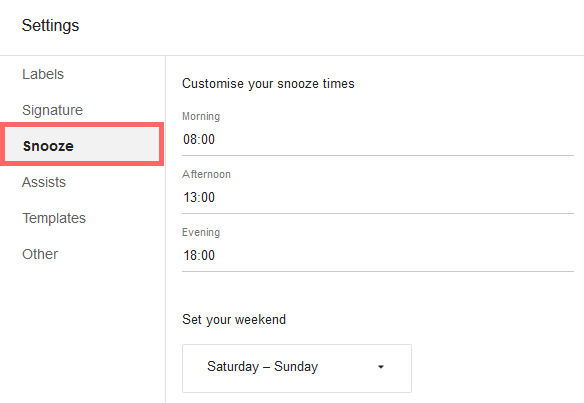
As we can see, we can set it to go off in the morning, afternoon, and evening, as well as the weekend days, depending on our schedule.
Delete
The delete button is pretty much what you imagine it to be: it sends the mail to the trash bin.

Deleted emails will go to the Bin tab at the left.

We can empty our bin by pressing the relevant button, as shown in the image above.
Done
Everything that we mark as done will be safely stored in the Done section at the side panel. We can access this section anytime we want, and browse or search through our done mail list.

Just because a mail is marked as Done, it doesn’t mean we can’t use other actions. We can still pin it back to our inbox, snooze it, or delete it if we decide we don’t want it anymore.
Bundled emails
Now that we learned the basics, we can dive into our inbox and clean up the mess of emails that we are probably facing since we just moved to Google Inbox. And here’s where bundles will come in handy.
Bundles can group all the related emails in our inbox, enabling them to appear as a single tab, rather than a bunch of scattered messages.
Let’s take the Social bundle, for instance.
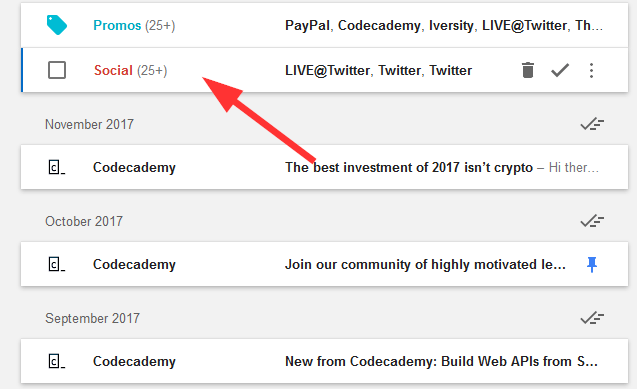
Inbox has grouped all of our social emails in one category. We can see that the bundle contains more than 25 emails. This is very useful if we want to mass delete all of the often useless Promo emails, or maybe mark them as done in batches.
If we click on a bundle, we will see all the emails within it separately.
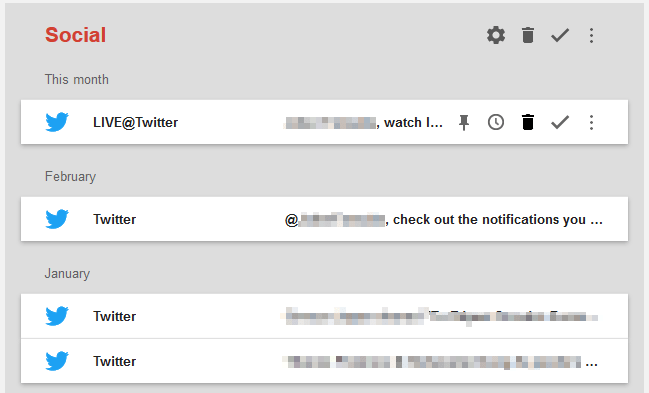
All emails will be further grouped by month, and the most recent ones will be at the top.
Besides mass deleting or marking as done, we will find some more options regarding a bundle if we click on the gear icon at the top.
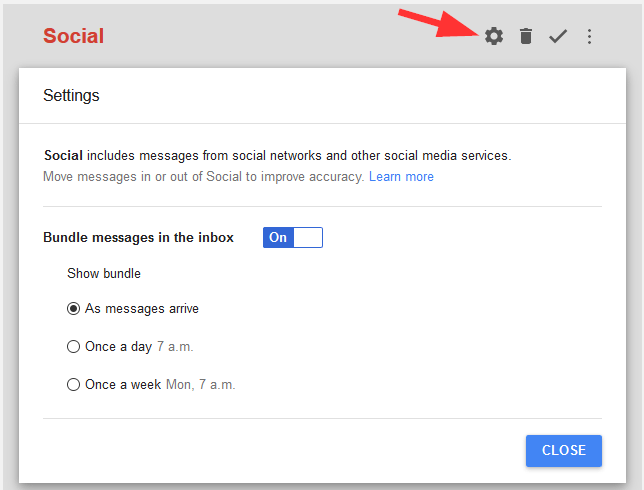
We can deactivate the bundle with the On and Off switch, or make it show up in the inbox instantly, once a day, or once a week.
Our advice is to set unimportant bundles to appear only once a day or once a week. For example, program all the promotional emails to show up every Saturday.
On weekends you probably have finished all your work, and you’ll have time to deal with some distracting emails. Social notifications can be set to once every day, perhaps in the evening or later, so they won’t distract you from actually being productive with your work and/or other responsibilities.
Tweak existing bundles
The default bundles are made of labels, filters, and smart tabs we had from Gmail. They will appear as bundled or unbundled, depending on whether we had them enabled/disabled (for tabs) and shown/hidden (labels).
The tabs show up along with a relevant icon…
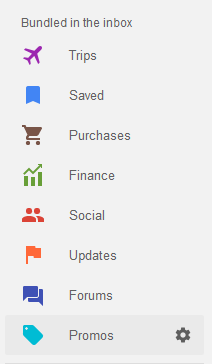
...whereas the labels and our personal filters have an envelope icon.
All bundles are self-explanatory. To set them on or off, we have to access the settings menu.
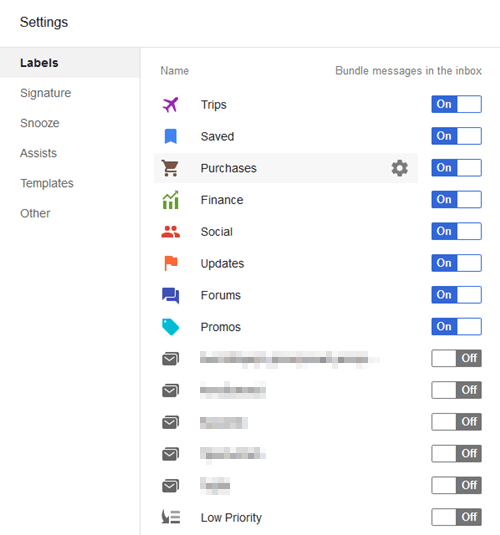
A gear icon also appears if we leave the cursor on top of each one if we wish to change a specific bundle.
Create new bundles
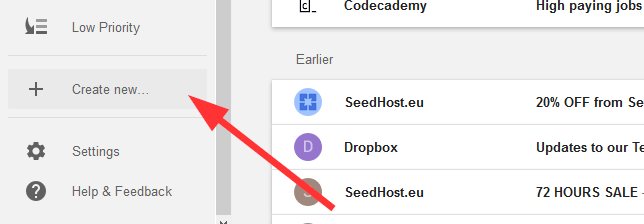
To create a new bundle, we just click the “Create new…” button at the bottom of the sidebar.
We set a name…
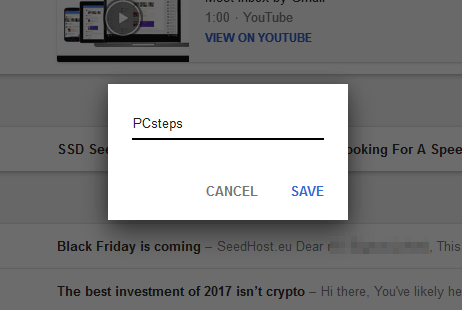
...and click on “Add” to filter its settings.

The options here are similar to Gmail’s filters.
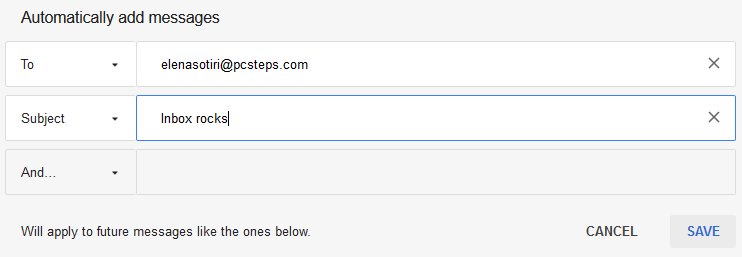
We can filter the messages depending on the sender, recipient, subject, etc. Any emails we receive that fall under our filters from now on will appear in a bundle in our inbox.
Sending email
Just because it looks more like a to-do app, it doesn’t mean that Inbox can’t send an email. No matter what section we are on, we can always hit the “plus” button at the bottom right to create a new email.
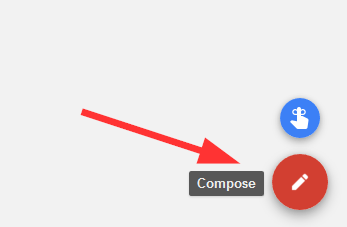
We can also create reminders, but we’ll talk about that later on.
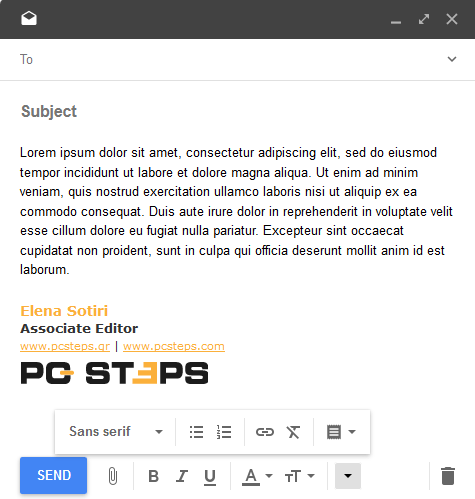
Once we click on Compose, a new layer will appear, and we can start typing our message.

There’s nothing special here; we get all the options we’ll find on any email client, such as font tweaking, attach media, add or remove links, etc.

Furthermore, we get a trash bin icon, which is useful in the case that we want to delete our message, as well as a templates icon to insert any template message we might have saved. You’ll find more on templates below.
We can also minimize or maximize this layer to suit our needs, or close it for later use. We will find it in the Drafts section of the sidebar.
Features and tips
We all have a specific workflow that suits our needs, and sometimes we need to experiment to find the perfect schedule for us.
In our experience with Inbox, we had to adjust a few things and change some of our habits to make the most out of the service.
Below we present some tips and tricks that we can exploit to boost our productivity with Inbox.
Reminders
Besides our emails, our inbox can host other tasks as well. Reminders is a Google service that interacts with Google Calendar, Google Keep, and others.
In Inbox, you can find this feature on the sidebar. To create a new Reminder, mouse over the “plus” icon at the bottom right and click on the finger icon.

A reminder can be anything, from a call and an email to picking up your kids from school.
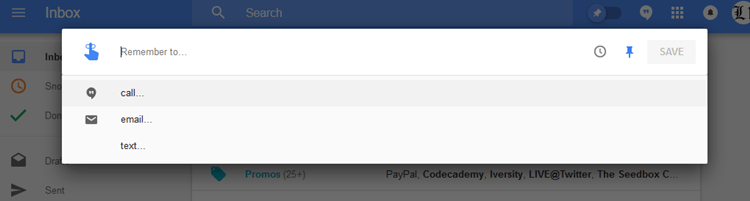
Once we start creating one, we will be presented with some suggestions that might be helpful.
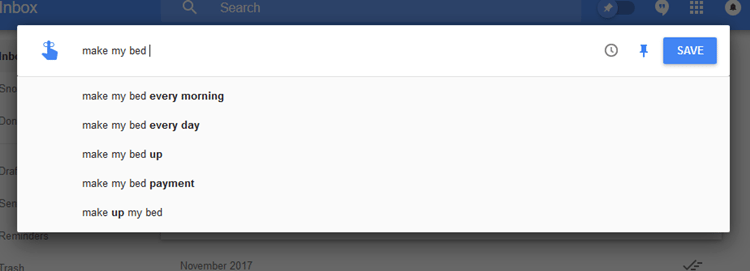
The saved reminders will appear pinned in our Inbox, along with our emails, and we can take the same actions we described above.
This is a very powerful weapon on the battle for productivity, so don’t wait to receive an email to take action. Set reminders for anything you want - even non-mail related tasks.
Templates
If you used to enjoy templates on Gmail, Inbox has you covered. You can access them through Settings > Templates.
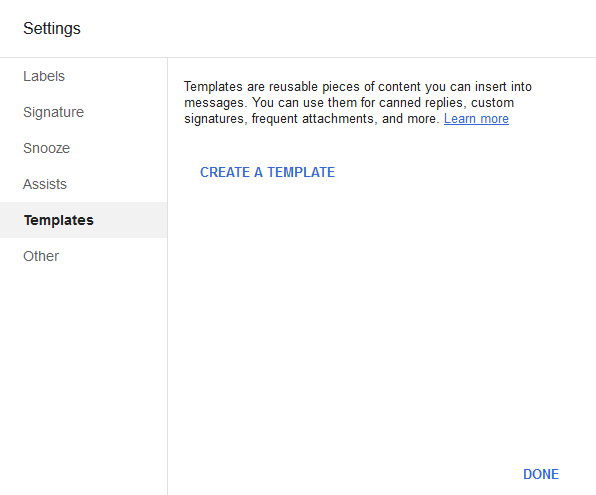
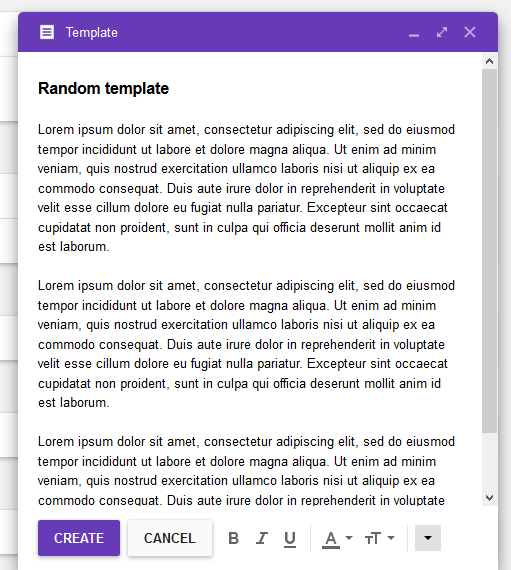
The “Create a template” button will lead us to a purple-colored window, where we can prepare a template email and hit the “Create” button.
Now, if we want to use that template in a mail, all we have to do is pick it from our list via the template button shown below.

We should mention that we can enter the same template multiple times in the same email. It has the same effect as if we copied and pasted the text. Although, we can’t imagine where that could be of any use.
The signature trick
An email signature is important, especially if we are talking about our business email address. Inbox allows us to use text as a signature, and we can find the option on Settings > Signature.
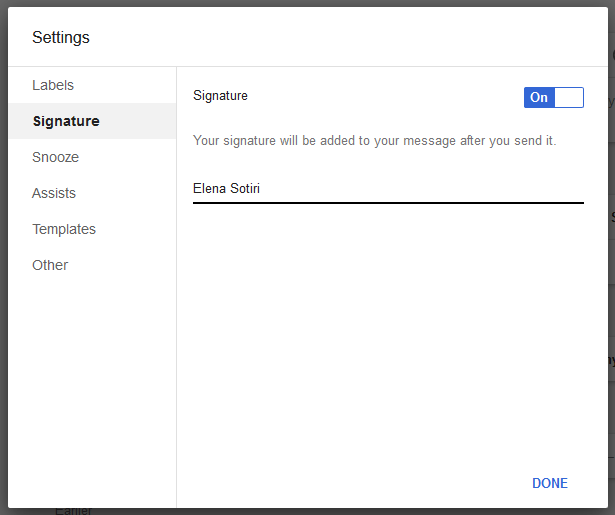
The only problem with this is that we can’t use images or custom colors. However, there’s a workaround that can provide a solution.
We can use templates for signatures, and thus turn it into whatever we prefer.
All we have to do is create a new template the way we described above. Then we write anything we want, insert images and links, and save the template.

From now on, when we want to send an email with a signature, we just insert that template.

That way, we can create more than one signatures, and use the one we want, depending on the occasion.
Other email accounts
Inbox won’t let you add any other email accounts from its settings. It only supports Gmail accounts, and there’s no option to add more than one.
However, as we said, Inbox syncs with Gmail. To add more than one accounts, we just need to set them up on Gmail and label them respectively.
Since any email we receive on Gmail syncs with Inbox, this limitation isn’t a problem at all.
Why choose Inbox over Gmail
Google Inbox has numerous advantages over its older brother, Gmail. Below we summarize all the reasons one might want to move over to Inbox for.
- Inbox has a far more superior design than Gmail.
- It is different than any other email client since it treats your emails as tasks.
- Inbox has a different organization system that feels more productive and less cluttered.
- You can set reminders for everything, which interact with other Google services, like Google Calendar.
- You can still set filters and new accounts on Gmail that sync across Inbox.
Do you prefer Google Inbox or Gmail?
To get the most out of Google Inbox, you have to treat the inbox section as your to-do list. If there are emails, you can answer within minutes and mark them as done.
If they require more attention, program them for later. Mark them as done if you don’t need to perform any action or delete them if you don’t want them in your archive. In general, try to empty your inbox every time you check3 your mail.
We‘ve been using Inbox for more than a year now and we never looked back. The modern and smooth interface makes it the perfect candidate for a clean-looking webmail service.
How about you? Have you tried Google Inbox? Do you prefer Gmail? Leave a comment below.
Support PCsteps
Do you want to support PCsteps, so we can post high quality articles throughout the week?
You can like our Facebook page, share this post with your friends, and select our affiliate links for your purchases on Amazon.com or Newegg.
If you prefer your purchases from China, we are affiliated with the largest international e-shops:

Leave a Reply