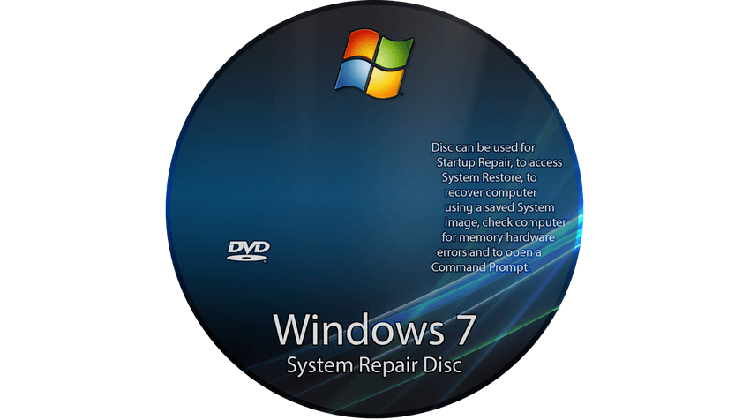
A Windows System Repair Disc is a bootable CD/DVD/USB that contains useful utilities to help troubleshoot and repair a Windows installation - or, at the very least, save our files. It can be a lifesaver in case anything goes wrong with the operating system. Let's see how to create a System Repair Disc on Windows, and how to use it.
Unblock any international website, browse anonymously, and download movies and Mp3 with complete safety with CyberGhost, just for $2.75 per month:
Be prepared
There is a Greek proverb we can loosely translate as: "The children of the wise cook before they are hungry."
In this case, it means we should create a System Repair Disc before we have any problem with Windows.
If we already have an issue with the OS, and we can't boot to Windows, we won't be able to create the System Repair Disc at our time of need, unless we have a second PC.
How to create a System Repair Disc on Windows 7
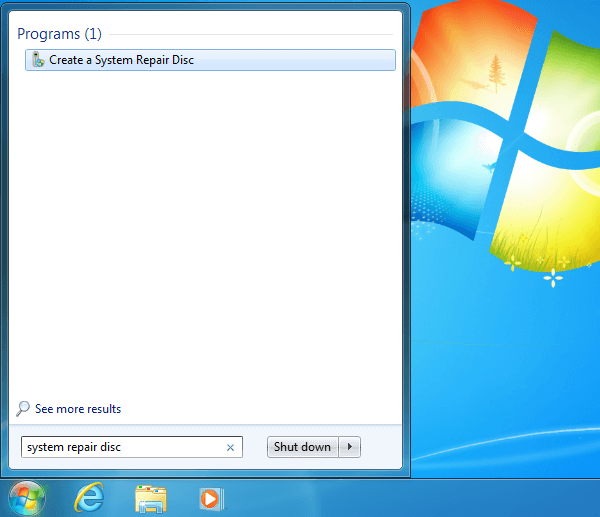
The fastest way to create a System Repair Disc is to search for "System Repair Disc" on the start menu and click on the icon.
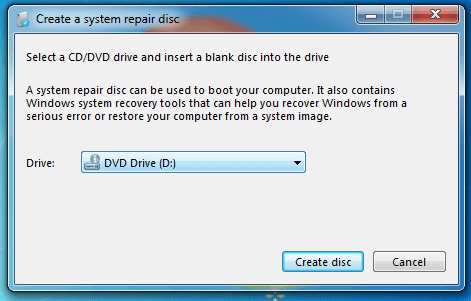
After that, we just need to insert a blank CD or DVD in our DVD recorder, select the appropriate drive, and click on "Create Disc."
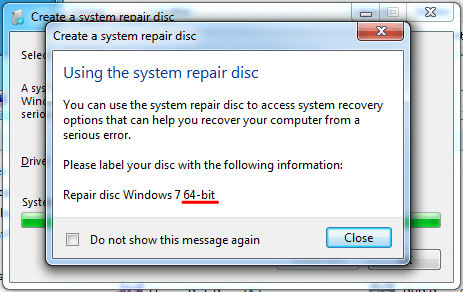
Keep in mind that a System Repair Disc created on 32bit (x86) Windows 7 will only work on 32bit Windows 7 installations. The same goes for 64-bit Windows.
On the other hand, we can use a Windows 7 System Repair Disc to repair a Windows 8.1 or Windows 10 installation, with the same distinction between 32bit and 64bit versions.
How to create a Create a System Repair USB on Windows 7
With fast Internet, streaming movies and torrents, and downloadable games through services such as Steam and GoG Galaxy, DVD drives are becoming increasingly irrelevant.
So, how can we create a System Repair Disc if our PC doesn't have a CD or DVD Drive? Microsoft doesn't give any other options. The solution is to create a System Repair Disc ISO, and then write it to a bootable USB.
To create the ISO, we will use TotalMounter. It is a Virtual Drive application, similar to Daemon Tools, Alcohol 52%, or WinMount.
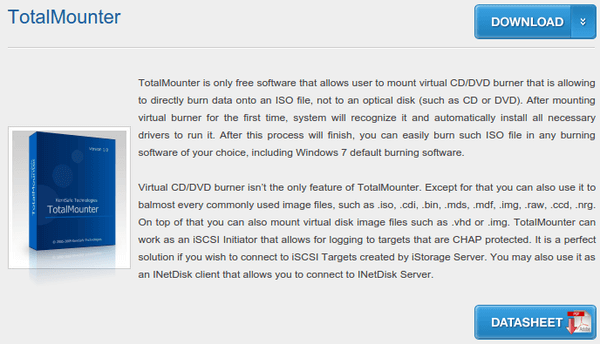
What makes TotalMountair exceptional, is that it can create an entirely functional virtual CD/DVD-RW drive. We can select this drive from any disc burning application, and it can record the data straight to an ISO file.
Download and install TotalMounter
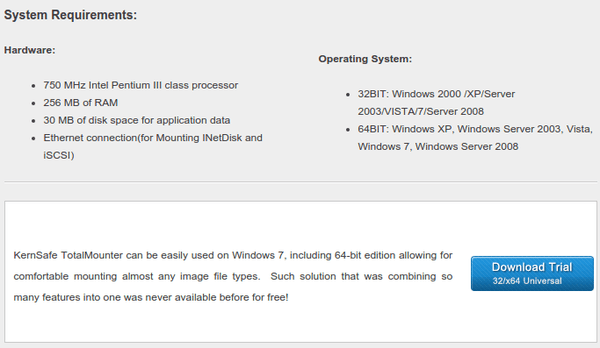
We can only download TotalMounter as a free trial, but it is enough to create a System Repair Disc ISO.
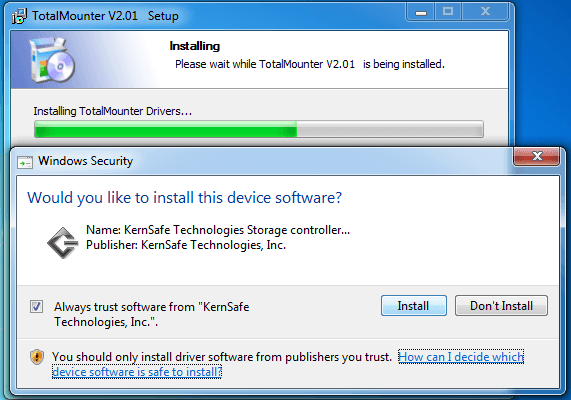
The installation won't attempt to install useless third-party programs or toolbars. It just needs to install a device driver for the virtual drive.
Create a System Repair Disc ISO
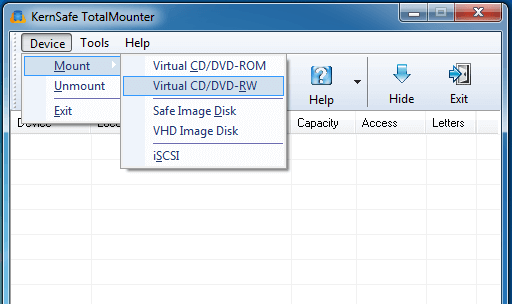
After the installation, we run TotalMounter and select Device -> Mount -> Virtual CD/DVD-RW.
On the "Mount Device" window we click on "Browse" and type the name of the ISO we want to create, in the example "System Repair Disc.iso." Just make sure you have selected "All Files," or else it will become "System Repair Disc.iso.img."
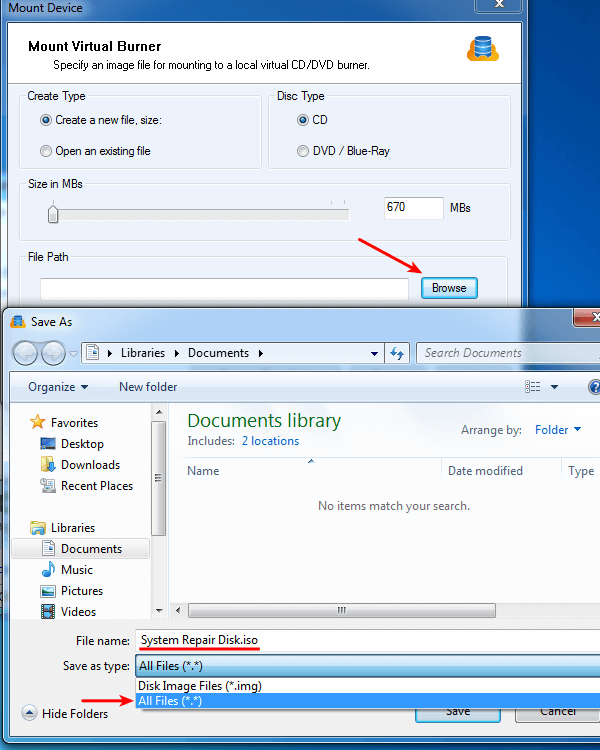
We can save the file wherever we want, in our Documents folder, on the Desktop, anywhere.
After that, we click on Finish.
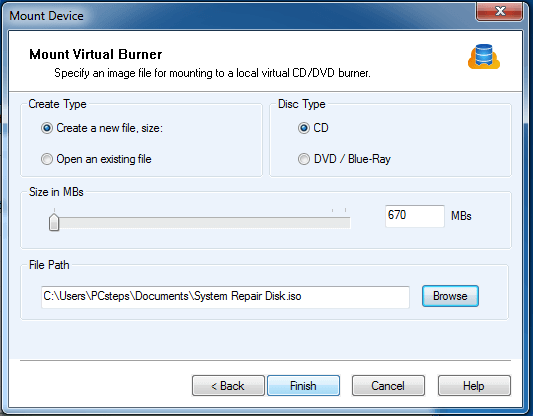
Now, the Computer will show a new drive, with the first available drive letter.
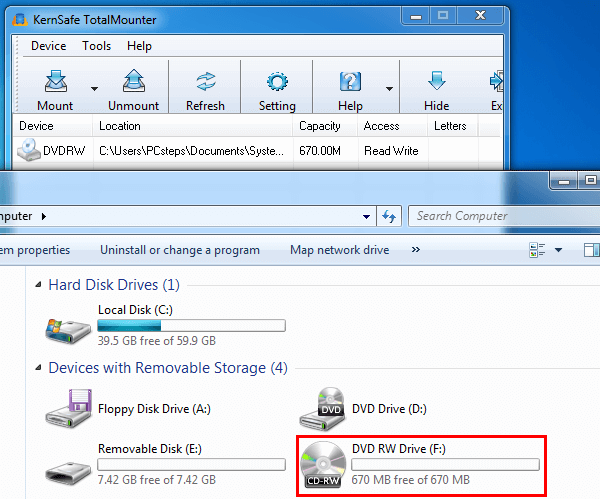
This new DVD-RW drive will also show up in the "System Repair Disc" creation utility.
We just need to click on Create disc. In a couple of seconds, we will have a System Repair Disc ISO.
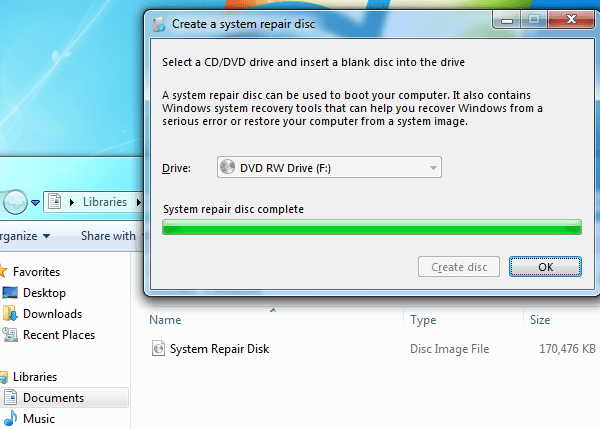
Before closing TotalMounter, make sure you unmount the virtual drive.
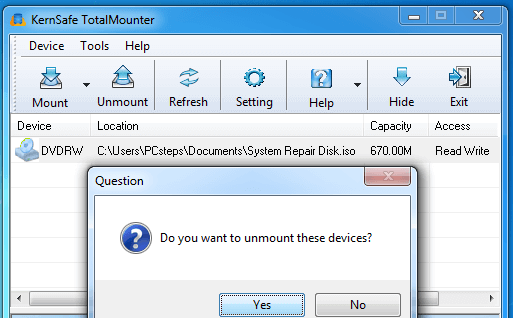
After that, we can uninstall TotalMounter if we don't want it anymore.
Create a System Repair USB
Several apps can create a bootable USB from an ISO, such as Rufus, Unetbootin, etc.
Unfortunately, most of them won't work to create a System Repair USB. They will be able to create the USB, but when we try to run most of its tools, we will get weird error messages.
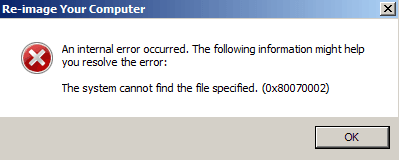
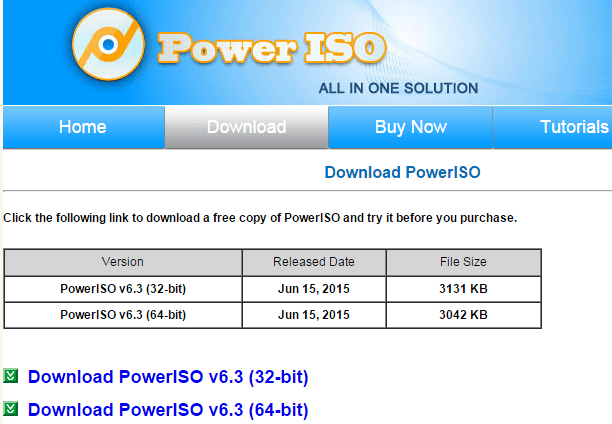
The solution to creating a proper System Repair USB is to download the trial version of PowerISO.
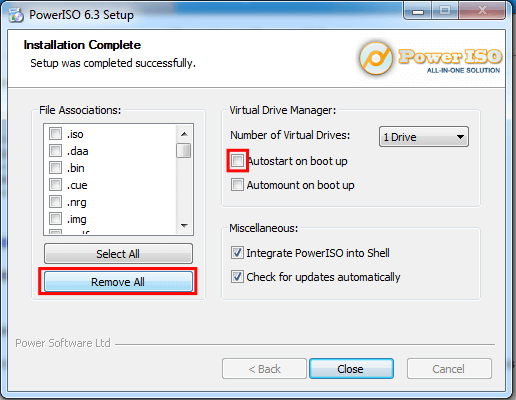
During the installation, we should remove all file associations - if we don't intend to keep PowerISO - and uncheck the "Autostart on boot up" box.
After the installation, we right-click on the PowerISO icon, and select "Run as administrator."
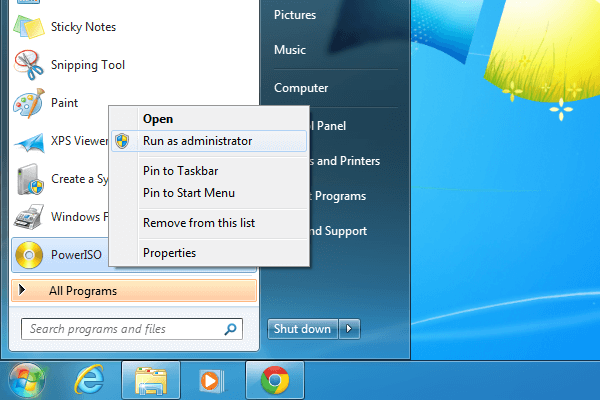
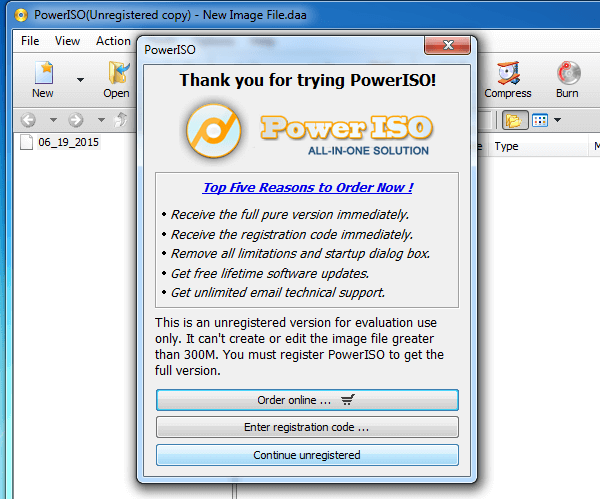
We choose to "Continue Unregistered."
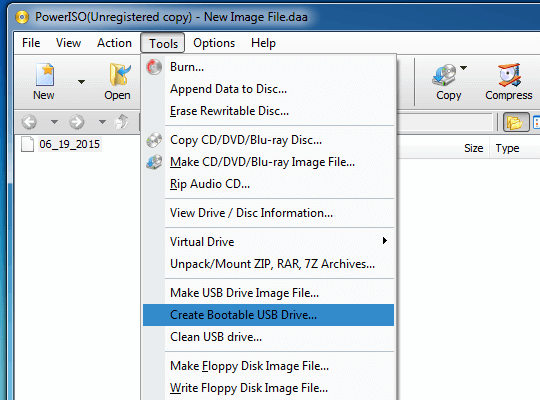
Then we go to Tools -> Create Bootable USB Drive.
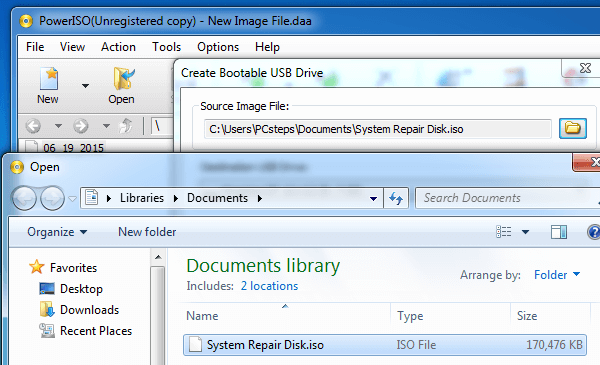
At the Source Image File, we click the folder icon and select our System Repair Disc ISO...
...then we select the Destination USB Drive - any thumb drive 256MB or larger will do - click start and confirm that the procedure will rewrite any files already on the USB drive.
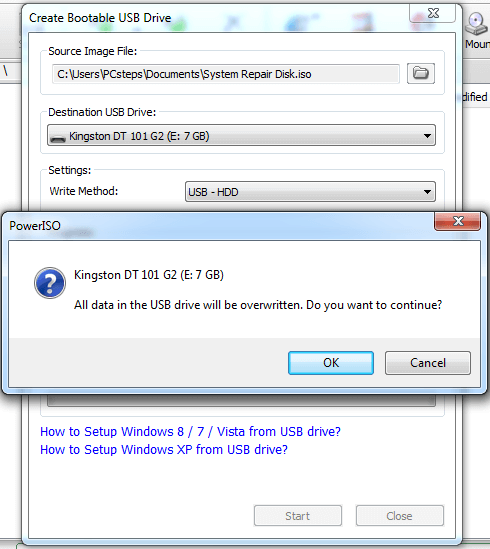
And that's it. We can now use the System Repair USB to boot and troubleshoot our operating system.
What tools does the Windows 7 System Repair Disc contain?
After we set up the BIOS/UEFI to boot from DVD or USB, we will get a prompt to press any key, such as when we first install Windows.

By pressing any key, the System Repair Disc will load, with a screen that reminds us of Windows Vista.

Once it loads, we select a keyboard input method.
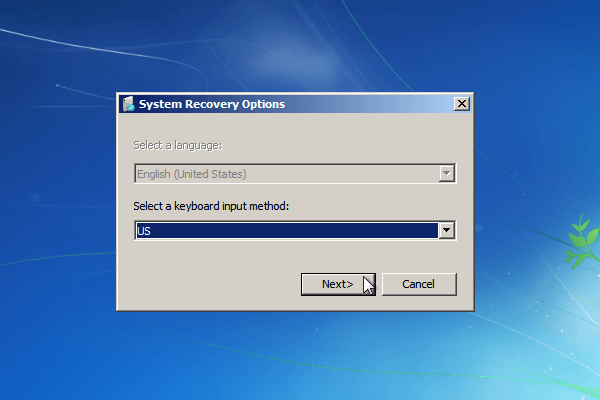
In most cases, if the operating system isn't too damaged, the System Repair Disc will recognize it...
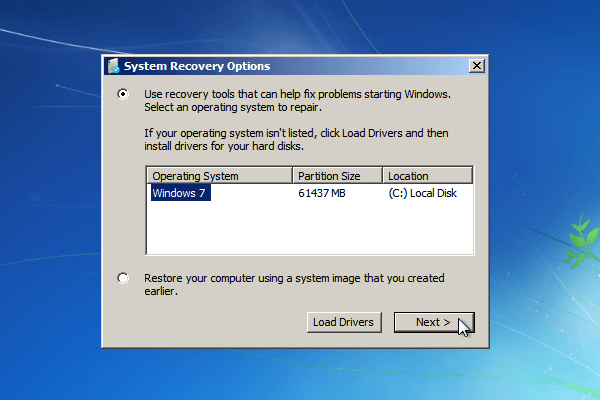
...and we will get five system recovery and diagnostic options, and several more options through the command prompt.
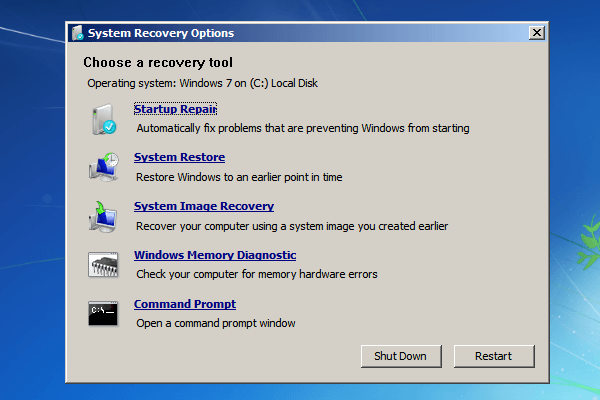
If this menu looks familiar, it is the same menu and the same tools we get when we select "Repair your Computer" on the Windows installation DVD.
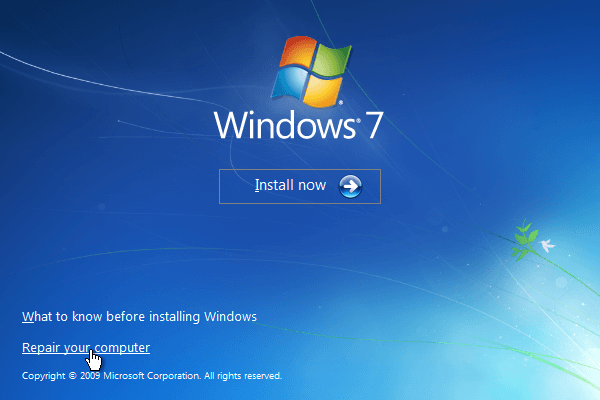
So, if we have already downloaded Windows 7 as an ISO and created a Windows installation DVD or USB, we don't need an extra System Repair Disc, we already have all of its tools.
Can we create a System Repair Disc on Windows 8.1?
Windows 8.1 might just seem like a free update to Windows 8, but it is a separate operating system. That is why the early versions of the Windows 8.1 ISOs wouldn't recognize the Windows 8 product keys during the installation.
One of the things that Microsoft removed during the transition from Windows 8 to Windows 8.1 was the "System Repair Disc" creation application.
Instead, on Windows 8.1 we will find a Recovery Drive option, which serves pretty much the same purpose using a USB or external hard drive.
How to create a Recovery Drive in Windows 8.1
The fastest way to create a recovery drive is to go to the Start Screen and search for "create recovery drive."

If Windows has a recovery partition - e.g. if we bought a laptop with pre-installed Windows - the Recovery drive creator will give us the option to copy it to the USB.
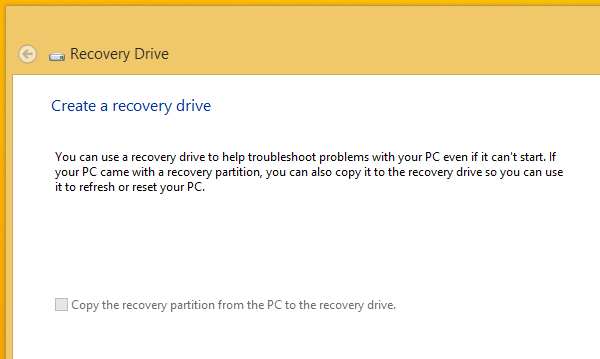
Without a recovery partition, we will need a USB thumb drive of at least 512MB. The process will delete any files on the USB.

With the drive connected, we select it, click Next...
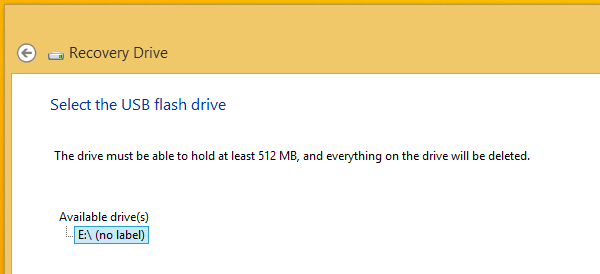
...and start the procedure with "Create."
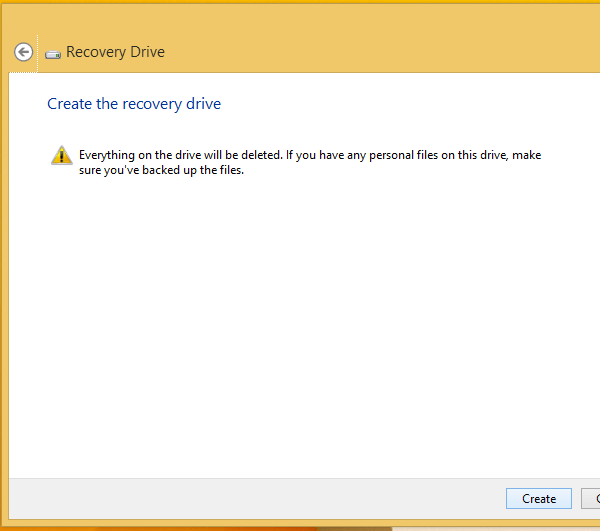
It should take less than a minute on a standard USB 2.0 thumb drive.

Can we create a System Repair Disc on Windows 10?
Like Windows 8.1, Windows 10 doesn't include a System Repair Disc Creator. We will also need to create a recovery drive.
How to create a recovery drive in Windows 10
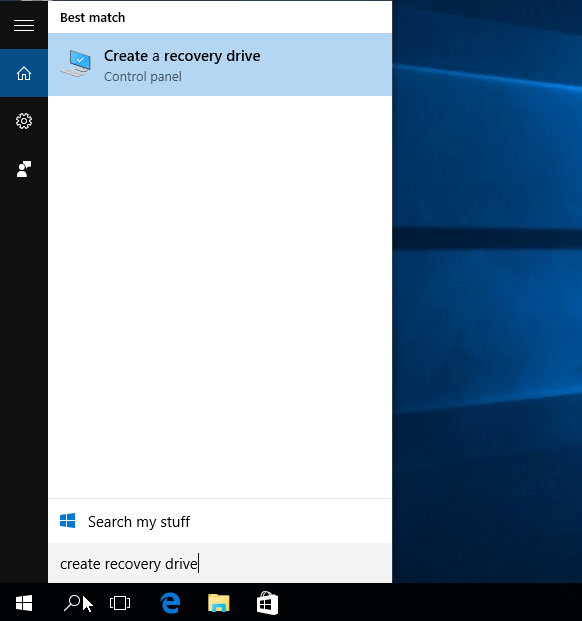
The fastest way to create a recovery drive is to search for "create recovery drive" from the Start menu.
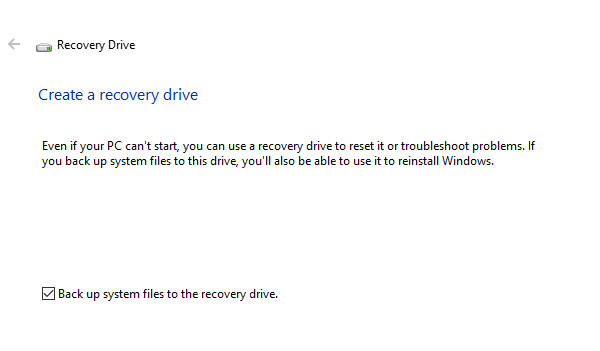
If we leave the "Back up system files to the recovery drive" option checked, we will need an 8GB USB thumb drive. Without this option, a 512MB drive will be enough.
The recovery drive creator will have us wait for a couple of minutes.

The app will show both any external disks, but will also show secondary internal drives, such as the D:\ (Data) in the example.
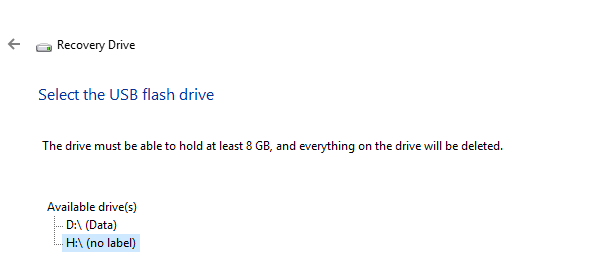
The system will warn us that any files on the selected drive will be deleted. So, make sure you have selected the proper drive and that it doesn't contain any valuable data.

If we chose the "Back up system files" option and use a slow USB 2.0 drive, the process will take a while.

Did the System Repair Disc help you fix your operating system?
There are many uses for a System Repair Disc, and it's a fast and easy way to troubleshoot why Windows won't boot.
If creating a System Repair Disc has helped you in the past, or after reading this guide, leave us a comment.
Support PCsteps
Do you want to support PCsteps, so we can post high quality articles throughout the week?
You can like our Facebook page, share this post with your friends, and select our affiliate links for your purchases on Amazon.com or Newegg.
If you prefer your purchases from China, we are affiliated with the largest international e-shops:
