Data loss can happen to anyone and at any time. The more critical the files we lose, the more painful the experience can be if we didn't have recent file backups. In the guide, we will examine Wondershare Recoverit, one of the market's best file recovery solutions. Let's see how Recoverit helps us recover lost data from any storage medium. We will also look into its advanced functions to recover and restore files and videos, even if the operating system has crashed.
Unblock any international website, browse anonymously, and download movies and Mp3 with complete safety with CyberGhost, just for $2.75 per month:
Wondershare Recoverit Review
Wondershare Recoverit Data Recovery can help us recover almost any file type we might lose or inadvertently permanently delete in Windows and macOS.

It supports more than 1000 types and forms of data that we might have accidentally lost or deleted on a storage medium. Also, recovery is possible in just three simple steps.
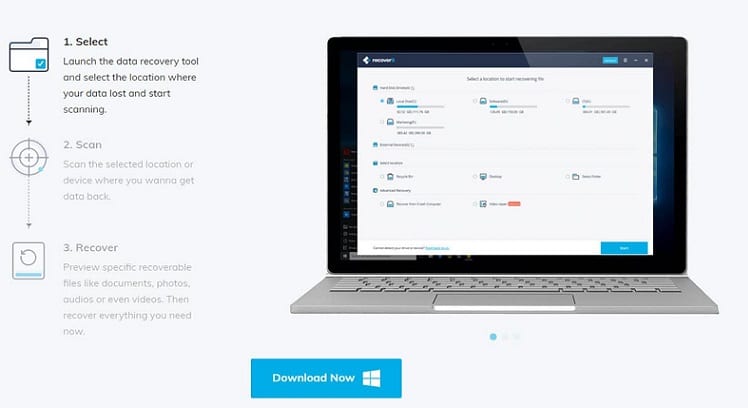
Additionally, the paid version of the application includes tools that can repair damaged videos in different scenarios. It can help recover data even when the PC is malfunctioning and crashes.
Recoverit provides complete and professional solutions to recover all lost data from computer disks, USB flash drives, SD cards, and other external storage.
It also lets us preview Office files, photos, videos, audio, and more.
Experts consider Wondershare Recoverit to be one of the best data recovery software on the market.
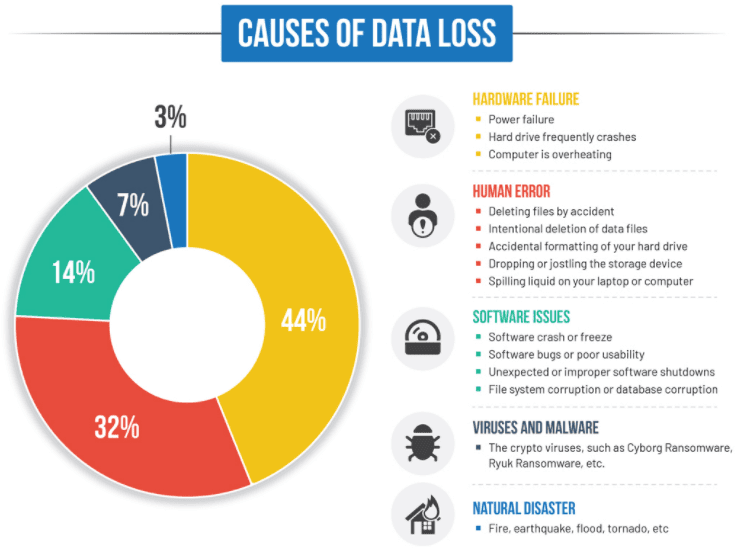
The company website has a special page that analyzes the reasons for data loss and the top 10 recovery programs in Windows and macOS.
Installation
To get started, we need to install the application on our computer. It is available for all versions of Windows and macOS. We will show the process in Windows 10.
We click here to go to the Recoverit page and then click the "Free Download" button.
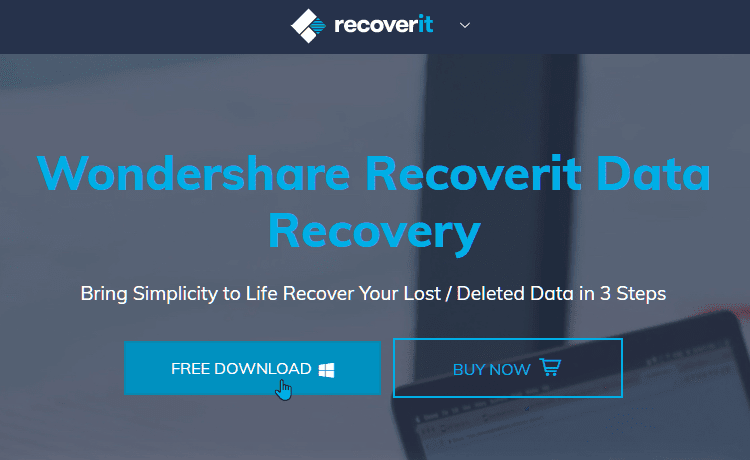
This will download the executable file "recoverit setup full exe," which we run to begin the installation.
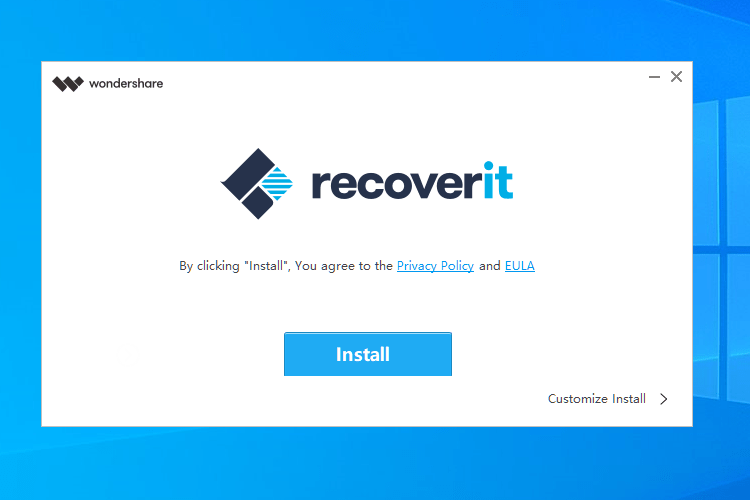
The Recoverit installation window will appear, which allows us for some configurations if we click on "Customize Install."

In particular, we can change the language and installation location. We leave the default installation location and proceed with the Install button.
The installation will take a few seconds. When finished, we can click "Start Now" to run the application. Its icon will already be on the desktop.

The simple steps for data recovery
Opening the free version, we will see a list of all our discs at the top. This allows us to recover the content of an entire disk, which would obviously take a while. It would also recover more data than we would need
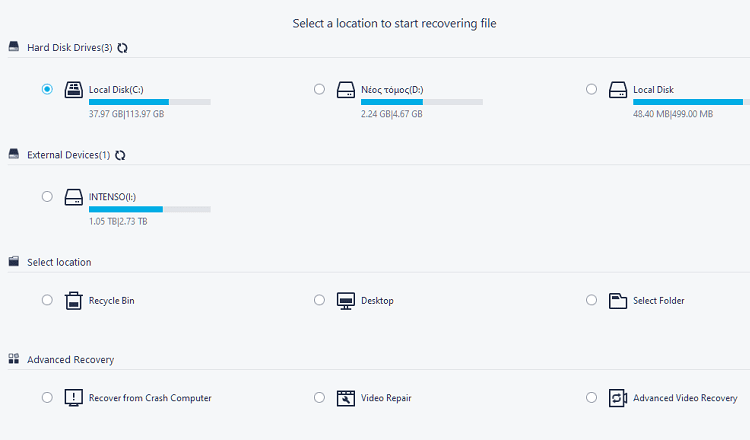
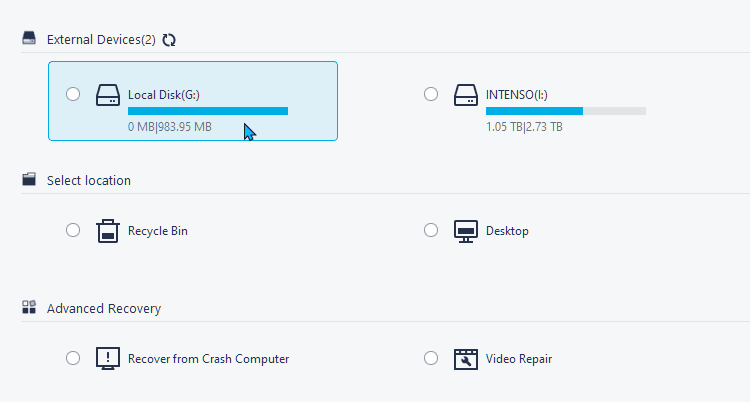
The external devices section include all external storage media, such as USB sticks, SD cards, and more.
The option that will suit us best is to choose a specific location for retrieval. The application includes the recycle bin and the desktop. In simple data loss cases, these are the most common locations from which we can delete a file by mistake.
Alternatively, we can click on "Select Folder" and choose any other folder we want.

In the Advanced Recovery category, we have the most specialized options.
For example, creating bootable media, recovering after a severe operating system error, recovering and repairing corrupted videos, etc.
These are advanced features that are only available in the paid version, and we will not analyze them at this time.

At this point to mention that in the free version, we have a 100MB limit on the total size of the files we will recover. This limit is more than enough for documents, photographs, and small files in general.
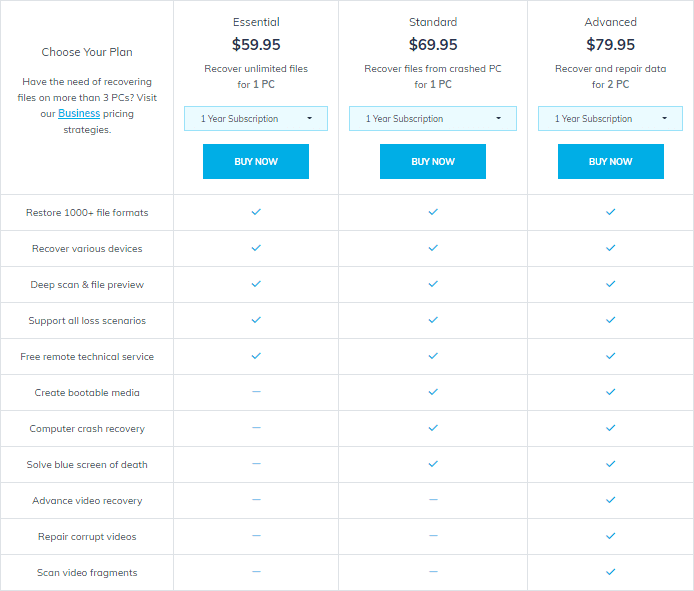
If we need unlimited data recovery and advanced program features, we must choose one of the paid versions. We will cover these versions by the end of the guide.
Step 1 - Select a location
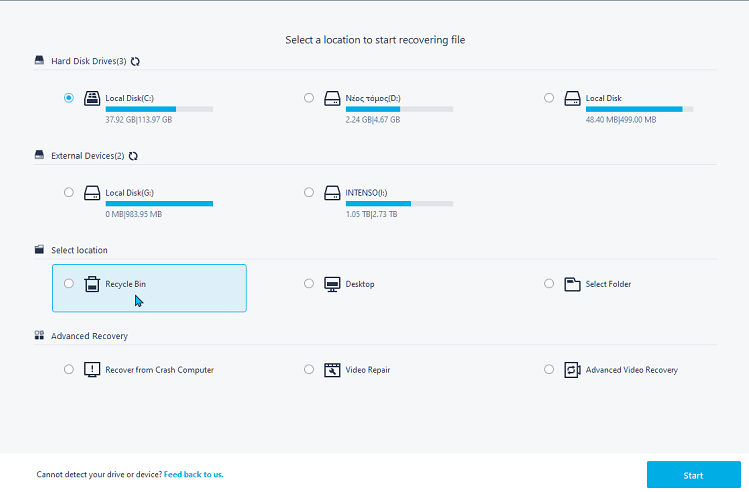
So, we will show you how to recover a permanently deleted file. We go to the recycle bin and double click it, or single click to select it and then proceed with "Start".
Step 2 - Scan the location
The program will ask us to wait a while for the scan and the necessary check to complete. At the top of the tab, we will see the percentage and the blue bar of the process.

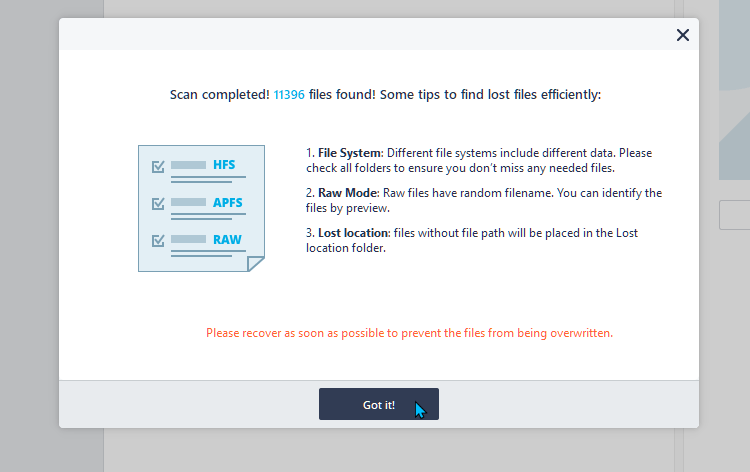
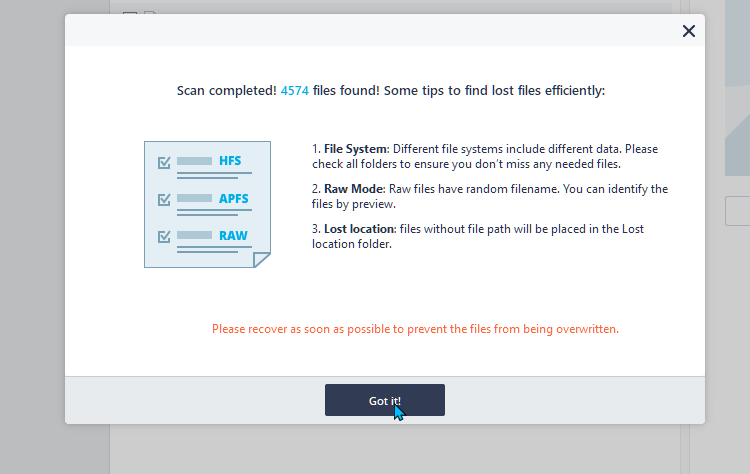
Once done, Recoverit will let us know how many files it has located. Click Got It.
Depending on the location we chose, on the left, we will see that it divided our files into three categories: NTFS, FAT, and RAW. But it is better to select the File Type. If, for example, our file was an image, we click on Photo, and so on.
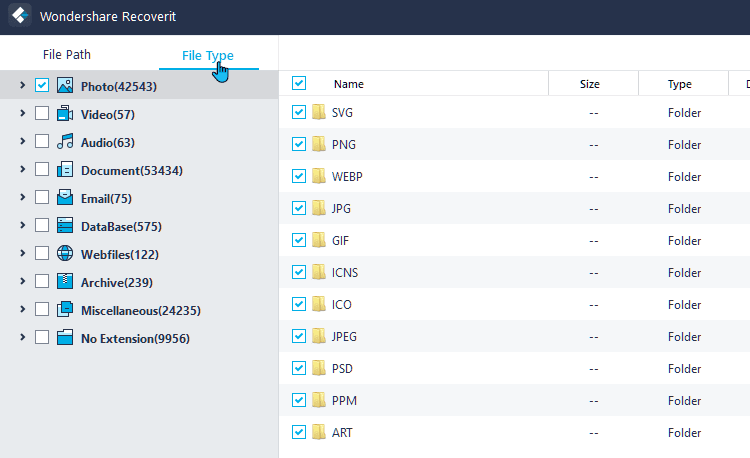
By checking the boxes we see in the image above, we can retrieve all the files of each subcategory. Usually, we will not want something like this, and we will enter the desired subfolder.
Let's say we are looking for a png. For each file, there is a preview on the right if its name does not help us. In fact, by pressing the preview button, we can see it on a larger scale.

Step 3 - Data recovery
Once we decide that this is our deleted file, we click Recover. The program informs us about the 100MB limit and shows us how many megabytes is the file we will recover.
Then select the location where the recovery will take place. It is advisable to choose a different drive from the one we are attempting the recovery from. And press Recover again.

From there, the folder will open; its name includes the current date and time. And, inside, we will find the file we successfully recovered.
Test on USB drive / SD card
Let's say we have an SD card or a USB stick, which contains some photos, and we accidentally formatted the storage media and lost them.
In this example, we use a USB drive (G), which before the format contained 32 photos with a total size of 29MB.
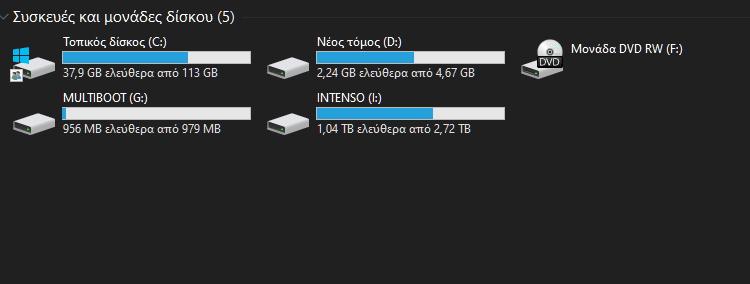
All we have to do is open Recoverit and locate our USB or SD card in External Devices. In this case, the USB flash drive, as we see, is now empty.
Double-click or click Start and wait for the scan to complete. In our example, it took us about four minutes to locate 4574 lost files. That means he found many more files besides the ones we wanted.
Ours were png and jpg, so we selected the corresponding categories, as we saw earlier in step 2. From now on, we found that all the photos we lost were immediately available for recovery.
So these are the features of Wondershare Recoverit in the free version. Simple, fast, and efficient.
The paid Recoverit versions
What do you think of Wondershare Recoverit?
If you have any questions or want to share your experience with Recoverit data recovery, let us know in the comments below.
Support PCsteps
Do you want to support PCsteps, so we can post high quality articles throughout the week?
You can like our Facebook page, share this post with your friends, and select our affiliate links for your purchases on Amazon.com or Newegg.
If you prefer your purchases from China, we are affiliated with the largest international e-shops:



Leave a Reply