

Creating a desktop recording is great for a range of applications, from getting help for a problem to making YouTube tutorial videos. The updated ScreenCastify extension is a free-ish cross-platform solution for desktop recording, that will work on Windows, Linux, Mac OS, and any desktop OS that supports Google Chrome.
Unblock any international website, browse anonymously, and download movies and Mp3 with complete safety with CyberGhost, just for $2.75 per month:

Why ScreenCastify
There are plenty of free and paid applications for desktop recording on Windows, some of them including full-scale editors for our videos. Other platforms, though, such as Linux, have fewer options available.
ScreenCastify will allow us to create a desktop recording on any desktop operating system that can run Google Chrome. It's also exceptionally easy to use, and we can create a video in just a few seconds.
This makes it an ideal solution for those of us who don't use Windows as our primary operating system, or who use more than one OS and want a common interface for desktop recording.
How to install ScreenCastify
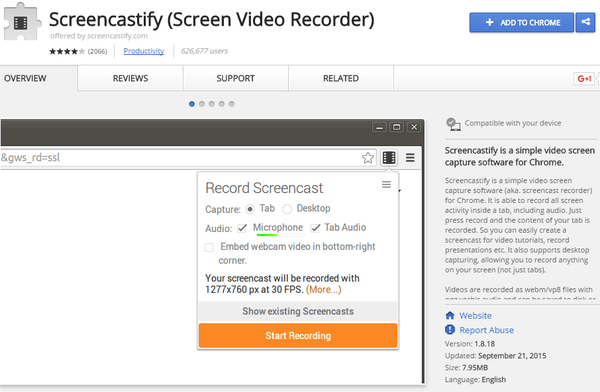
We will find ScreenCastify at the Chrome store.
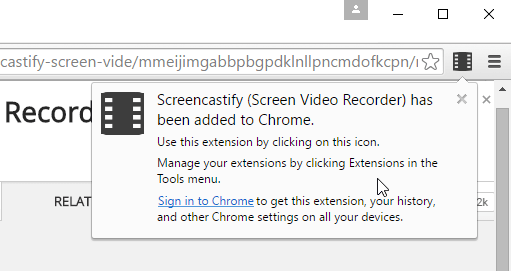
After we install it, it will add its icon on Chrome.
Before we use ScreenCastify for our first desktop recording, we need to select whether we want to store our recordings on Google drive or locally on our PC.
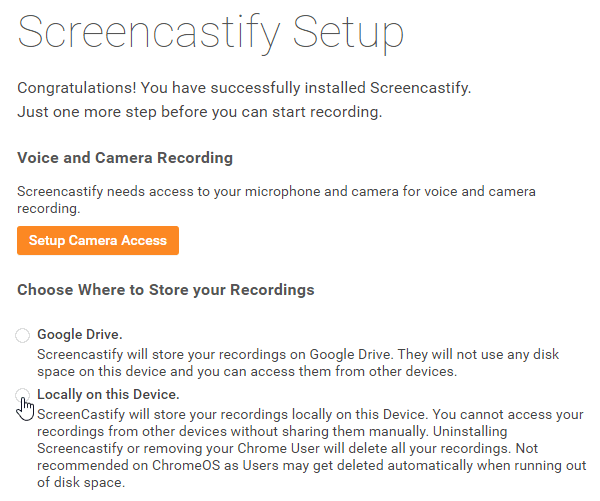
Unless we have an internet connection with ample upload, saving the video locally is the best option.
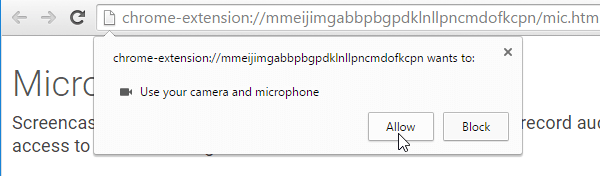
If we wish to record our voice from a microphone or picture from our Webcam, we can click on Setup Camera Access, and give permission to Chrome to use our hardware.
How to create a desktop recording with ScreenCastify
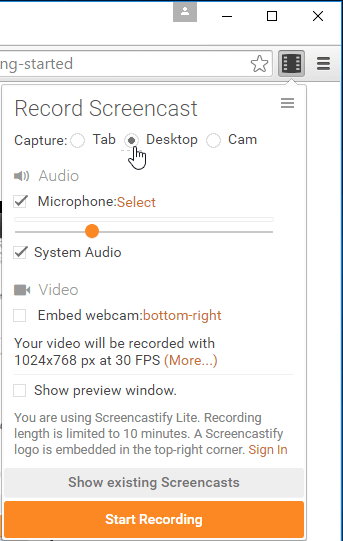
Creating a desktop recording is as simple as clicking on the extension's icon and selecting the proper capture mode, between Tab, Desktop, and Camera. We can also choose if we want to record audio from the system and a microphone.
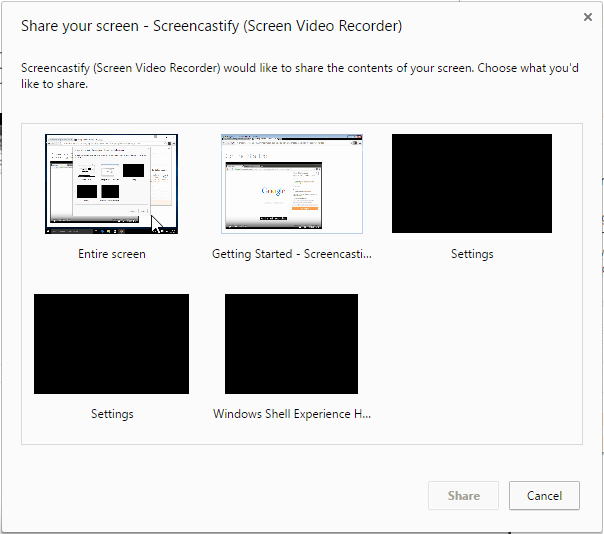
After we click on "Start Recording", ScreenCastify will ask us whether we wish to record the entire screen or specific windows. After we make our selection, we click on Share to begin the recording.
While we are recording, ScreenCastify will show a horizontal bar that will not be visible in the video. We can click on "Stop sharing" to conclude the recording.

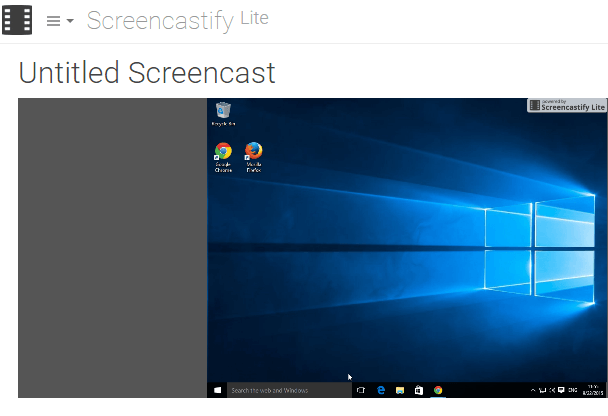
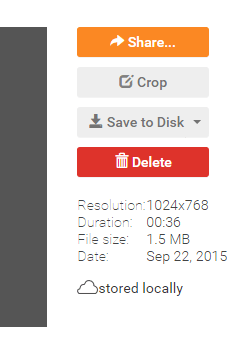
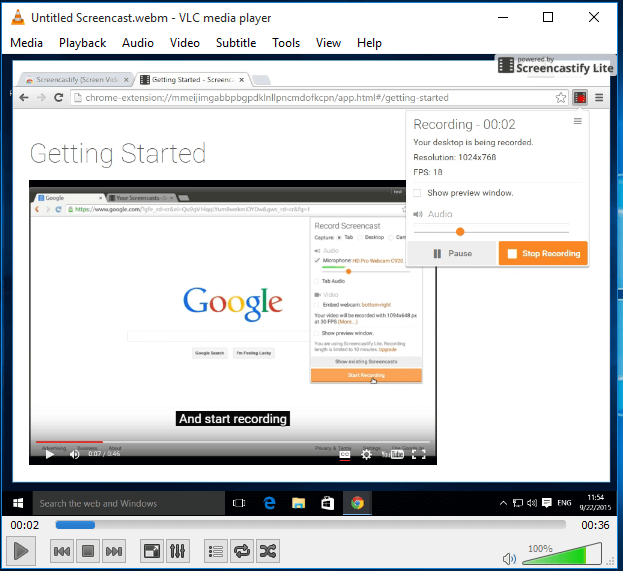
The extension will then replay the desktop recording. The free version of ScreenCastify has a watermark on the upper right corner and allows a maximum length of 10 minutes, which should be enough for most simple recordings.
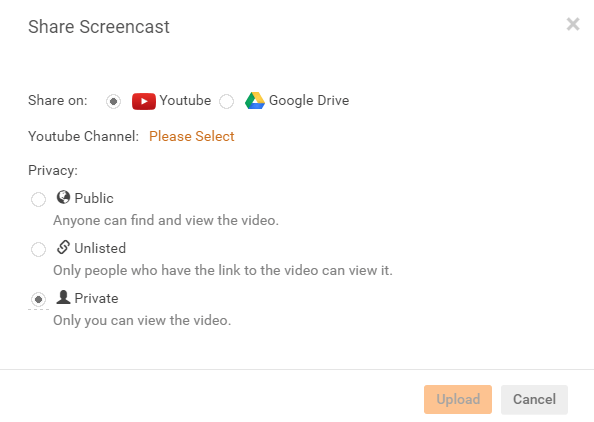
If we are satisfied with the video, we can click on the Share button.
This will give us the option to upload it on YouTube. It's best to upload the video with the private mode selected, so we can edit the rest of the YouTube settings, including the title, description, and tags before we make it public.
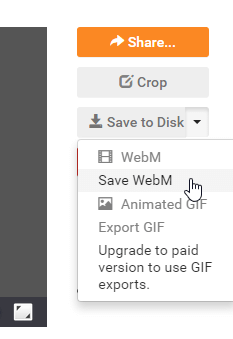
We can also save the video to disk. Currently, only the WebM format is available. The option to export the video as an animated GIF is only available for paid members.
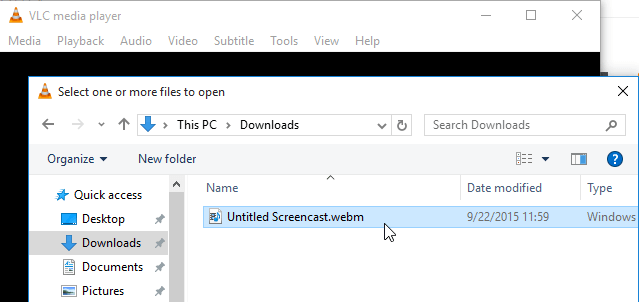
Saving the video will make it appear on Chrome's default download folder, not in Videos.
Use the shortcuts for better videos
Since we are starting each desktop recording from Google Chrome, every video will begin showing one Chrome instance, which is probably not what we want.
It's easy to fix that, by using the keyboard shortcuts to begin and end the recording. To view them or change them we just need to type chrome://extensions/configureCommands on the Chrome URL bar.
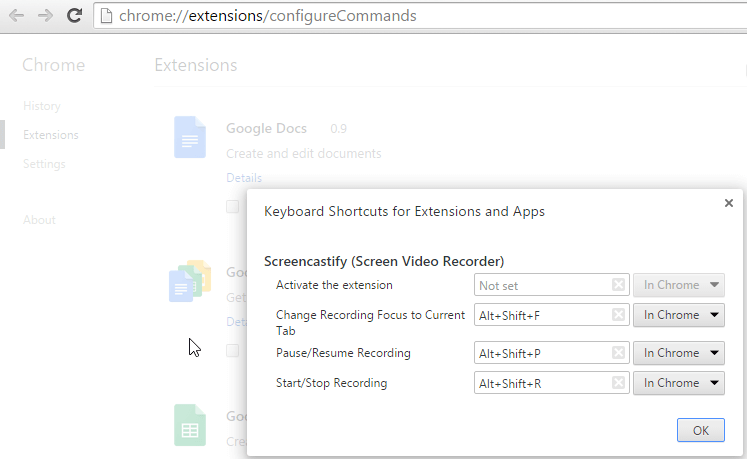
The default shortcut to start or stop a recording is Alt+Shift+R, but we can change it to whatever we want.
The ScreenCastify premium advantages
The paid version of ScreenCastify costs 20$, which is a one-time fee. One license covers any device in which we log in with our Google account, so we won't need to buy it a second time e.g. for our laptop.
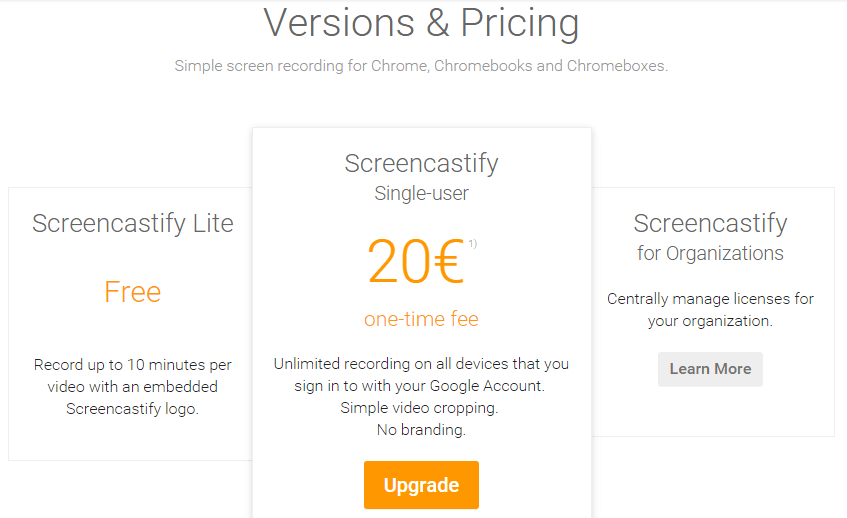
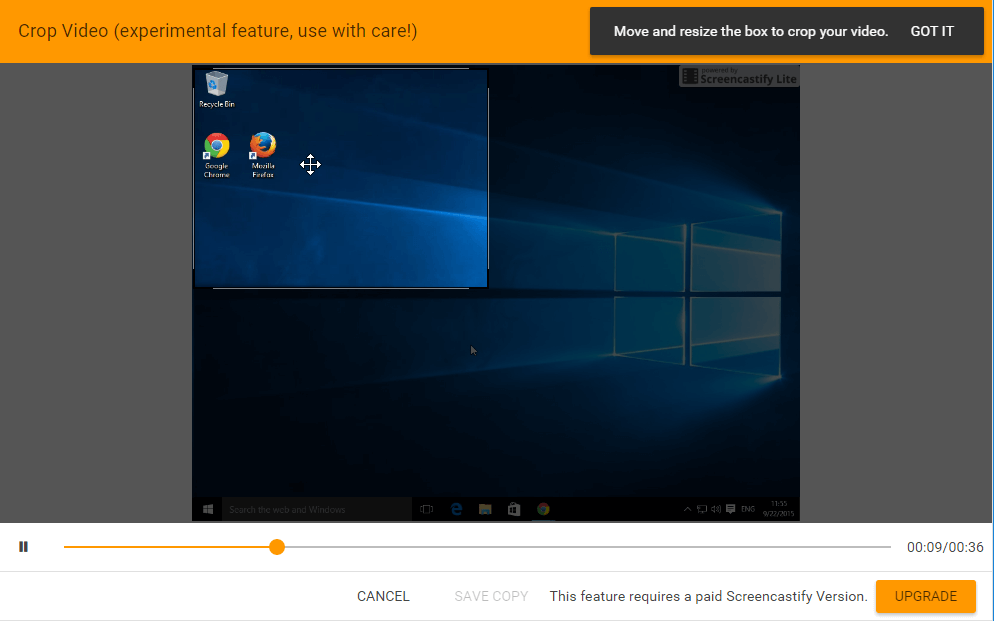
Apart from removing the watermark and the 10-minute limit, being a paid member allows us to crop a video after the recording, to focus on a particular part of the screen.
Where ScreenCastify falls short
Except for the cropping feature, ScreenCastify doesn't support any other kind of video editing. Even a simple option to cut a few seconds from the beginning or the end of the video would have been enough.
We will need to use a third-party app for editing. Free Video Editor is an excellent choice for simple cuts, but if we want any effects, we have to use a fully fledged video editing suite.
Also, the only one export option to a WebM file is restrictive. It would have been nice to be able to choose MP4 or even AVI.
Finally, ScreenCastify doesn't support any live streaming, on YouTube or Twitch.
Did you like ScreenCastify for your desktop recording needs?
ScreenCastify is a simple desktop recording solution for anyone who doesn't want to invest in a full application. The fact that it doesn't allow any degree of video editing makes it lose some points. Other than that, though, it is a quick an easy way to create a video from our screen, with or without commentary.
Did you like ScreenCastify? Do you prefer another application for desktop recording? Leave us a comment.
Support PCsteps
Do you want to support PCsteps, so we can post high quality articles throughout the week?
You can like our Facebook page, share this post with your friends, and select our affiliate links for your purchases on Amazon.com or Newegg.
If you prefer your purchases from China, we are affiliated with the largest international e-shops:

Hi, Kyritsis. Thank you for all your hard work making these tutorials. I always create screencast with a web-based software calls Acethinker Screen Recorder, It is a free online tool that lets you record your screen right from the browser. Share it here as an alternative to ScreenCastify.