

Have you ever had a boring and repetitive task to do on the computer? You could create a macro and fully automate that task. There are many apps for Windows automation, paid and free. Pulover's Macro Creator is one of the best free Windows Automation apps, with the most features.
Unblock any international website, browse anonymously, and download movies and Mp3 with complete safety with CyberGhost, just for $2.75 per month:

Download and Install Pulover's Macro Creator
We will find the latest version of Pulover's Macro Creator on Softpedia because currently the Macro Creator website is under maintenance.
The installer is completely safe; it won't install toolbars, browser hijackers, or other unwanted apps. We can even select to create a portable installation through the installer.
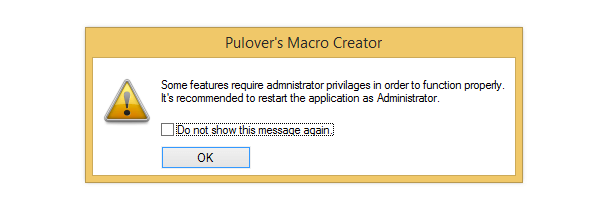
The first time we start Pulover's Macro Creator, we will get a message to run it with administrative privileges.
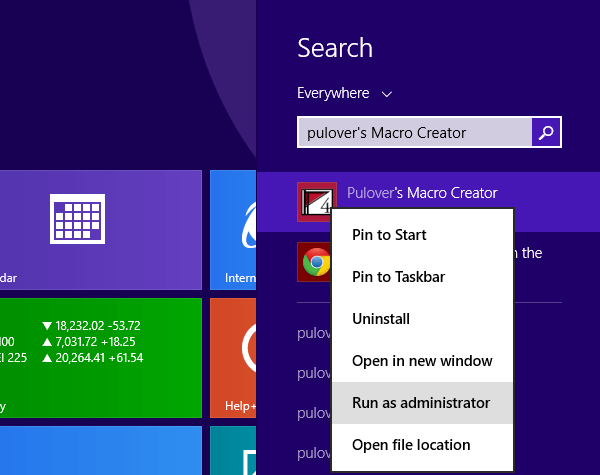
The way to do this is by right-clicking on the program's icon and selecting "Run as administrator".
Remember that time when most programs had startup tips? Only 90s users will remember.
Pulover's Macro Creator takes us to a trip down memory lane, with 27 tips for the best use of the program, along with a search option for specific commands and functions.
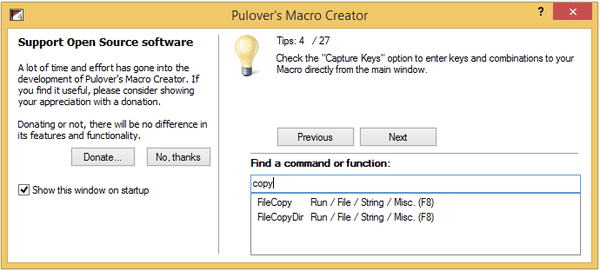
Those tips contain some solid advice for the use of Macro Creator. Even if we uncheck the "Show this window on startup" checkbox, we can access the tips through Help -> Tips.

Windows Automation: How to create a Macro
Record a Macro
The easiest and most basic way to create a macro with Pulover's Macro Creator is to record our keyboard and mouse movements, doing the repetitive task.
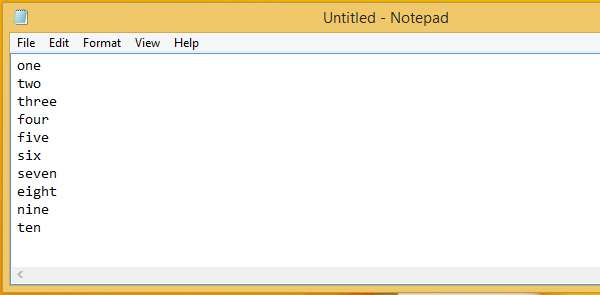
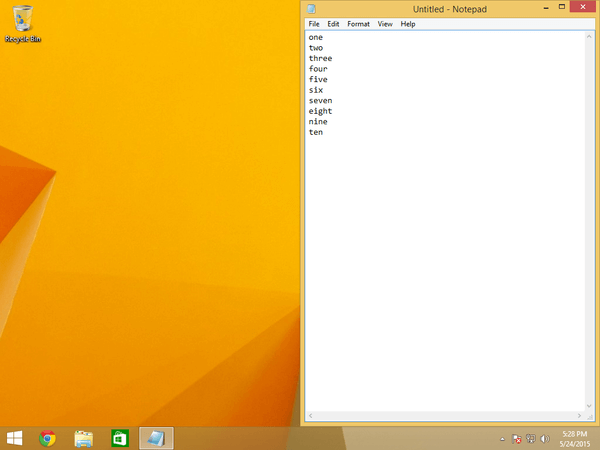
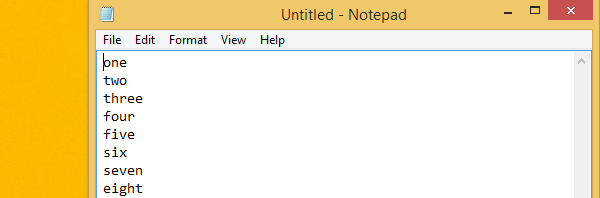
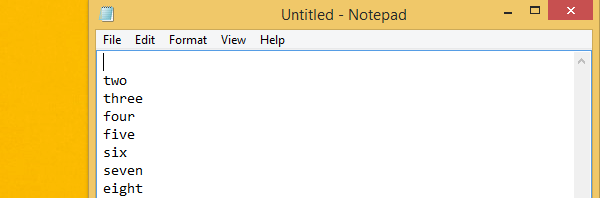
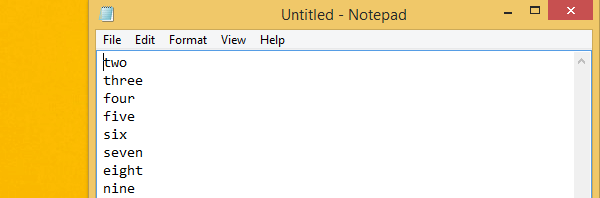
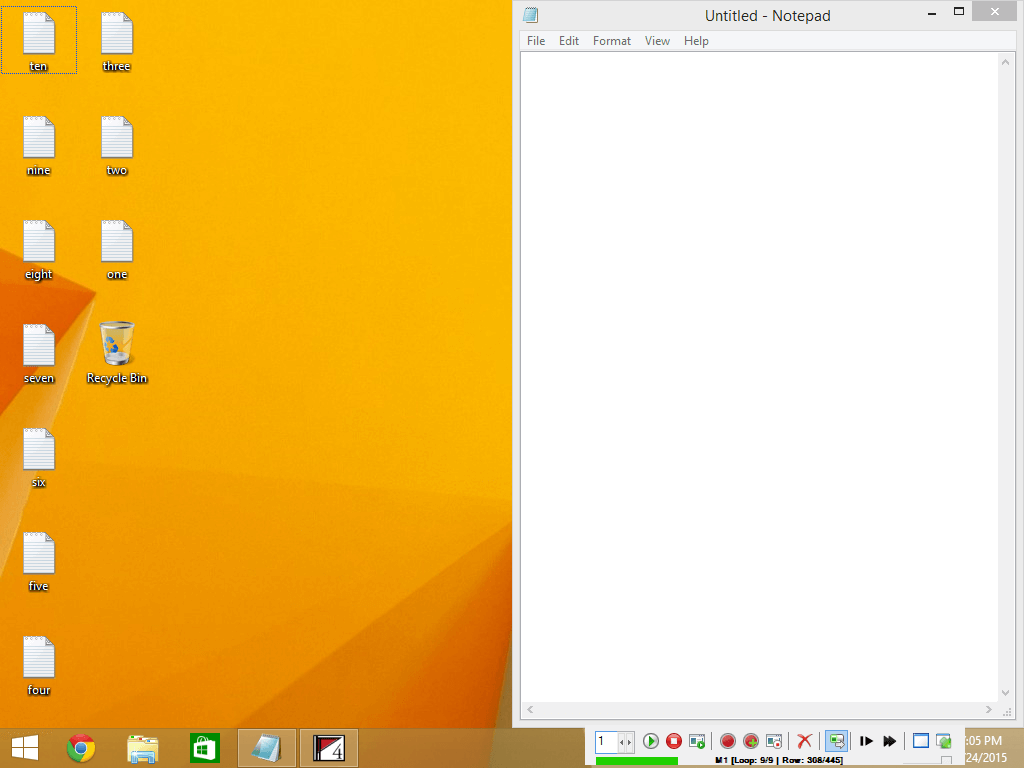
Let's say, for example, that we have a notepad file with ten words and want to create ten text files using names from the list.
This is a crude, and admittedly useless example, but it can showcase what the Macro Creator can do.
Plan the macro
Even a simple macro, such as this, needs some planning and some trial and error before it is perfected.
The first thing we must do is make sure we record a minimum action that can be repeated. The goal, for this example, is to record the creation of one text file with the Macro Creator and then repeat the macro for the rest of the lines to create the rest of the files.
This way we could scale it for twenty, fifty, a hundred, or theoretically infinite repetitions.
We must also make sure that every window on-screen is at the same place every time. You see, when we record a macro, the Macro Creator will remember the exact coordinates.
So, for the macro to work best, we need to make sure all the windows are at the same place. If we don't do that, and we move a window, on a next repetition the Macro Creator will still use the old coordinates.
For this example, we will drag notepad to occupy the right half of the screen.
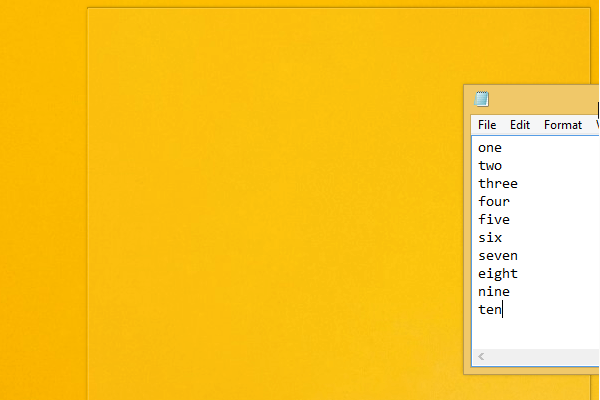
This way, for this particular resolution, notepad will always be at the same place.
We must also plan for the repetitions. The end of our action must have prepared for the next repetition to run.
For example, instead of copying the word from notepad, we can cut it and press delete, so that the second word becomes the first.
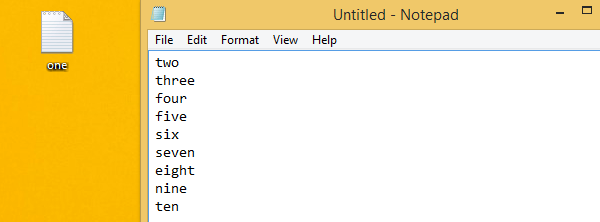
This way, the Macro Creator will always copy the first line, and it will always get a different word.
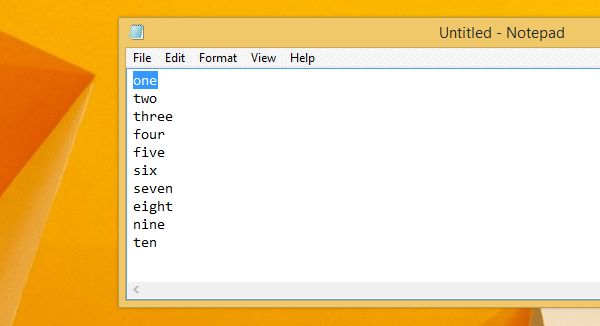
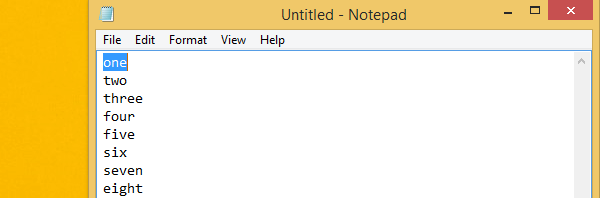
It is also best if we use keyboard shortcuts. It's way more accurate to click at the beginning of the first line, and press Shift+End to select the whole line because this will work the same on shorter and longer words.
For the same reason, we should cut with ctrl+X, instead of right-clicking and selecting "Cut".
So, a rough algorithm for this task would be:
1. Click in front of the first word
2. Shift+End to select the whole word
3. Ctrl+X to cut the word
4. Delete to make the second word first
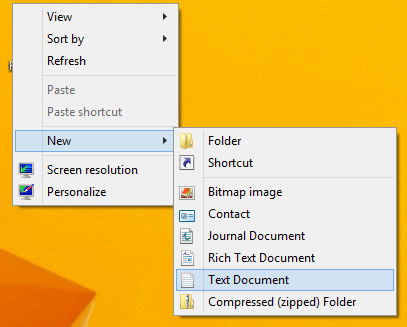
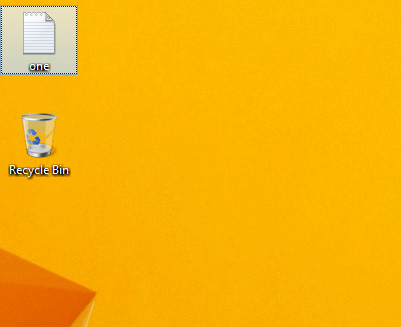
5. Right-click on the desktop on the upper left part, just above the recycle bin. Select New -> Text Document.
6. Paste the copied text with Ctrl+V
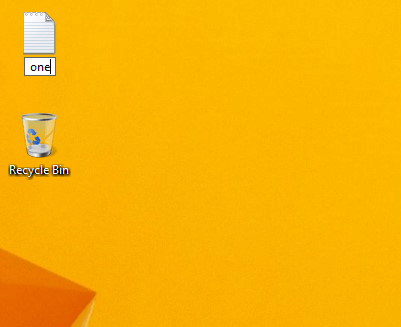
7. Press Enter to save the new filename
Now, we are ready to record the macro.
Record the macro
We just click on the record button.
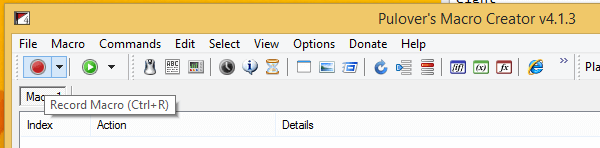
This will hide the main Macro Creator window, and show a control toolbar instead.
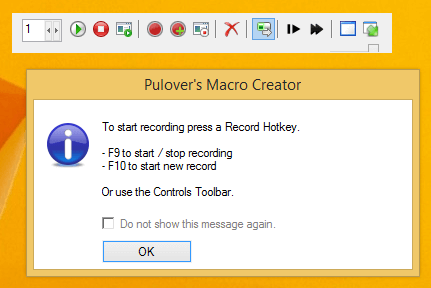
When we are ready, we press F9 to begin recording, and start the task, as we planned it.
For this manual recording method, it's preferable to do all moves nice and slow. If we do it too fast, and a menu doesn't load in time at the playback, the chain of actions would fail.
Once we are done, we press F9 again, to stop the recording...

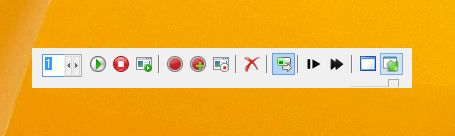
...and press the button on the far right of the toolbar, to re-open the main Macro Creator window.
The main window will show all the steps it recorded, in detail. Every mouse movement, mouse click, and key press is recorded, with the exact timings.
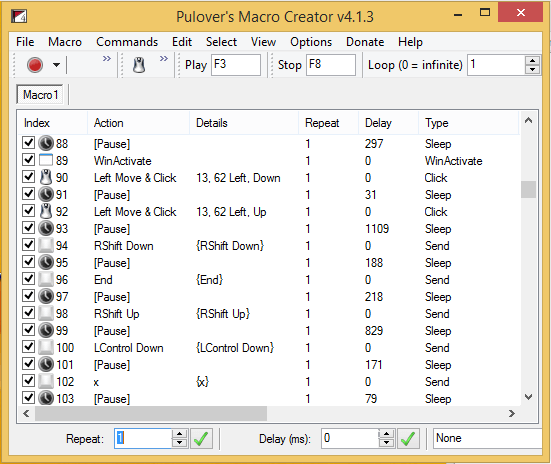
Play the macro
So, with our macro ready, we just need to play it, to automatically do all the steps, in the same order and with the same timings like the recording.
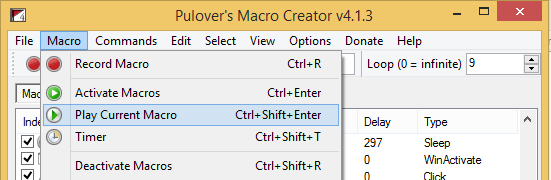
Since there is a finite list we want to convert, we choose the macro to loop for nine times...

...and then select Macro -> Play Current Macro.
If everything went smoothly, soon the task will have been completed, automatically.
Of course, there can be minor snags in the way. For example, while the first time we recorded the macro, the right-click context menu looked like this...

...the second time, because we renamed a file, there is an extra "Undo Rename" option in the right-click menu.
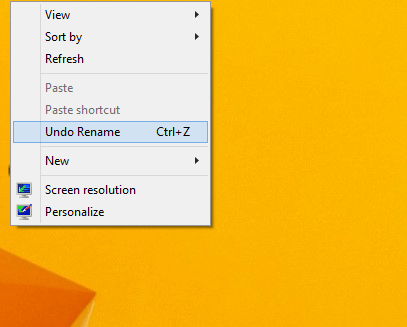
This will make the macro fail since the old coordinates for clicking on New are no longer valid.
The solution is to re-record the macro, with the correct right-click menu.
Create a more advanced macro
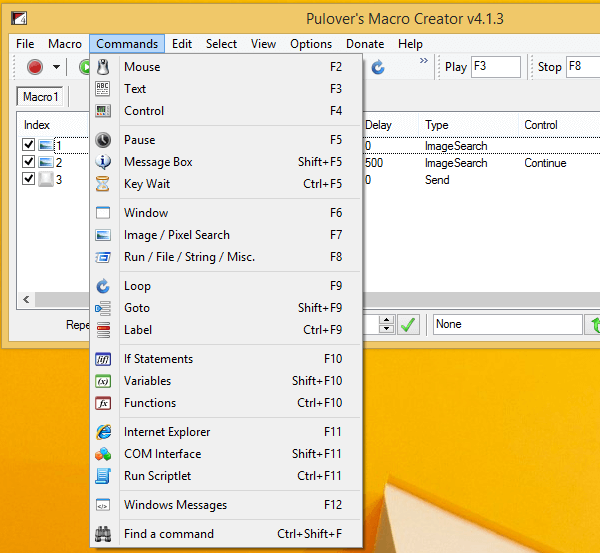
There is a smarter way to create a macro, that will result in much better and faster macros, but it's a bit more complicated. This time, we won't use the "Record a macro" feature. We will insert specific commands to the Macro Creator.
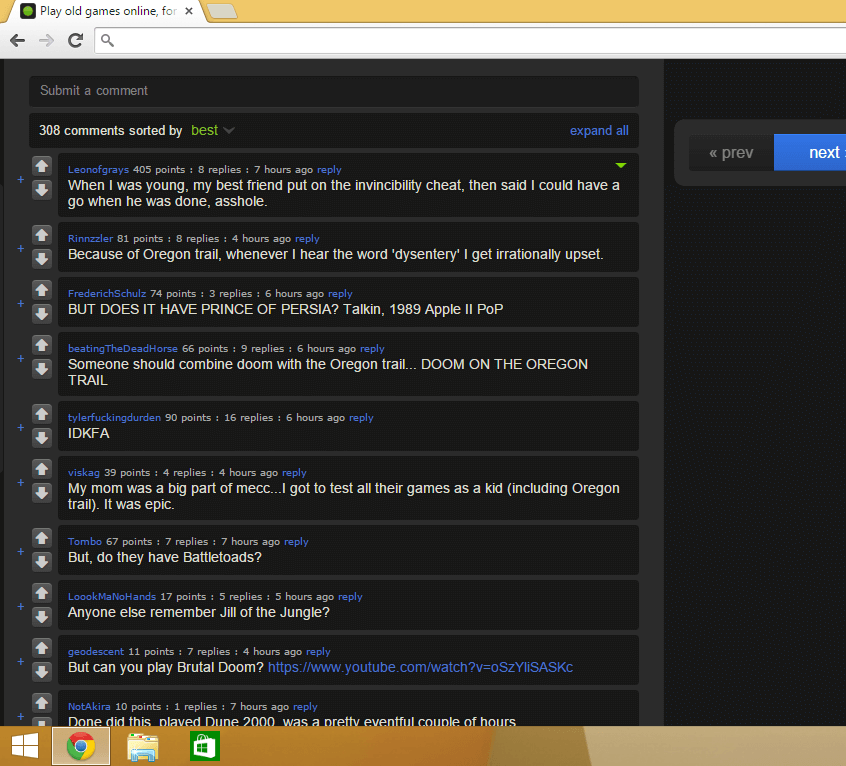
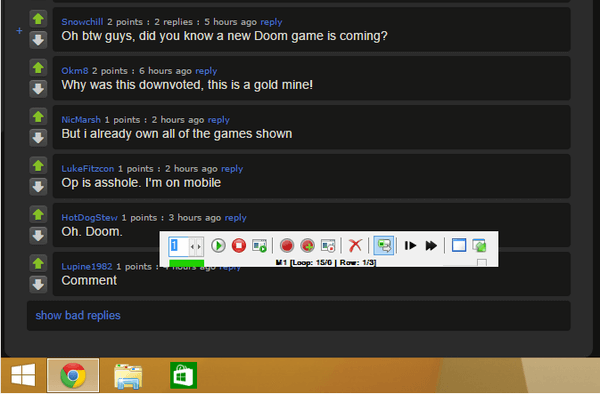
Let's say, for example, that we are members of the popular website Imgur.com, which has a very active community. We can use Pulover's Macro Creator to create a macro that automatically upvotes all comments.
First, we pick a random page that has some comments.
Then, using the Windows Snipping tool...

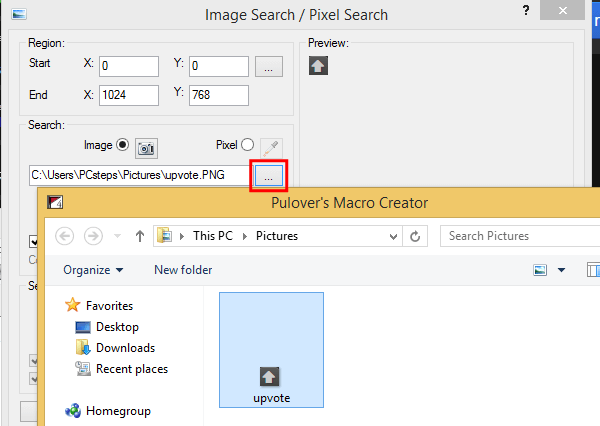
...we take a screenshot of a single upvote arrow.
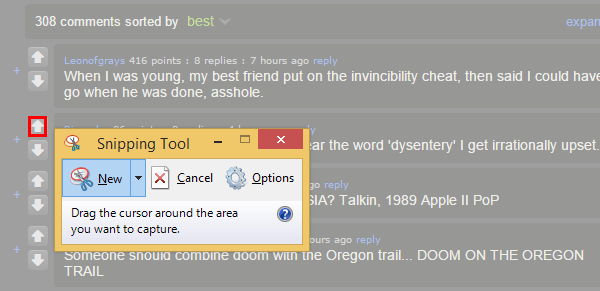
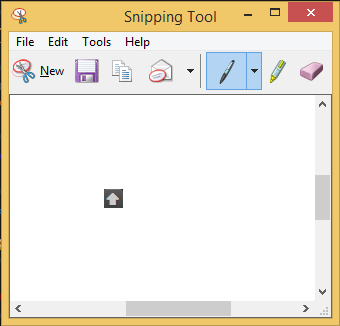
That's how it should be. We save it as "upvote.png".
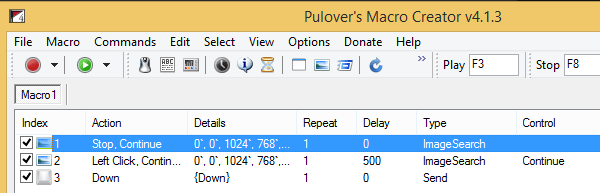
Then, we open Pulover's Macro Creator. We will use a feature that allows the program to look for specific images on the screen.
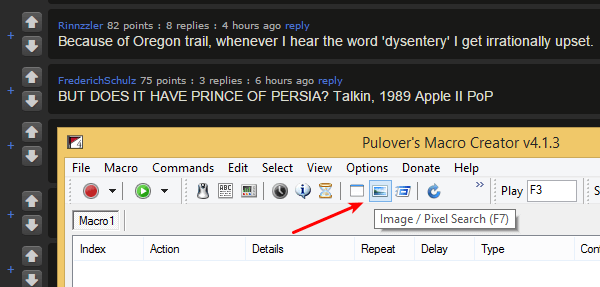
Through the options window, we select upvote.png.
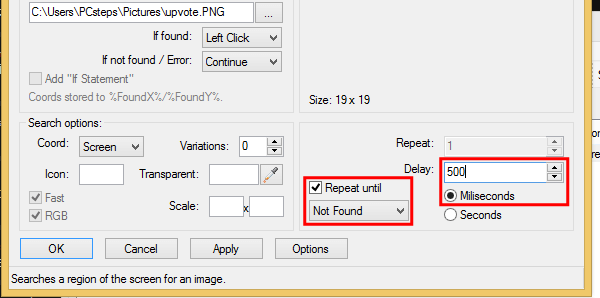
We set the options, so if the image is found on-screen, the program will left-click on the picture. If it isn't found, it will continue.
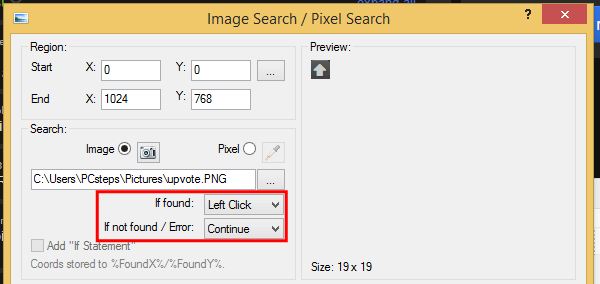
Then, on the lower right, we select "Repeat until Not found" and a delay of 500 milliseconds between the clicks.
This macro seems much simpler than the recorded one, but it is much more powerful. We click on "Play"...
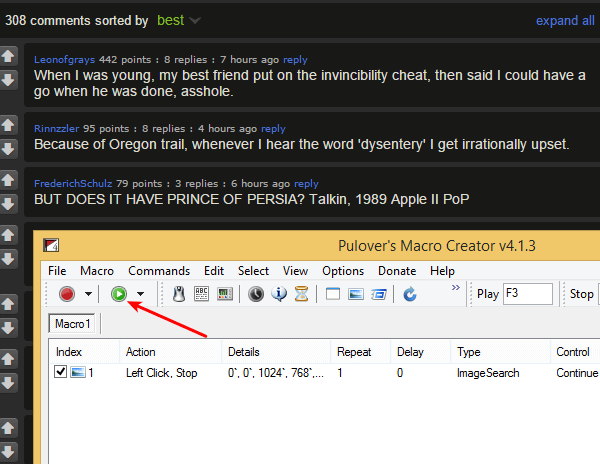
...then we click the play button again on the toolbar, and in a couple of seconds all the currently visible comments on-screen have been upvoted.
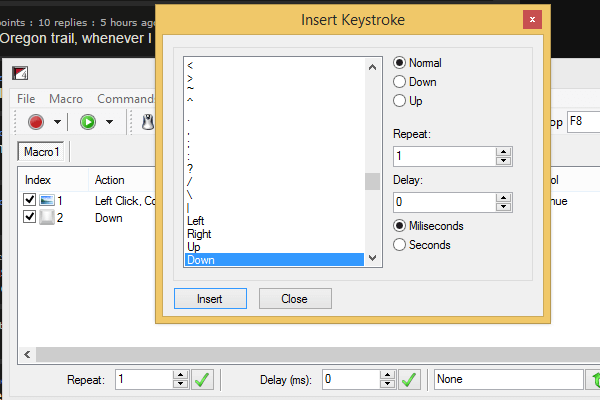
We can add more commands to the macro, to make it even better. We can right-click inside the macro window, and after the initial search, add a keystroke.
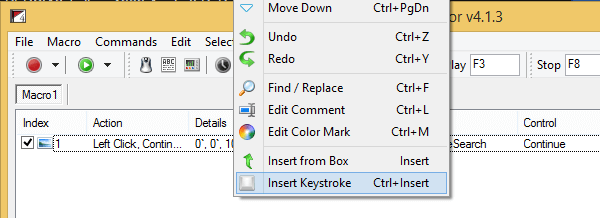
The keystroke can be an arrow down key so the Imgur page will scroll down, and the macro can upvote more comments.
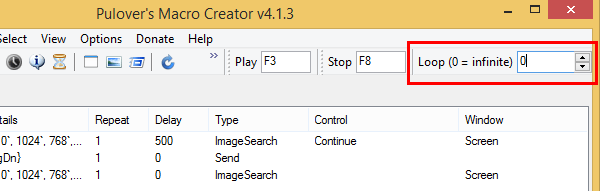
We can also add an image search to look if the page is at its end, so the macro will stop, looking for the small curved corner at the end of the comments. This will give the "Stop" command if found, that will end the macro.
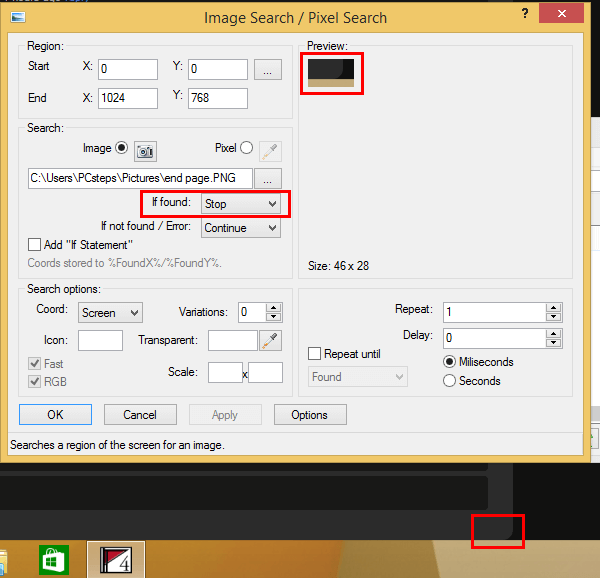
We put this command first. If this check is done after scrolling sown, then the last comment might not have been upvoted, the macro would have stopped before checking for it.
Finally, we set the whole macro to an infinite loop, since we have a command with "Stop" that will break the loop when necessary.
That's it. We can tune-up the timings a bit if we want the macro to run faster, give less than 500ms time for the upvote, but other than that, it's perfect.
This is only a tiny example of what we can do with Pulover's Macro Creator. There are many more options that we can add, including labels, GoTo commands, "If" statements, complete functions, etc.
If we understand algorithms and basic programming structures, we can create macros that seem like magic, doing extremely complicated tasks on full autopilot.
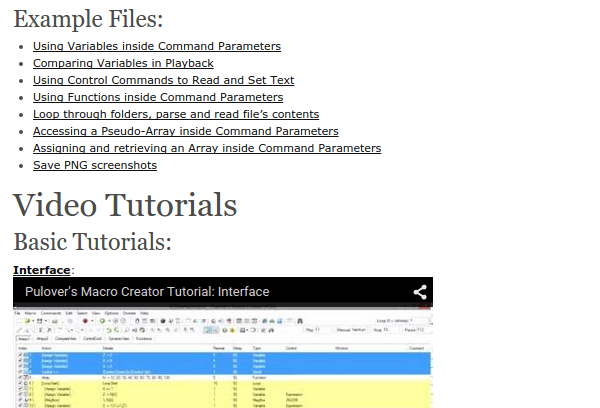
For more information, you can go through the official tutorials.
Is it possible to create an .exe file from a Macro?
If we want to share a macro we created with a friend, Pulover's Macro Creator allows us to create an .exe file with the full macro functionality.
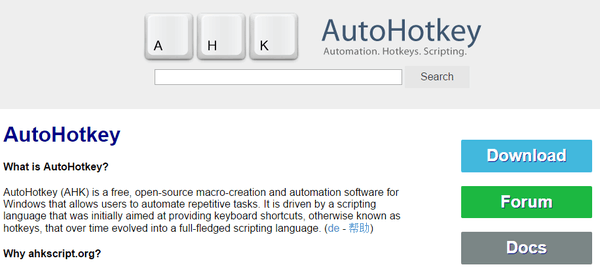
First, we need to install AutoHotKey, which is another popular macro creator, but it's harder to use than Pulover's Macro Creator.
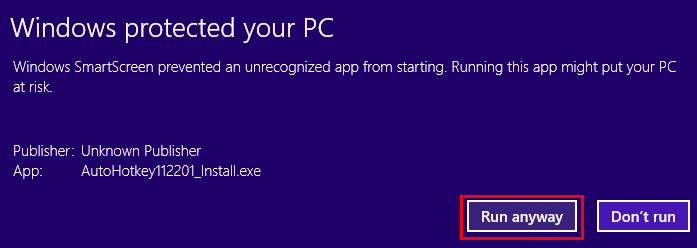
Windows SmartScreen in Windows 8.1 will object, but it is safe to install it. We click on "More Info" and "Run Anyway".
With AutoHotKey installed, we go to Pulover's Macro Creator, select File -> Export to .AHK
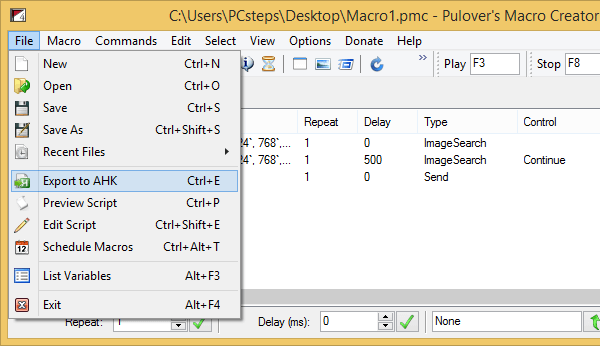
There, we make sure we check the "Create EXE file" option.
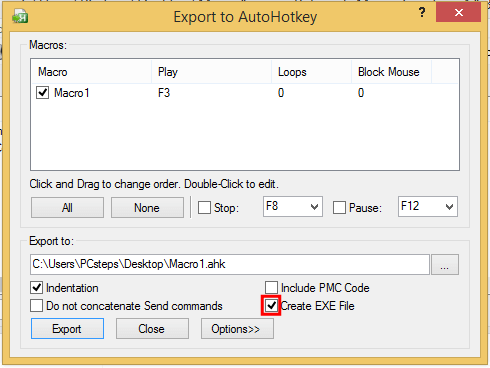
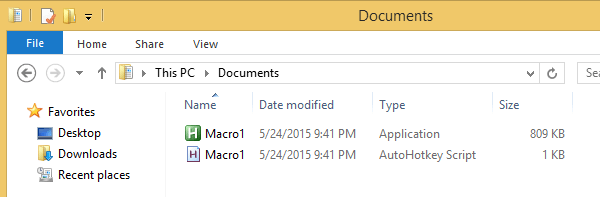
This will give us an AutoHotKey script, and an .exe file.
We just need to run the .exe file, press F3 to start the macro, and F8 to stop it.
However, not all macros can be correctly translated to AutoHotKey and as an .exe file.
The first macro we created for this guide worked without a hitch. But, the Imgur Macro wouldn't work in .exe form, probably because of the image searching options.
Is it illegal to use a macro on a website?
Using macros might violate the Terms of Service of some websites. For example, if we click too many likes too fast on Facebook, we could get a temporary or even a permanent ban on our account.
No website can detect Pulover's Macro Creator, but many sites can recognize signs that a machine is doing the repetitive action, and not a human being.
After all, there isn't a human that can click 200 likes at precisely 500ms intervals, without a single failure.
So, you should take care where you are using the Macro Creator, or risk losing your account in specific websites.
Pulover - No, it's a cardigan, but thanks for noticing
Have you created a macro with Pulover's Macro Creator? Are you having trouble doing something specific with a macro? Leave us a comment.
Support PCsteps
Do you want to support PCsteps, so we can post high quality articles throughout the week?
You can like our Facebook page, share this post with your friends, and select our affiliate links for your purchases on Amazon.com or Newegg.
If you prefer your purchases from China, we are affiliated with the largest international e-shops:

Leave a Reply