


You have probably seen those awesome time-lapse videos, from a watermelon, decomposing over 35 days to the forming of a Supercell. Now, we can create time-lapse videos with any cheap webcam and the free SkyStudioPro app. Let's make time go waaaay faster.
Unblock any international website, browse anonymously, and download movies and Mp3 with complete safety with CyberGhost, just for $2.75 per month:

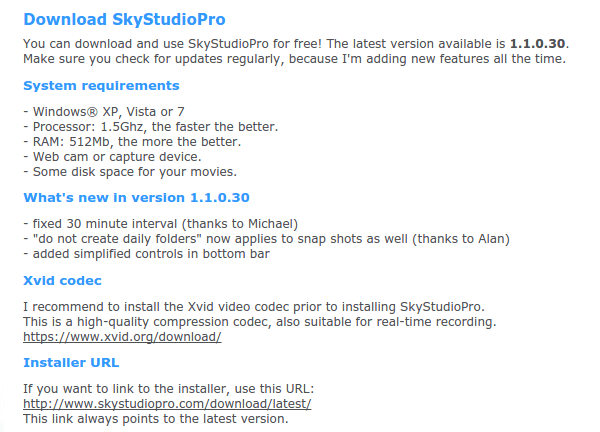
Download and Install SkyStudioPro
Despite having the word "pro" in its name, SkyStudioPro is a completely freeware application, specialized in time-lapse videos and snapshots.
We can download the latest version from here:
http://www.skystudiopro.com/download
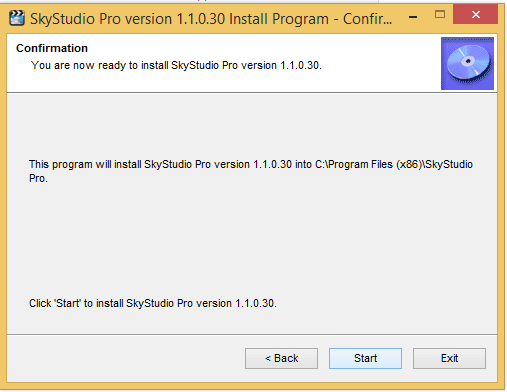
The installer will come in a .zip file. First we extract all the files and then run then SetupSkyStudioPro application.

As opposed to many freeware apps, SkyStudioPro has a safe installer, which won't attempt to install toolbars or other unwanted applications.
How to shoot a time-lapse video with SkyStudioPro
Select the time-lapse settings
Opening SkyStudioPro will show us the current image of our Webcam, and on the right we will find all the necessary settings.

On "Capture devices, resolution" we can set the recording resolution. Since we used an old webcam, the max resolution was 640x480, but with a better model there will be a Full HD option too.
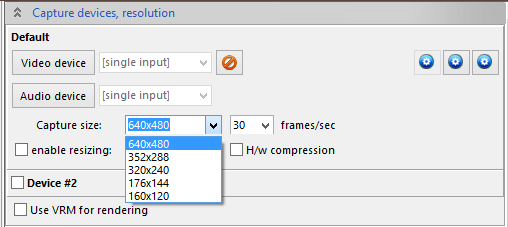
The "frames per second" setting isn't particularly important since we intend to create a time-lapse video. They are useful for live video.
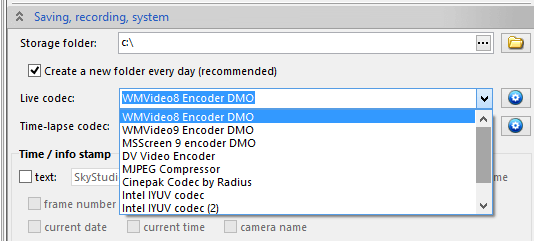
On "Saving, recording, system" we can select where our files will be saved, as well as the codec for live video and time-lapse.
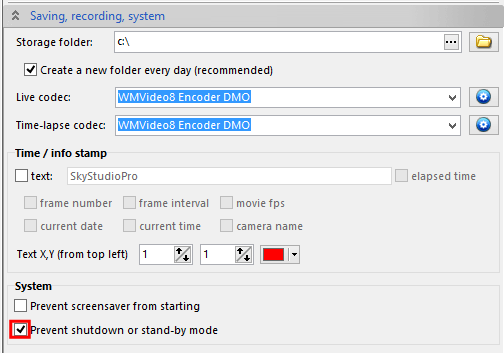
Since some time-lapse projects can go on for days, it's a good idea to check "Prevent shutdown or stand-by mode". In the year 2015 almost nobody uses screensavers anymore, so it shouldn't be an issue.
There are more options for the codecs, and we can additionally download and install Xvid from https://www.xvid.com/download/.
Creating a time-lapse video
After these settings, we are ready to start automatically shooting the photos that will comprise our time-lapse video.
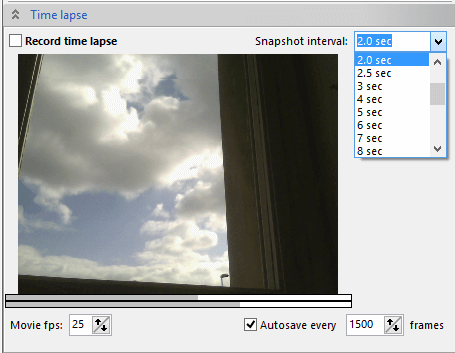
The default setting is one picture every two seconds, and a movie of 25 frames per second.
With these settings, our time-lapse video will be 50 times faster than real-time since it will take 50 seconds to shoot the 25 frames for a single time-lapse movie second.
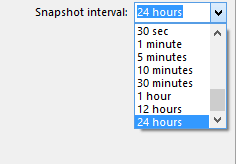
For even more ambitious projects, we can shoot up to one frame per 24 hours, so it would take 25 days for a single second of time-lapse footage.
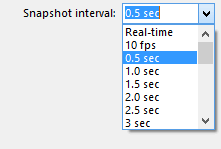
We can also select less than two-second intervals. The slowest time-lapse video we can do is recording ten frames per second, and after that we can choose half second intervals.
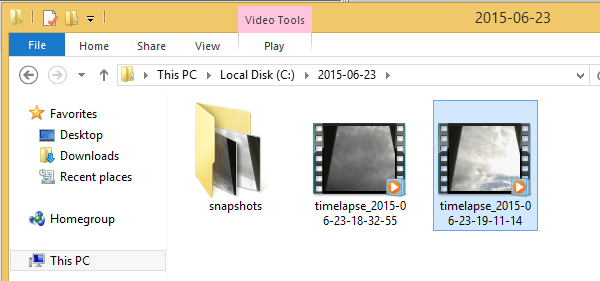
To start recording, we just need to check the "Record time-lapse" checkbox. SkyStudioPro will save the snapshots in a folder at the root of the C: drive with today's date, and every filename will have a timestamp.
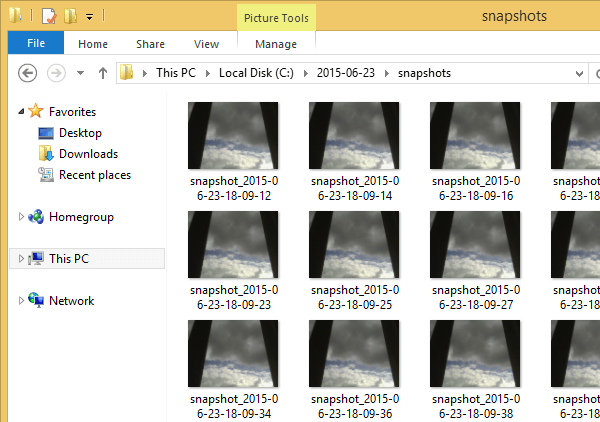
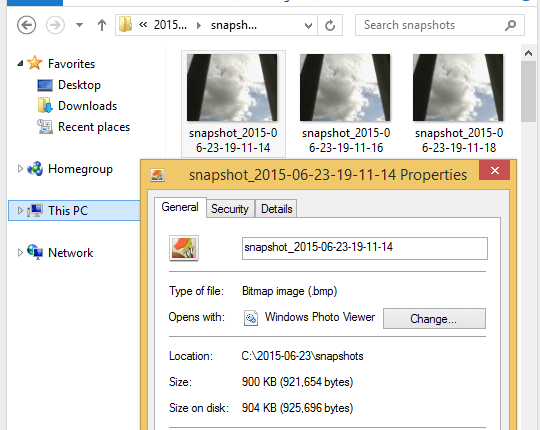
Mind you, those snapshots are full .bmp files, so they are pretty large. The 640x480 snapshots weight 900KB each, and SkyStudioPro doesn't have the option to save files as .jpg or .png. So, make sure you have a large drive.
While SkyStudioPro is working, we can minimize it...

...and reopen it from the icon at the system tray.
By default, every 1500 frames the program will save all the snapshots to one .avi time-lapse video file, and then create a new file. If we don't want that, we can disable the autosave, or increase the number of frames.
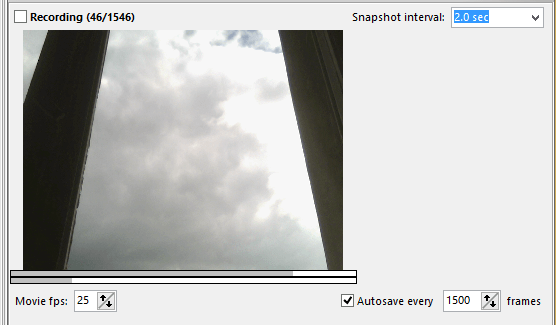
Also, the preview will show how the latest 50 frames look in time-lapse.
To manually save the time-lapse video, we just uncheck the "Recording" checkbox, and SkyStudioPro will finalize the file then and there.
Because of the name of the program, and partly because we didn't have something cooler to create a time-lapse video with, this is a time-lapse view of the sky from one of our Windows.
(the program is not to blame for the quality, only our crappy webcam. With a Full HD webcam, it would look much better)
Hints and Tips for a great time-lapse video
We are not photography geniuses by any measure - or we would have a better webcam - but the advice below will be useful for the creation of better time-lapse videos.
Use a decent webcam
The results above speak for themselves. Crappy webcam = crappy video.
Prepare a controlled environment
If we have pets or little kids, we should design the photo shoot so it won't be tampered with until the time-lapse is over. Imagine somebody knocking down the subject or moving the camera on day 20 of a 30-day shoot.
It would also be best to have our PC on a UPS, so any power surges or outages won't destroy our photo shoot.
Take into account the change of the light
If using natural light, for long time-lapse videos light will naturally shift and change, as will any shadows.
The change of light can be artistic, but it can also distract us from the main subject. If we don't care for those changes, it's best to use artificial light.
Patience
Depending on what we want to capture, the photo shoot could take from a few minutes to a few days, weeks, or even months. Time-lapse is a patient man's game.
Have you created any time-lapse videos?
If you created one or more time-lapse videos and wanted to share them with us, leave us a comment. Just remember that comments with URLs need to be manually approved by an administrator before they are posted.
Support PCsteps
Do you want to support PCsteps, so we can post high quality articles throughout the week?
You can like our Facebook page, share this post with your friends, and select our affiliate links for your purchases on Amazon.com or Newegg.
If you prefer your purchases from China, we are affiliated with the largest international e-shops:

Oh that's a great tutorial!Thanks for posting it.
I'm glad you liked it, @djsadhu:disqus!
Great tutorial! I use this: http://www.videostudiopro.com/en/pages/time-lapse-video/ to create Time Lapse but I needed a decent alternative for my other computer and this works nice. So thank you for solving my problem :)
Glad you liked it, Robert.