Even if we don’t know how to build a computer, we probably have heard of thermal pastes; the paste we spread on our CPU’s heatsink to increase the cooler’s effectiveness. But how do we apply it to the processor? How much should we use and which method is the best for spreading the paste? Also, does a cheap thermal paste do as good a job as an expensive one? In this guide, we will answer all these questions.
Unblock any international website, browse anonymously, and download movies and Mp3 with complete safety with CyberGhost, just for $2.75 per month:
Why do we need thermal paste
We all know that when the computer is on, the CPU gets hot. We also know that if it overheats…

So, what are we supposed to do to keep it cool? We use a CPU cooler. The majority of the processors come with a stock cooler, but many of us switch to an aftermarket solution to reduce the temperatures even further.
Many users believe that the cooler is the fan at the top.
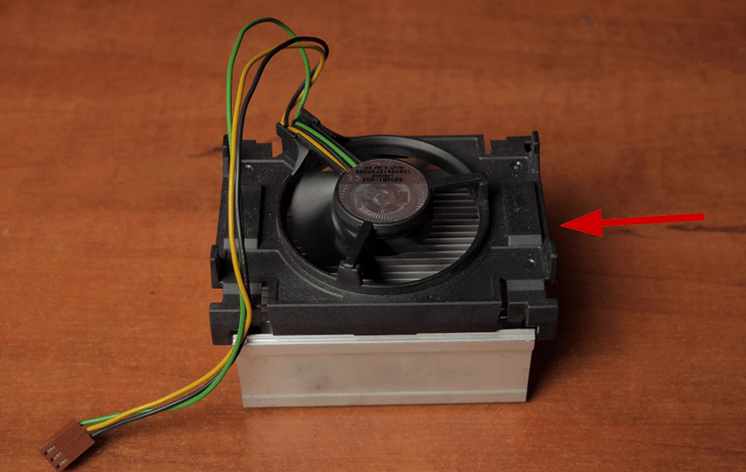
However, that’s just a simple fan. When we are talking about a cooler, we are referring to the metal part right below that comes in contact with the processor.
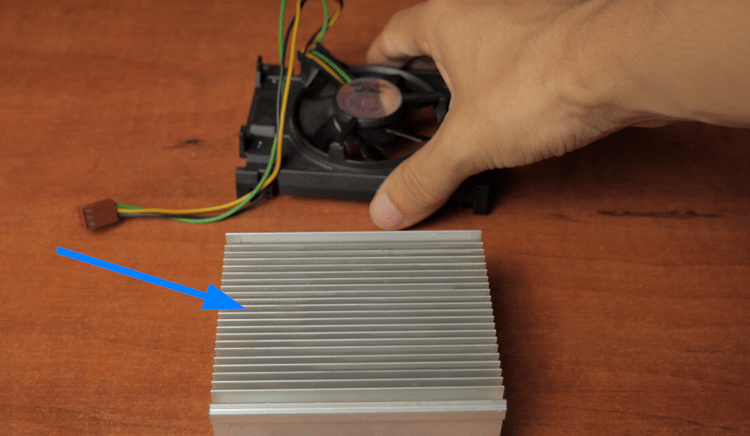
According to physic’s laws, when two objects are in contact with each other, the heat is transferred from the hottest to the coolest, until both have the same temperature.
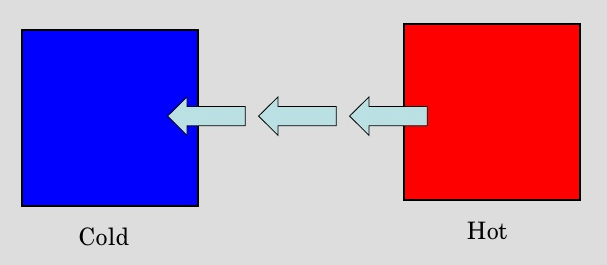
That’s why the cooler has to touch the CPU; that way, the heat can be transferred from the CPU to the cooler, and escape into our PC case.
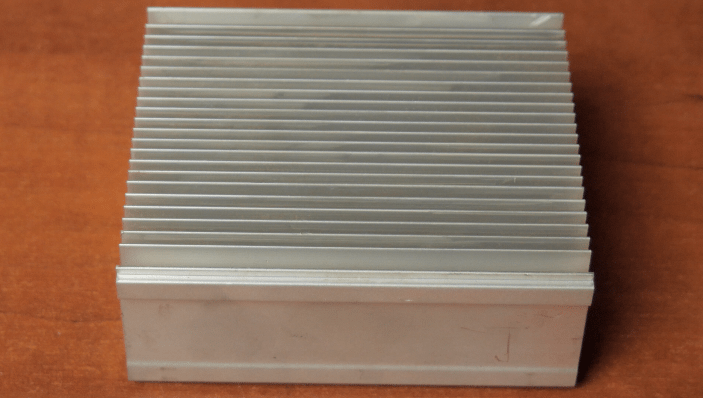
The key here is the surface that makes contact with the cooler. The larger the surface, the faster the heat travels across the cooler. Likewise, the larger the cooler’s surface that “touches” the air, the faster the heat moves into the case.
That’s the reason the cooler's surface has so many ridges; that way, the contact surface with the air increases.
But the question remains. Why can’t we just place the cooler on top of the processor? Why do we need the paste?
If we take a closer look at the surface of a CPU, we can see that it’s not as flat and smooth as we might think.

The same goes for the cooler’s surface.

In a microscopic level, the two surfaces won’t make full contact, resulting in gaps between them. Thus, we need something that can sneak into those gaps and improve thermal conductivity between the CPU and the cooler.
That’s where the thermal paste comes in; it can fill those microscopic pockets of air and prevent its buildup. With the thermal grease, the two surfaces make full contact, and the heat can travel across the other as fast as possible.
Quantity and spreading methods
Of course, when we want to place the thermal paste on the CPU, we don’t use the whole tube.
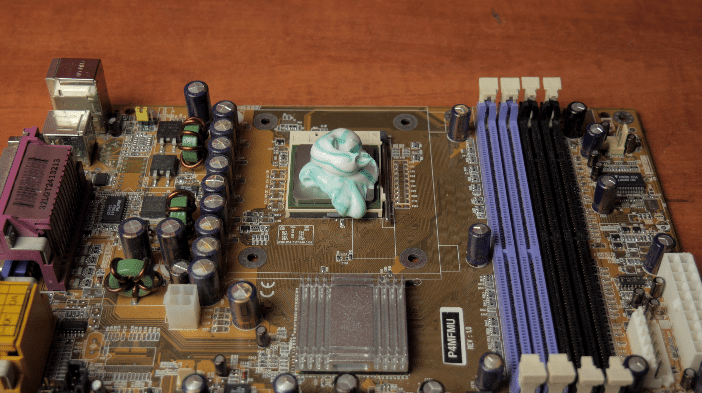
Even the smallest containers can be used three or five times - or even more. In general, our goal is to cover the CPU’s surface with a thin layer of paste. If we put less, it won’t spread to the whole surface and the temperatures will be higher than usual.
On the other hand, if we put more than we should, it will overflow, and may damage our other components.

Usually, the CPU is placed at the center of the processor, and that’s where the heat comes from. Keep in mind that the surface we see is just a lid; the CPU is right below.
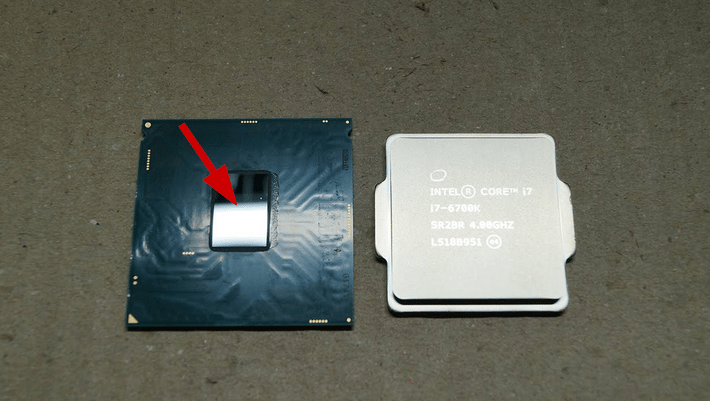
Thus, if the thermal paste doesn’t cover the lid’s edges, it won’t be a problem.
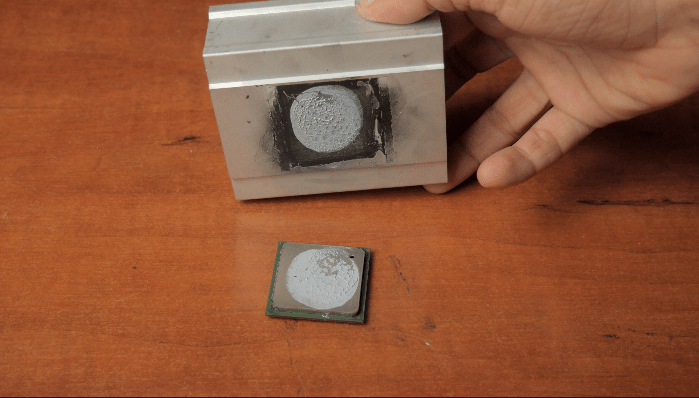
The amount of thermal paste we’ll need can be compared to the size of a small green pea.
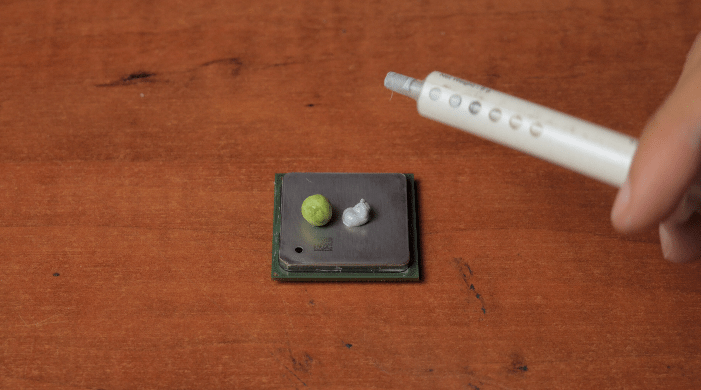
Of course, this also has to do with the CPU’s architecture. For example, AMD’s Threadrippers are enormous compared to other CPUs.

In such a case, we will obviously need more thermal paste.
Besides quantity, there’s a lot of misinformation out there when it comes to the best spreading method. You may have heard that a grain of rice in the center is all it takes. Others swear by the “X” method, while some say that we should spread the thermal paste with a credit card until it covers the whole lid.
In the experiment below, we will test all known spreading methods to see which one is better, shedding some light on this mystery.
Designing the test
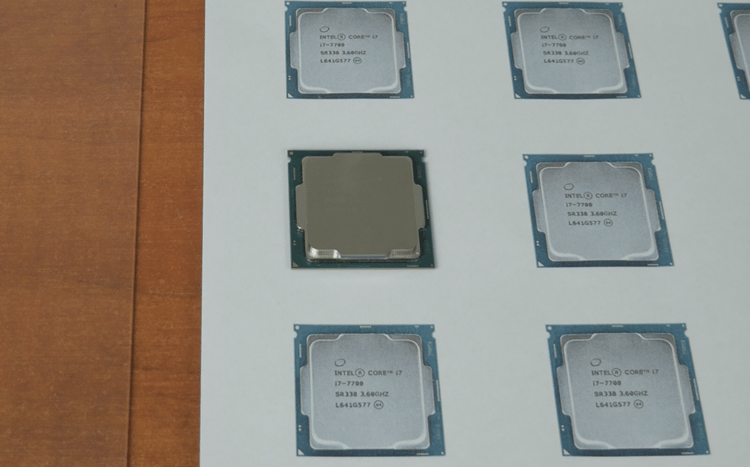
To see which method is better at spreading the thermal paste, we printed multiple CPU designs on a scale of 1:1.
Furthermore, we used a piece of glass instead of a real cooler, to be able to see through it.
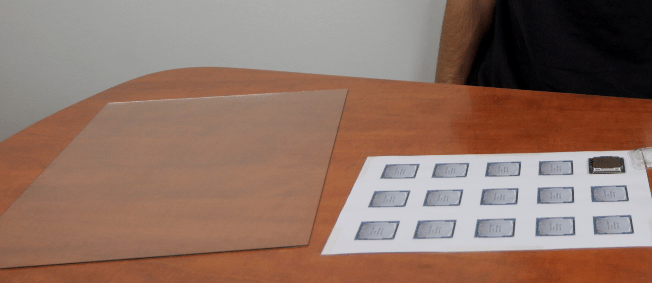
In theory, we just need to see how well the thermal compound will spread across the lid, so it won’t matter what kind of paste we use. Thus, we used the cheapest paste we could find, aka some toothpaste.
We also placed it in a small syringe to make it look like real thermal paste. It’s all about the looks.

Spreading methods
We tried to cover all known spreading methods, and we also used different quantities.
In the picture below, you can see all the shapes we used.
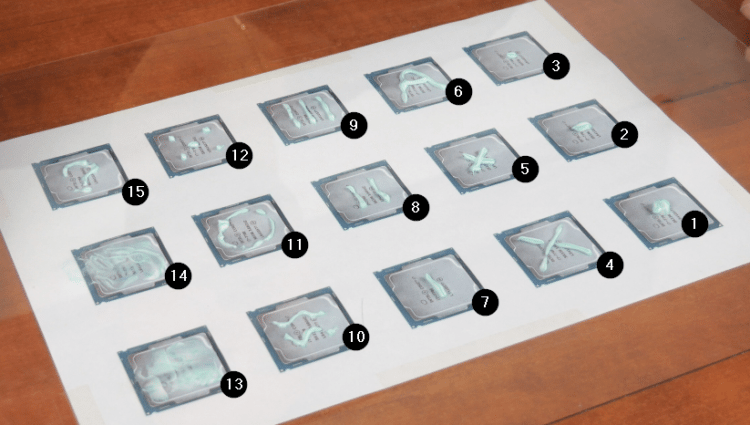
Besides the pea at the center (1,2,3), we also used the “X” method (4, 5), a straight line (7), but we also spread the paste with a credit card (13) and with our finger (14).
As you may notice, we improvised a bit on the rest of the shapes (6, 8, 9, 10, 11, 12, 15).
Once we were ready, it was time to place our “cooler” on top of the CPUs.
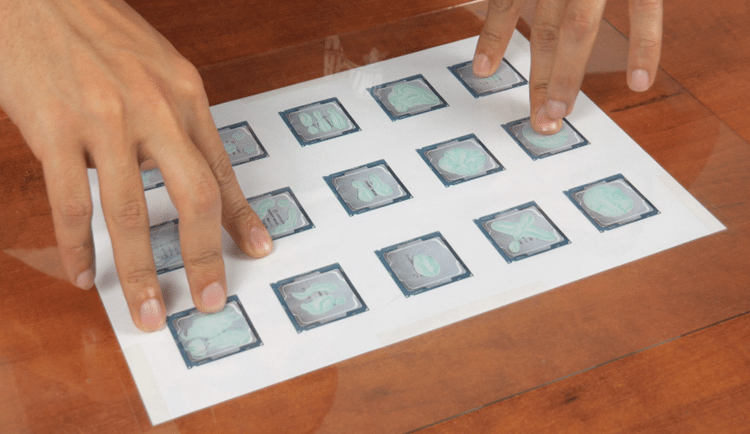
We applied a lot of pressure on the glass to spread the paste across the fake lids.
Results
As you can see in the picture below, the thermal paste was spread beautifully on the CPU’s surface, regardless of the method.

No matter what shape we drew, the “cooler” ruined it and spread the paste evenly.
The only difference can be seen in the amount of paste we used. In cases where we put less thermal paste, it didn’t cover the whole lid (3, 8). On the contrary, when we used too much, it leaked off the edges of the CPU (1, 4, 5, 11).
As you can understand, the spreading method doesn’t matter. Do you want to use the line method? You can do it. Do you prefer the “X”? That’s fine as well. As far as we are concerned, you can use the logo of your favorite running shoes if you feel like doing so. It won’t make any difference.
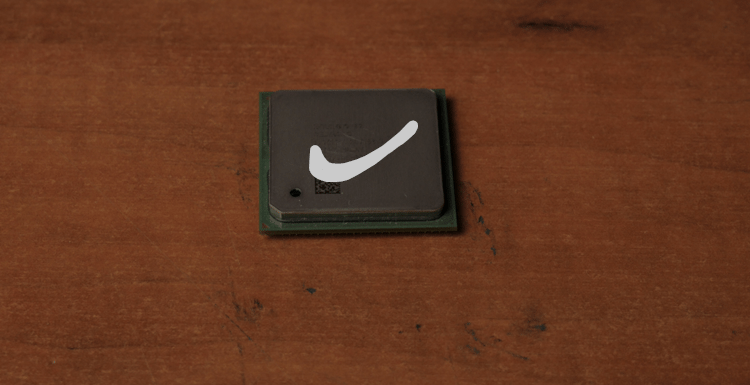
Well, you're probably going to want to make it more symmetrical.
The most important thing when applying thermal paste is the use of the right amount of grease. For most processors, a small pea is all it takes.*
As for the credit card method, it works, but why bother spreading the grease manually when the cooler will do the trick for you?
Quality
Besides the spreading methods, there’s a lot of debate regarding the paste’s quality. With a quick search, we can find thermal pastes that start from $0.3 per gram and go as high as $11 per gram.
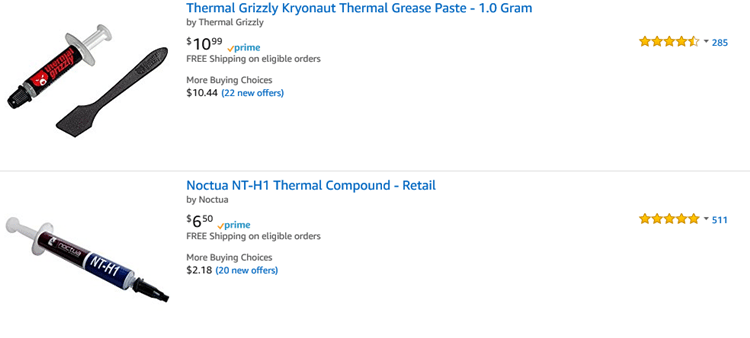
The question here is, is it worth buying the most expensive thermal paste instead of a cheap one? Are we going to see any measurable differences in the CPU’s temperatures?
It’s time for our second experiment, this time in real-world conditions.
Designing the test
In this experiment, we used a real processor, an i7 7700K, clocked at 4.4Ghz and with a cheap aftermarket cooler.
Then, we used a no-name thermal paste which was the cheapest we could find, an average priced and more popular paste, as well as a more expensive one.
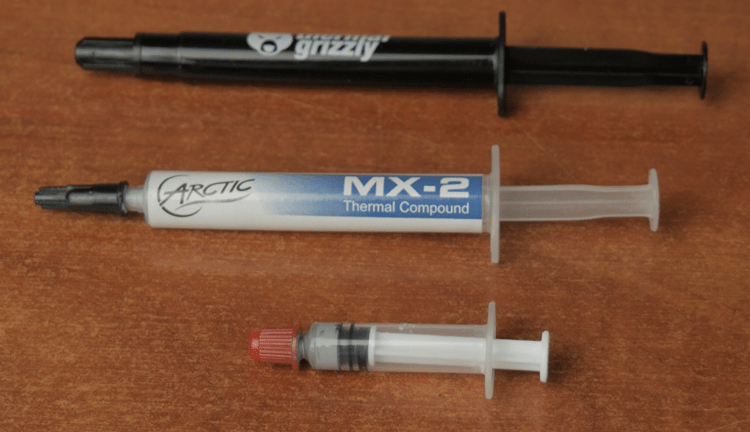
The pastes we used:
- no-name cheap thermal paste
- Arctic MX-2
- Grizzly Kryonaut
Then, we measured the temperatures of our CPU while idle, as well as after a half-hour stress test, to see the minimum and maximum temperatures with each paste.
We should mention that thermal pastes have a curing time, where they reach their maximum transfer potential after being heated and cooled a few times. This might take days - even weeks - depending on how often and how much we use the computer.
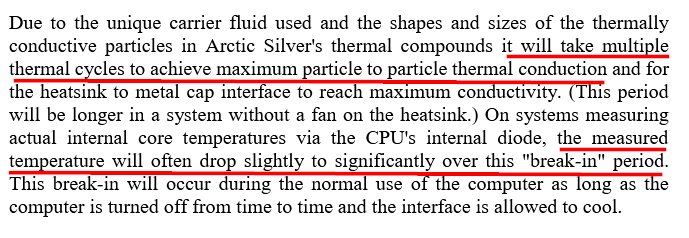
In other words, if we measure the temperature right after applying the thermal paste, it will be a bit higher than what it would be if we measured it after one or two weeks.
However, we couldn’t wait for all the different pastes to settle, because that would have taken us months. Thus, we like to consider the disadvantage the same for all of them.
We also removed the cooler and placed it back without applying the new thermal paste to see if that would make any difference.
Of course, we couldn’t stop on thermal pastes. There are users out there who claim that “thermal pastes are yet another marketing trick and a good way to waste your money.”
So, we repeated our measurements without thermal paste.

And since we started such an experiment, we had to get our hands dirty; we applied some toothpaste on our processor to see how that goes. Moreover, we thought we should also use a thermal pad and see if it can replace the thermal paste.

Which thermal paste was the best?
At first, let’s see which paste won between the three.
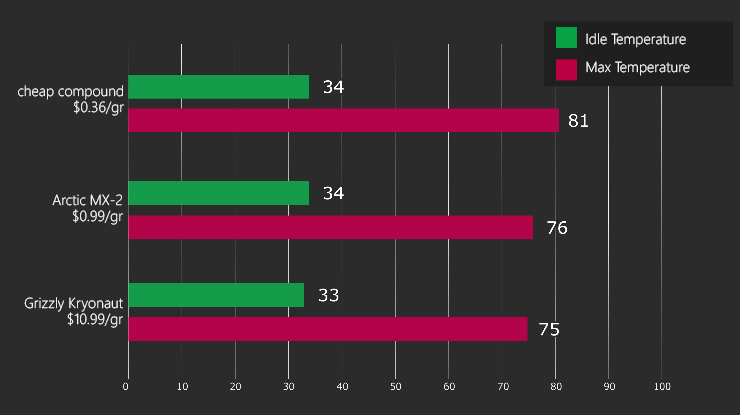
As we can see, there is no difference in the idle temperatures. The most expensive thermal paste is only one degree lower than the cheapest one.
However, once we check the maximum temperatures, the difference is six degrees.
It doesn’t sound like much, but six degrees can make a significant difference, especially if our CPU works in full load most of the time (gaming, rendering, etc.).
On the other hand, if we take the Arctic MX-2 temperatures into consideration, the difference to the Grizzly in maximum temperature is only one degree.
Yes, the most expensive paste had lower temperatures, but is this one degree worth paying ten times more? We will leave that for you to answer.
Can I put something else instead of thermal paste?
As we mentioned above, we also tried a thermal pad, some toothpaste, but also nothing at all.
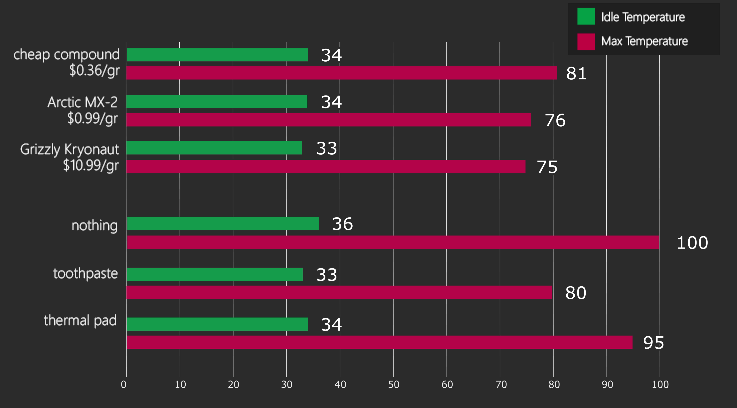
As expected, nothing at all is probably the worst idea for a processor. Although the idle temps were at 36 degrees, as soon as we started the stress test, the processor’s temperature skyrocketed at 100 degrees Celsius.
We had to stop the test immediately to prevent any damage to our CPU. What we didn’t expect was the toothpaste to perform as well as it did - even better than the thermal pad.
You can see in the graph that the toothpaste’s temperatures are comparable to those of the cheap thermal paste - even slightly better.
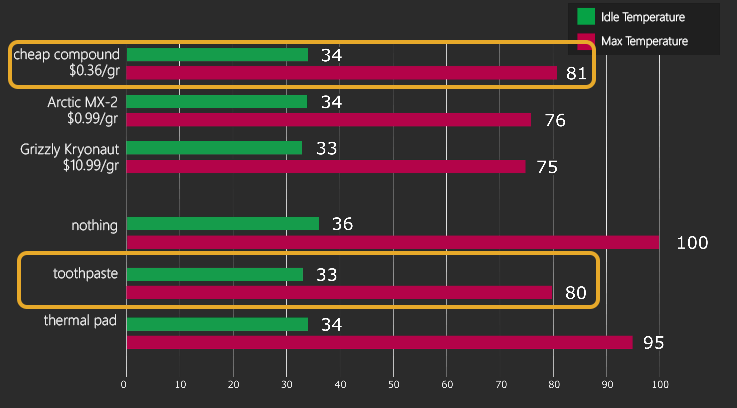
Before you start applying toothpaste on your CPU, though, we should mention that it is a bad idea in the long run. Due to its consistency, it will dry up pretty soon, probably in a couple of weeks or months.
That means we’ll need to replace it again and again and that’s just not too practical.
The thermal pad, on the other hand, failed completely. The idle temps were low, sure, but when it came to the stress test, the temperatures reached 95 degrees Celsius.
Can I remove the cooler and place it back without replacing the thermal paste?
The answer to this question is rather simple. If the paste is dry, then no; you’ll have to replace it with some fresh thermal grease.
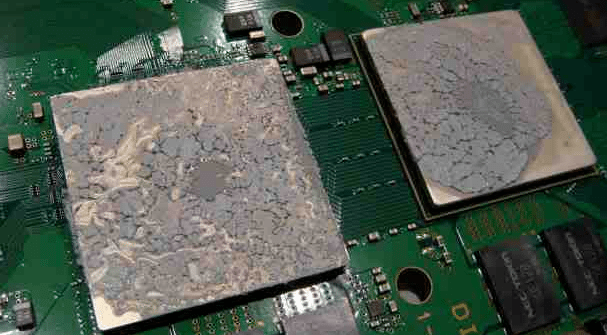
But what if it’s not dry yet? The graph below shows the minimum and maximum temperatures after reseating the cooler, without changing the paste.

The temperatures look pretty reasonable, which means that the cooler’s pressure spread the paste evenly on the CPU.
This proves once again what we saw in the first experiment above. It doesn’t matter what spreading method we use. As long as the paste is on top of the processor, the cooler will take care of the rest.
Non-conductive thermal pastes
We learned about the quality, the quantity, and cleared up the myths about the spreading methods. But we are not done yet; we need to know one more thing before we buy a thermal paste: electrical conductivity.
Many thermal pastes used to contain metal parts, and as we know, metals are excellent thermal conductors. However, they’re also electrical conductors, which can cause problems if the paste touches any part of the motherboard or the sides of a processor.

Nowadays, most of the pastes are made with non-conductive materials, and that’s usually stated in their description.

Although, there are some greases, like the well-known Arctic Silver 5, that are described as “non-conductive” but “slightly capacitive.”

That means they won’t conduct electricity in general, but under certain conditions, they may store electrical charge, just like a capacitor does.
These cases are rare, but if that happens, the thermal paste can cause some damage. Of course, it doesn’t mean we shouldn’t use such greases. We should just be extra careful not to spill any on places we shouldn’t.
Liquid metal
Since we are talking about conductive thermal pastes, we couldn’t skip liquid metal.
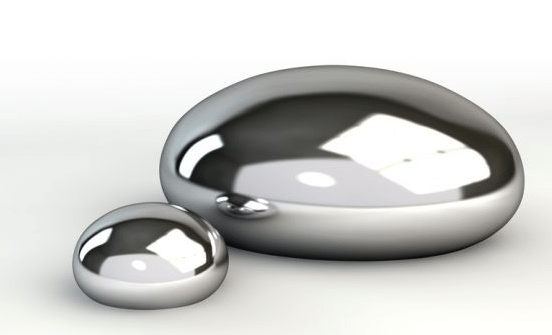
Liquid metal is just what its name suggests, which means it is highly conductive. It is not very expensive in comparison to a high-end thermal paste,[link] and to be honest, it does an excellent job at heat transferring.
In fact, we may see as a reduction of as much as 20 degrees at our maximum temperatures if we use liquid metal instead of thermal paste.
However, due to its electrical conductivity, it can be hazardous for an amateur user. Even a slight mistake will lead us to frying our board or processor.
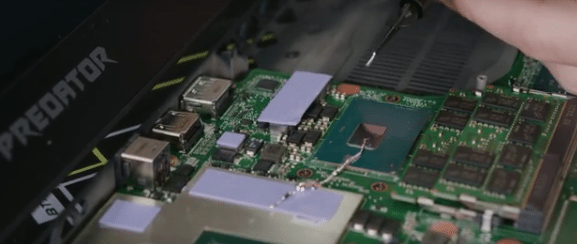
Applying liquid metal won’t be as easy as in the case of thermal paste, so we advise you to avoid it if you don’t know what you’re doing. In general, it’s not worth the risk, and that’s the reason why we didn’t even try it in our tests.
How to apply thermal paste
Now that we're done with the theory, let’s move onto how to apply thermal paste on a CPU in practice.
If you’re building a new computer, in 99.9% of cases, your cooler will be coming with some thermal paste at the bottom by default. All you have to do is place it on your motherboard by following the manufacturer’s directions, and forget about it for the next two to five years.
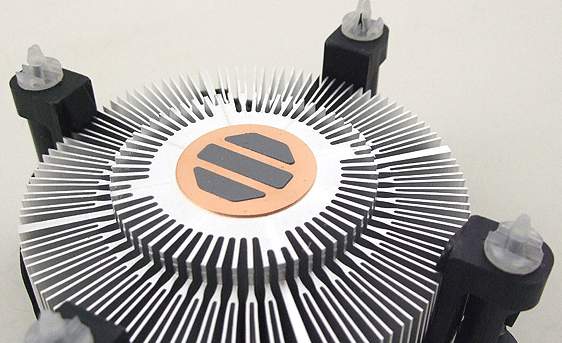
For those that have been noticing high temperatures lately, or in the case of a CPU upgrade, you’ll need to replace the thermal paste before you mount the cooler again.
First of all, we shut down our computer, and turn off the PSU’s switch. We open the case and uninstall the cooler. We won’t go into much detail on how to do that, since every socket may have a different mounting method.
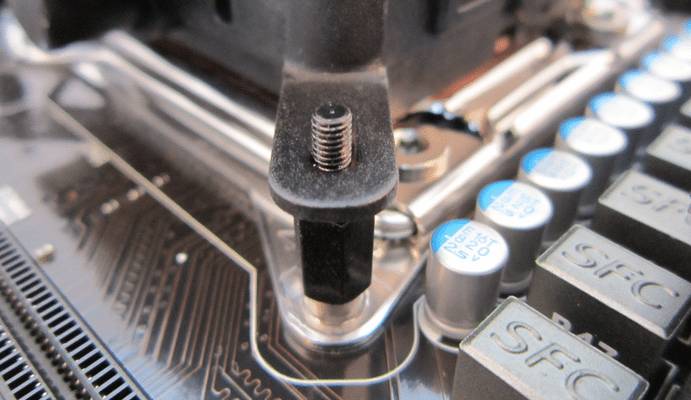
If you’re not sure how to remove it, have a look at the manual or take your computer to an expert.
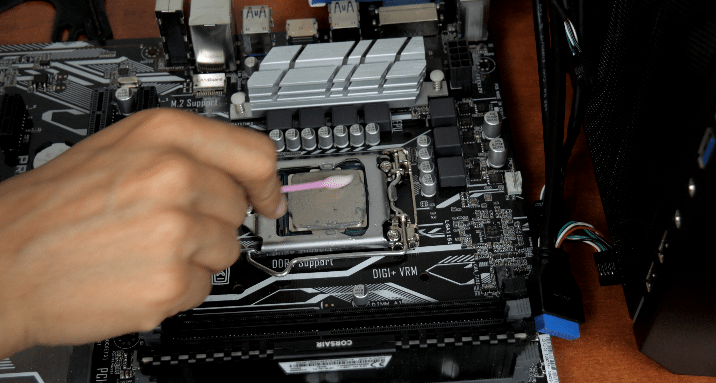
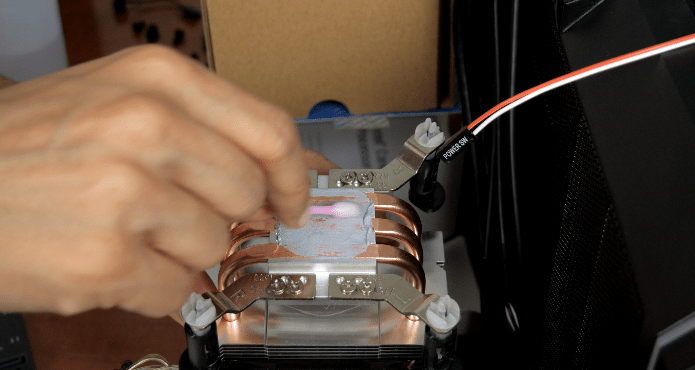
Once we unmount the cooler, we will see that the old thermal paste is dry. We can use earbuds with some isopropyl alcohol solution and slowly wipe the old paste off the processor…
...and the cooler.
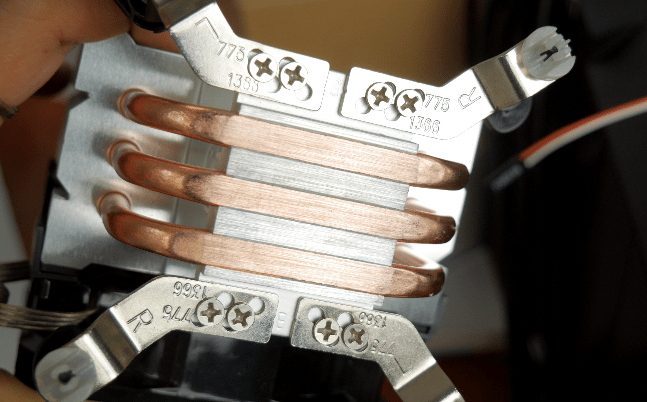
Then, we use some clean kitchen roll or coffee filters to wipe both surfaces and make sure we leave no residue.
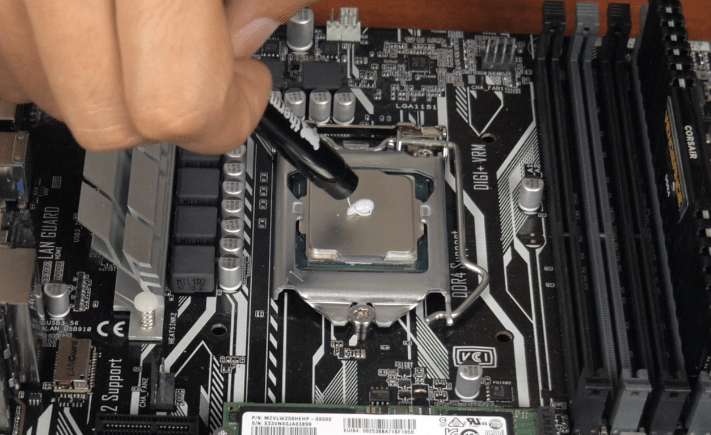
We are almost done. Now it’s time to take the thermal paste we chose based on what we saw above and put about a small pea's worth of it in the middle of the processor.
After that, we mount the cooler on the motherboard, applying some pressure to make sure that the paste will spread properly.
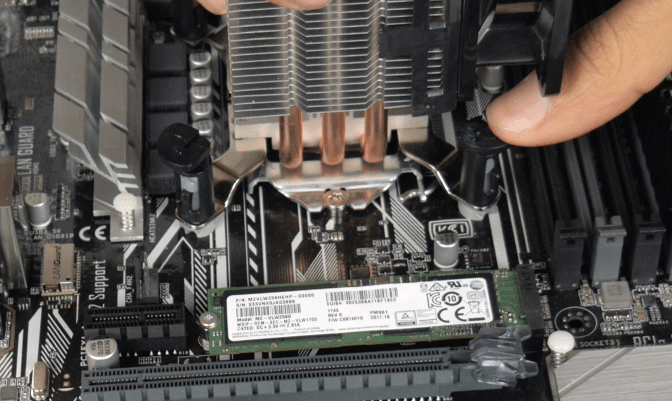
That was it. Wasn’t it simple?
Have you ever replaced your CPU’s thermal paste?
Did you like our guide? Which one is your favorite spreading technique? If you can’t decide which thermal paste to buy or if you have any questions, feel free to leave a comment below.
Support PCsteps
Do you want to support PCsteps, so we can post high quality articles throughout the week?
You can like our Facebook page, share this post with your friends, and select our affiliate links for your purchases on Amazon.com or Newegg.
If you prefer your purchases from China, we are affiliated with the largest international e-shops:


Leave a Reply