By default, Microsoft only allows us to change the Windows 7 language on the expensive Windows 7 Ultimate / Enterprise editions. However, there is a simple trick that allows us to do a Windows 7 language change in Home Premium and Professional versions. In this guide, we will use Microsoft's language files and the free Vistalizator app to change the Windows 7 language in just a few minutes.
Unblock any international website, browse anonymously, and download movies and Mp3 with complete safety with CyberGhost, just for $2.75 per month:
We have updated this guide using the
en_windows_7_home_premium_with_sp1_x64_dvd_u_676549 digital river ISO file, with the complete Windows updates up to 1/5/2018.
To download any Windows 7 version as an ISO straight from the Microsoft servers, check out our guide:
Preparation
While it's easy to change the Windows 7 language, it does need some preparation, both for the method to work, and to be prepared in case anything goes wrong.
Take a full Windows backup
Changing the Windows 7 language is an action that affects the system at a basic level. While in our tries we have never had a problem, nevertheless it's best to create a full Windows backup. As the old adage says, better safe than sorry.
For this, we suggest the use of AOMEI Backupper, a free application which is exceedingly easy to use and can recover our full Windows installation in mere minutes.
Do a full Windows update
Before we begin the procedure to change the Windows 7 language, it's essential that we have installed all Windows updates. There are a few updates that, if missing, will block us from the Windows 7 language change.
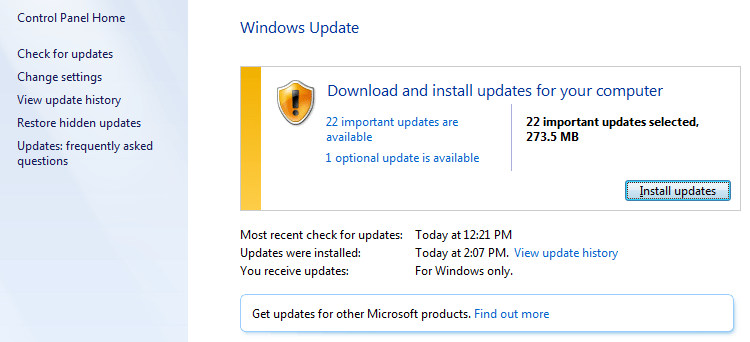
So, if we have a new installation or an old installation where we didn't bother with updating, we must go to Windows update by looking for it in search...
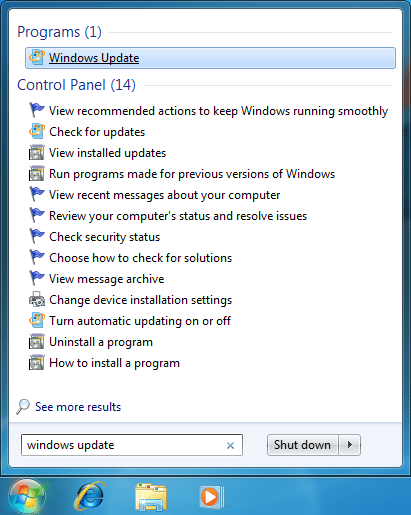
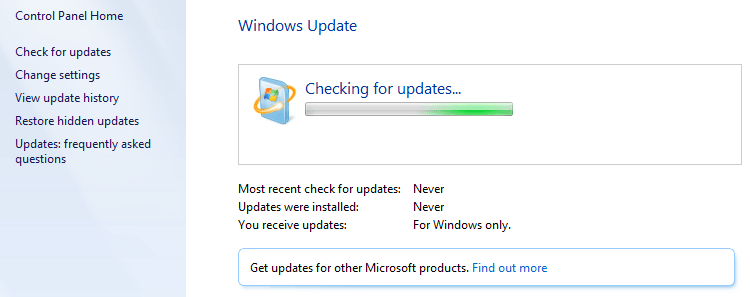
...and click on "Check for updates". This check could take a few minutes, especially if we've never checked for updates before.
Once we get the results, we should select all of the updates. Not just the "important", which are pre-selected...
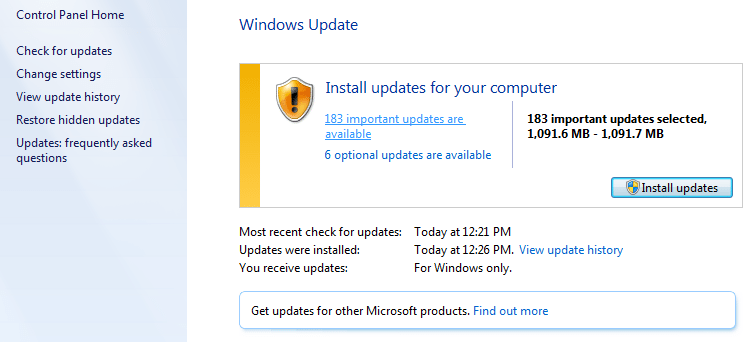
...but the "optional" too.
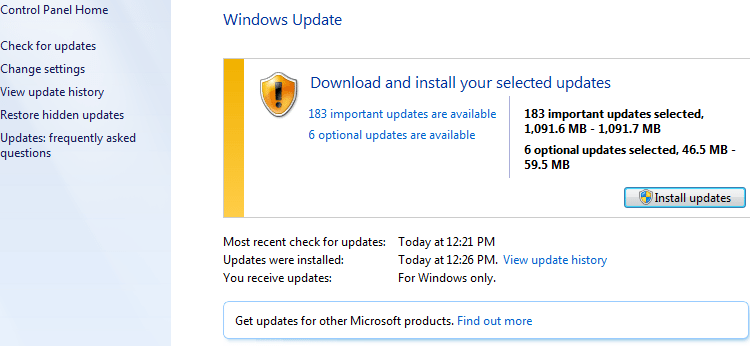
Depending on the Windows' version, and the last time we did an update, the complete download could very well exceed one gigabyte in size.
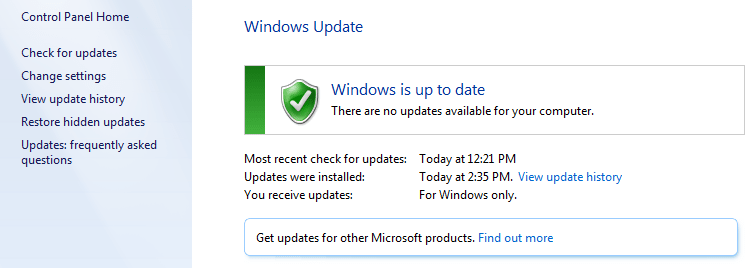
After we install the updates and reboot, we should make a final check in Windows update, that there are no additional updates available. If there are more, we must install them too.


We might not need every single Windows update to change the Windows 7 language. In any case, though, having our Windows installation fully updated is essential for our system's security and well-being.
And, contrary to popular opinion, Windows Update doesn't slow Windows down.
So, we shouldn't quit until we installed every single update, and get the nice green checkmark on Windows update.

Download Vistalizator and our preferred language
The software that allows us to change the Windows 7 Language is called Vistalizator, and we will find it at http://www.froggie.sk/download.html.


The latest version, as of this writing, is v2.75, updated on March 25, 2016.
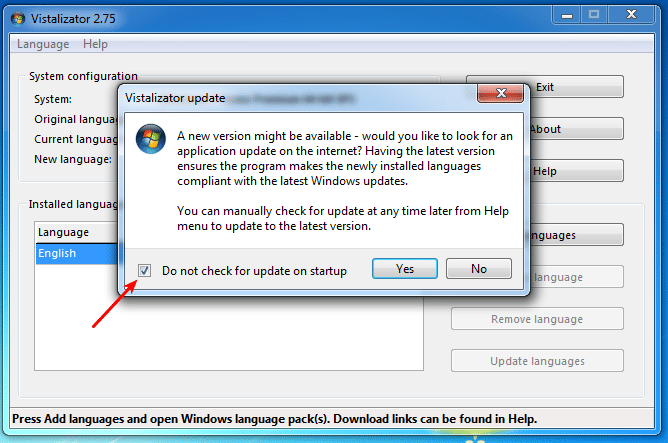
Vistalizator is a portable program that does not require an installation. The first time we run it, we will get a prompt to check for updates on startup. We can safely disable this prompt. After all, changing the Windows 7 Language is usually a one-time deal.

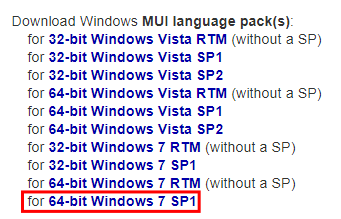
It's important to note our Windows version, whether it is 32 or 64-bit, and if it has SP1 or not.
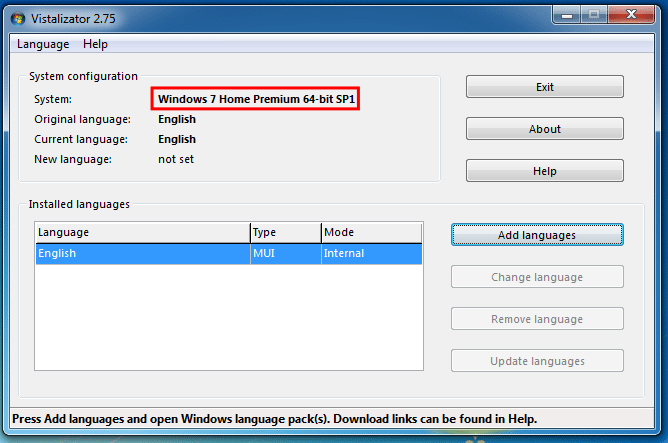

Back on the Vistalizator download page, we select the proper link. For the example, it is 64-bit Windows 7 SP1.

There, we download the language of our choice.
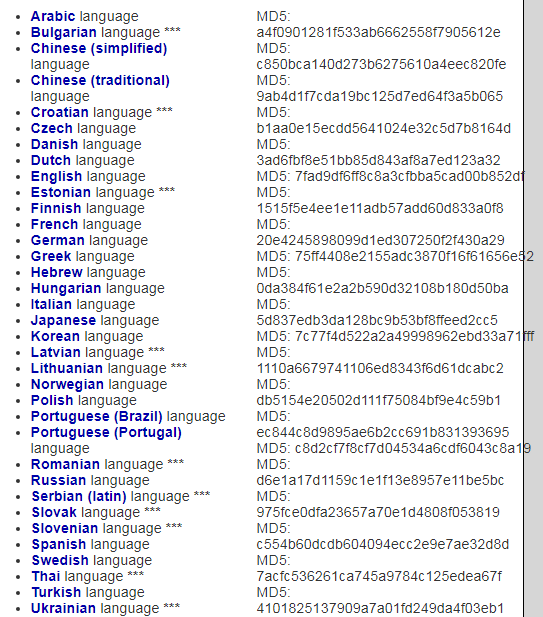

Languages with three stars are only 80% translated from Microsoft.
For the example, we will change the Windows 7 language from English to Spanish. Those links point to Microsoft's servers, so we know for a fact that they are legitimate. The size of the Spanish language file is just shy of 110MB.
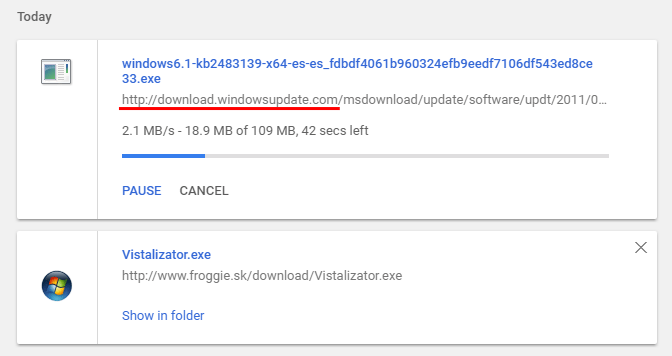

Install and change Windows 7 language
Even though the language file we downloaded is an application file, we don't open it.
What we do is, on Vistalizator, click on the "Add languages" button and select and open the file from our download folder.
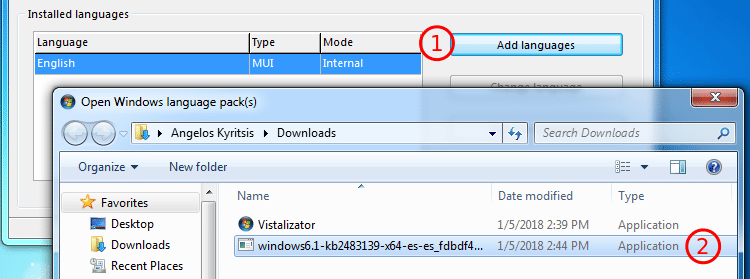

Vistalizator will check the file integrity, and prompt us to install the language of our choice.
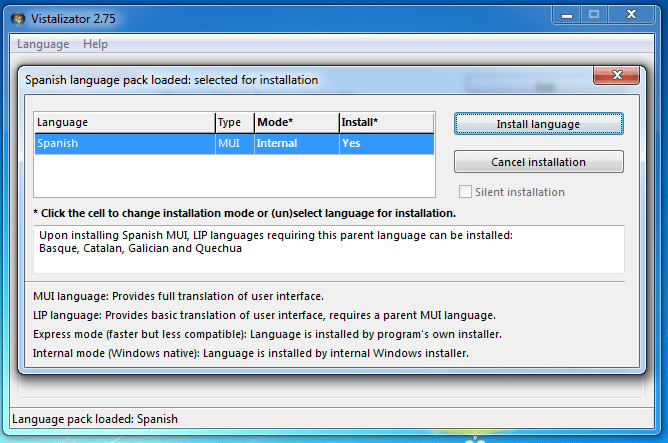

The program claims it might take up to 20 minutes, but it will usually take much less, typically under five minutes.


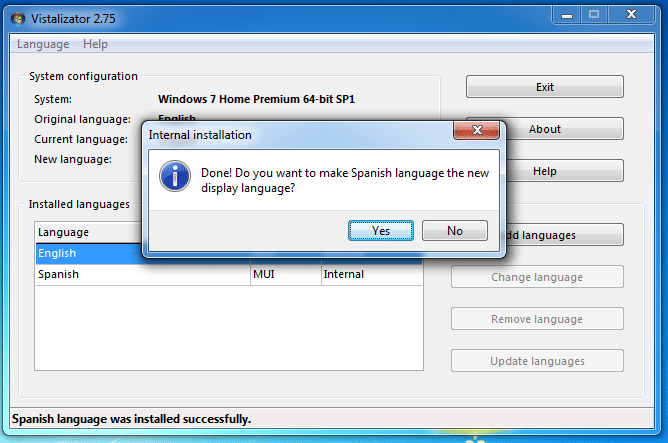
After that, it will ask us to change the Windows 7 Language. We click "Yes".

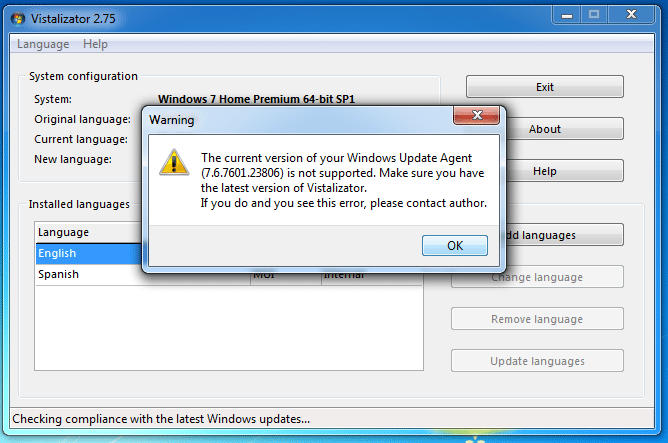
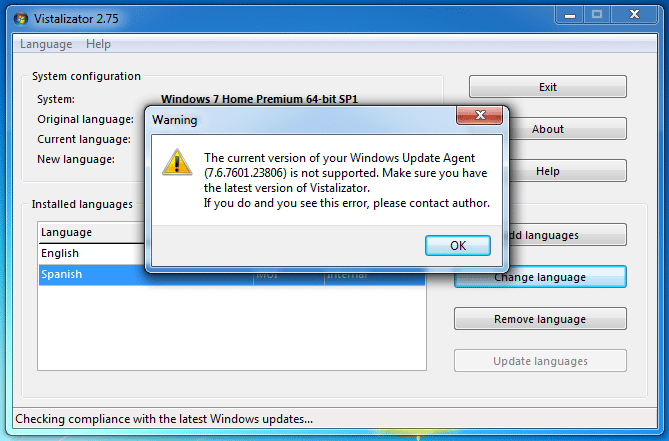
The current Vistalizator version 2.75 will always display an error. Don't worry, it's not a problem.

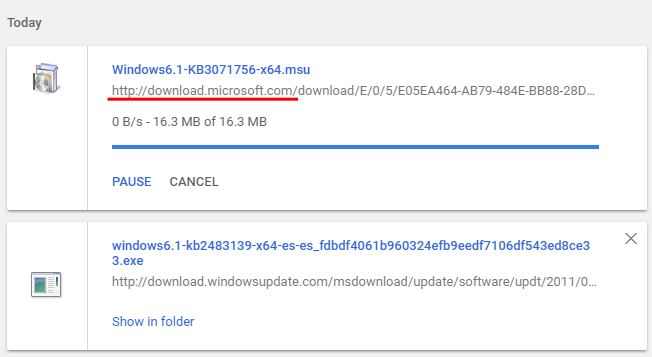
We just need to download a particular Windows update, by clicking on the link. Yes, even after we have installed hundreds of megabytes of updates.
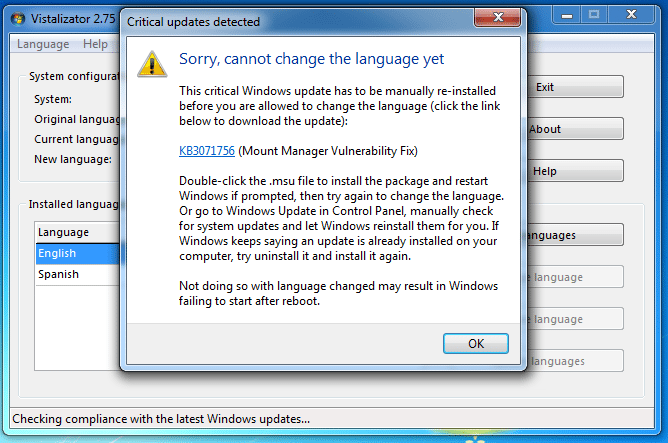

As with the language files, this is an official package from Microsoft.

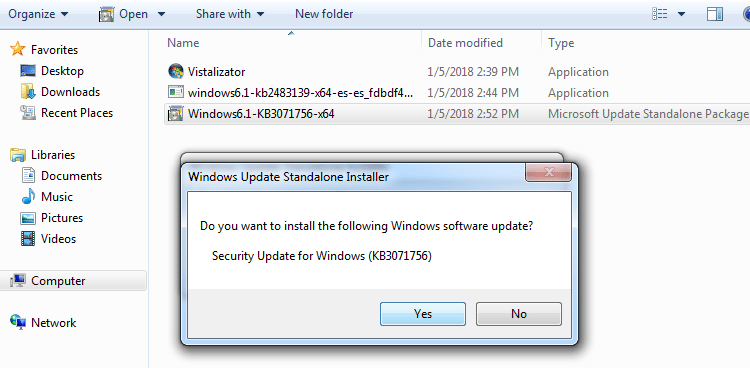
This file is a "Microsoft Update Standalone Package". We double-click to open it and install it.

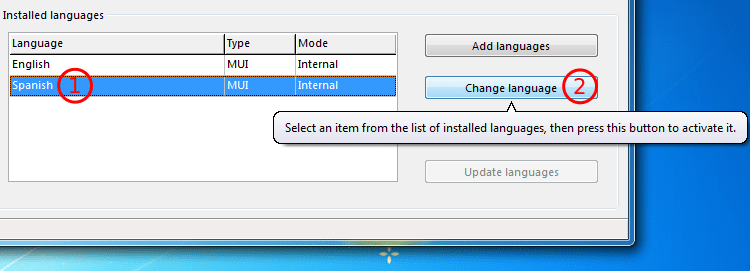
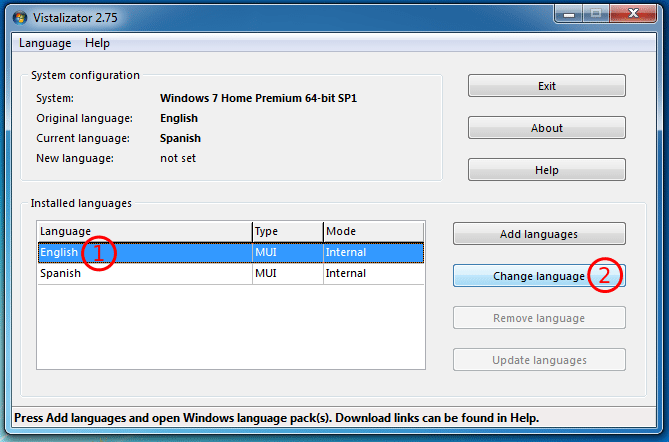
After a successful installation, we return to Vistalizator. We select the language of our choice and click on "Change language".

We will still get the error...

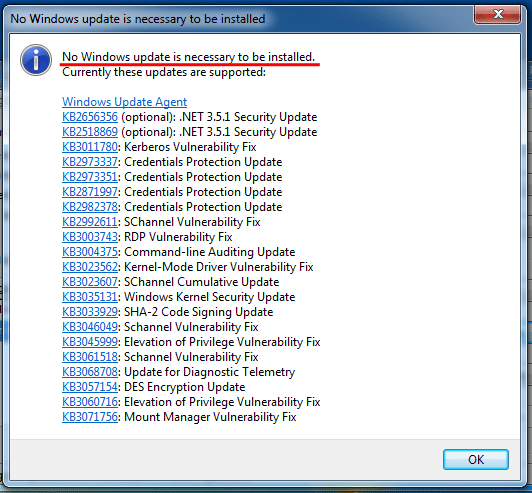
...but this time we also get a message that "No Windows update is necessary to be installed".

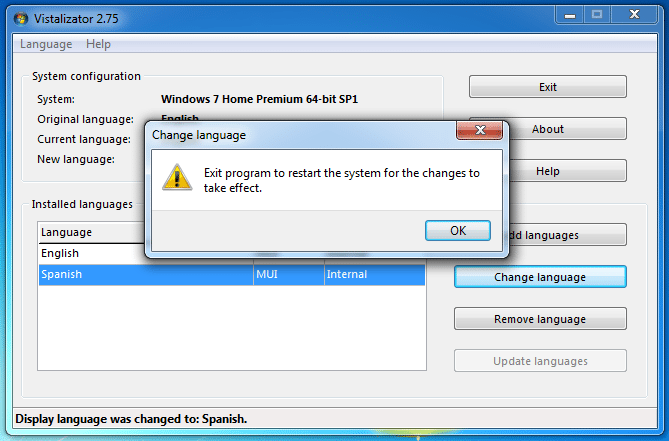
After that, we just need to close the program.

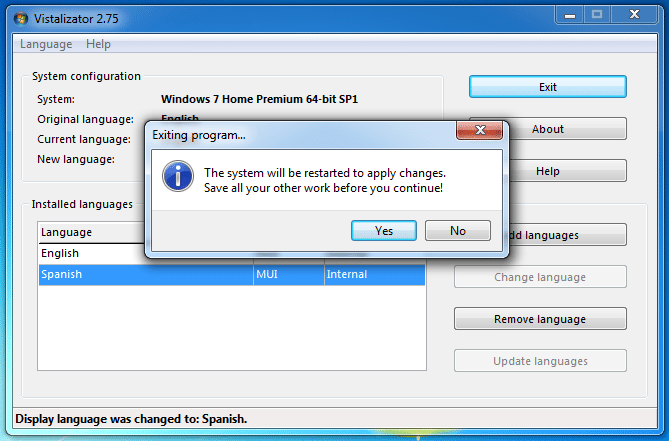
It will prompt us to restart. We should do so.

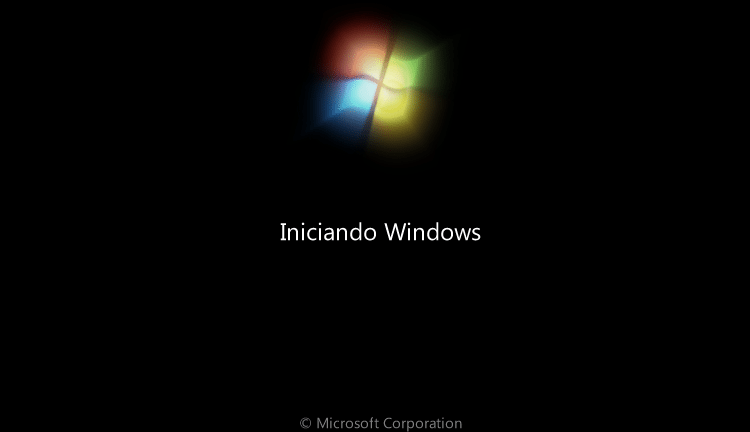
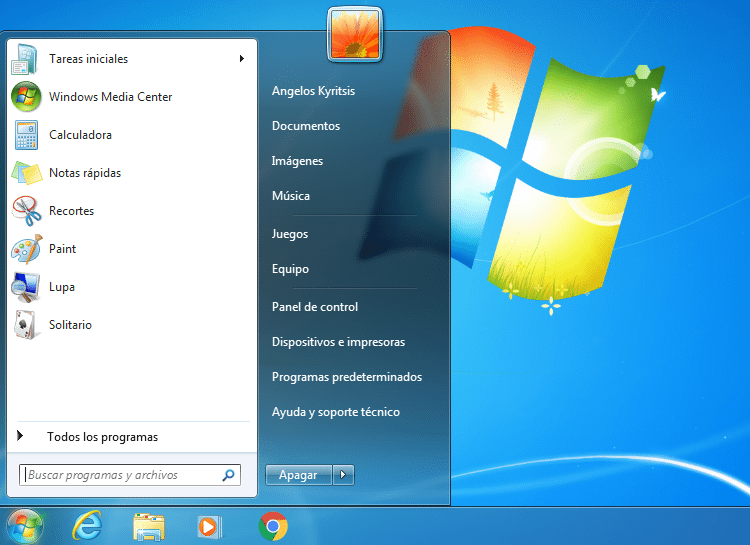
The language has changed even at the boot level.

And we are ready. Se habla Español.

If we want to revert to English Windows, we just fire up Vistalizator, choose English and click on "Change language".

Did you have any problem changing the Windows 7 language?
Most problems with Vistalizator are solved by manually installing the Windows updates the program suggests.
However, if you've done that, and you still can't change the Windows 7 language, leave us a comment with the exact error message you are getting.
Support PCsteps
Do you want to support PCsteps, so we can post high quality articles throughout the week?
You can like our Facebook page, share this post with your friends, and select our affiliate links for your purchases on Amazon.com or Newegg.
If you prefer your purchases from China, we are affiliated with the largest international e-shops:
